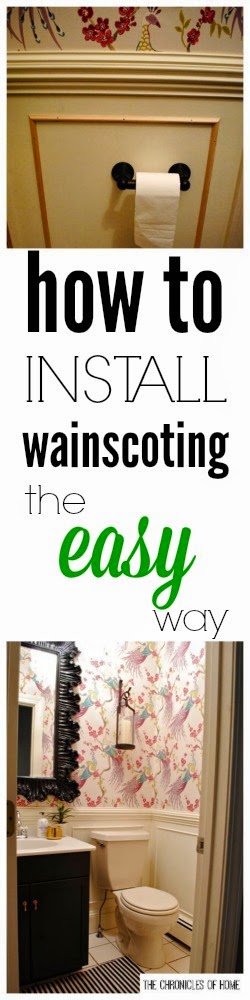
I’m sure you’ve all seen the kind of faux wainscoting I’m talking about today. It’s a great way to get the look of true wainscoting – which is some form of wood paneling on the walls – without the same level of effort, time, and expense.
To get the same basic look, you start by installing a chair rail, like I showed you yesterday. The chair rail and the wall below should all be painted the same color. To complete the look, you add rectangular boxes made from moulding underneath the chair rail.
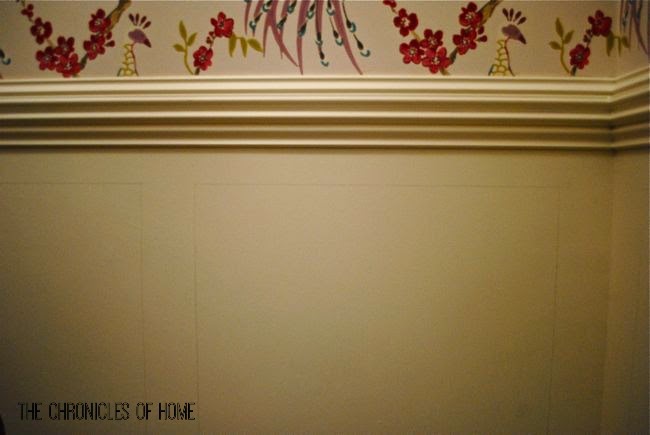
There’s no exact right way to space them, but I do think it looks best when there is uniform spacing between the boxes. I chose to space the boxes in my powder room 2″ from the chair rail and baseboard and 3″ between boxes and between the boxes and the walls.

The first thing I always do is sketch the boxes on the walls using a pencil and a level. This makes the installation so easy because you just have to nail your cut pieces right onto your pencil guidelines.
For each box, you cut your two horizontal pieces to exactly the same length (just measure your pencil lines) and your two vertical pieces to exactly the same length. Each piece of moulding needs to be cut with a 45º angle at each end, like the corners of a picture frame, and your measurement should go from longer end to longer end.
Once your pieces are cut, nail them onto the wall using a hammer and nails or an air compressor with brad nailer or pin nailer.
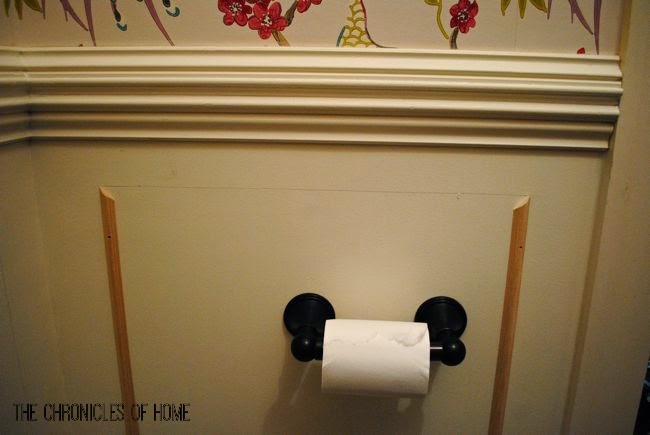
I nailed my vertical pieces to the wall first, just putting one nail toward the top of each piece to hold them in place. Then I attached my top horizontal piece completely, followed by bottom horizontal piece, followed by the remaining nails in the vertical pieces. Doing it this way gives you some wiggle to adjust the various pieces to sit flush.
When you’re finished, you’ll have something like this.
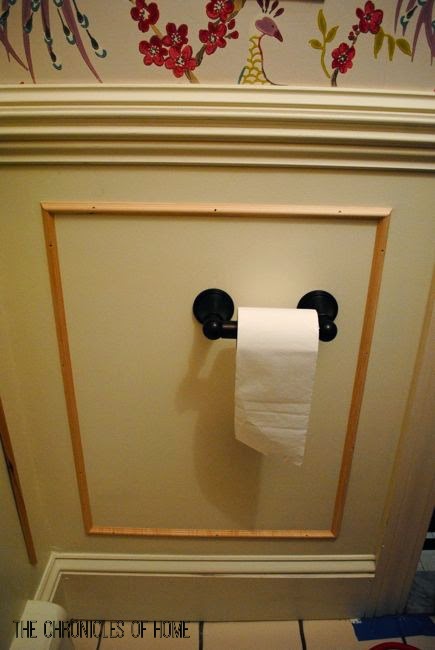
All that’s left at this point is filling nail holes, caulking any gaps, and painting the boxes to match the wall color and you will have the look of wainscoting with so much less work and for a lot less money.