The Chronicles of Home

  • Home
  • Shop
  • About
  • The Projects
    • Decorating
    • Home Improvement
    • Furniture Plans
    • Organizing
  • The Recipes
    • Breakfast
    • Appetizers and Drinks
    • Sides and Salads
    • Main Course
    • Desserts
  • The House
  • Contact
  • Disclosure & Privacy Policy


{DIY} How to Hang a Quilt

by Jennifer

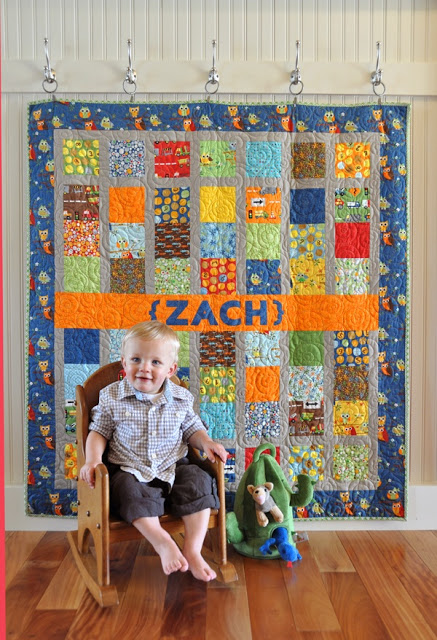
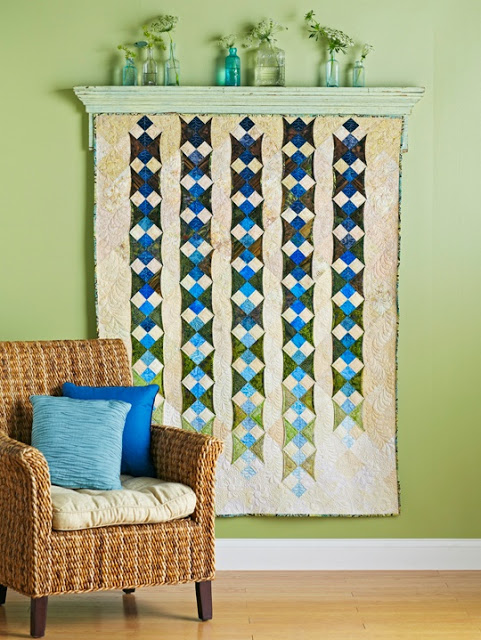
When my friend Karen recently asked me to come up with an idea for hanging a handmade quilt her sons had been given, I jumped at the chance.  My mom made a beautiful crib quilt for Ada (that later passed to Ellie) that I’ll almost certainly hang once we move Ellie out of her crib, so I was excited to research some hanging options.  I sent Karen five ideas, but my two favorites were these:

 via Pinterest
via Pinterest
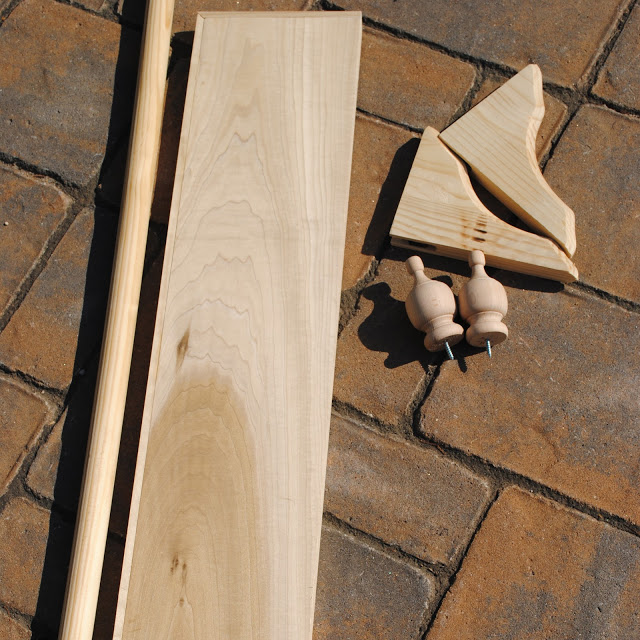
Karen liked the idea of a ledge or shelf above the quilt to hold little decorative accessories so I set out to gather up my lumber supplies: a long dowel rod for the quilt to actually hang from, a poplar board to be used as the shelf, doorstop moulding to give the edge of the shelf a finished look, two pine shelf brackets, and two finials.


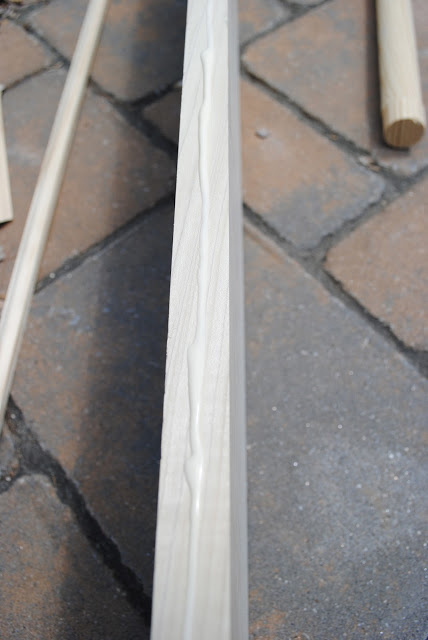
I cut the poplar board to 58″ to allow it to overhang the quilt a bit, which was 54″ wide.  The dowel rod was cut to 56″.  I then measured the width of the sides and cut the doorstop moulding with a miter saw into three segments: the front piece had a 45 degree angle at each end and the side pieces each had one 45 degree angle and one straight cut.  I ran a thin line of wood glue along the edge of the shelf and pressed the moulding into place. 
After the glue had set a bit, I used very small finishing nails to finish attaching the moulding to the shelf.  To make holes in the shelf brackets I used a paddle bit attachment for my drill that was slightly larger in diameter than the dowel rod.  A little tip I picked up here is to clamp the shelf bracket to another piece of scrap wood and drill down into the scrap to cut down on any splintering of the actual bracket.
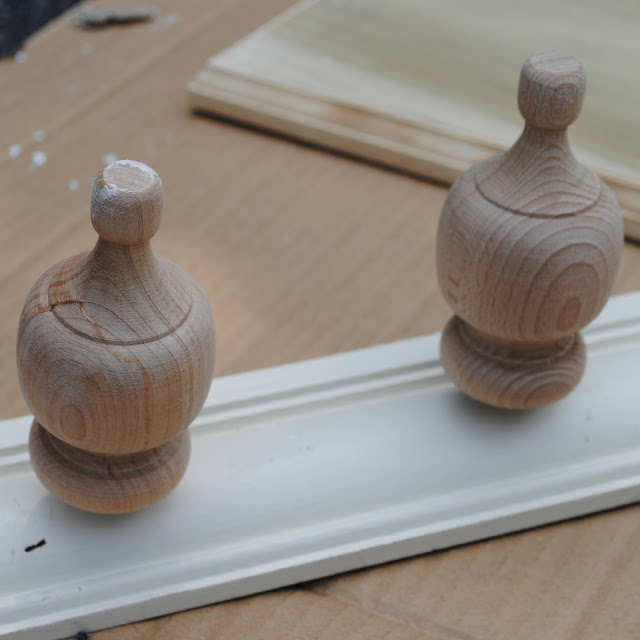
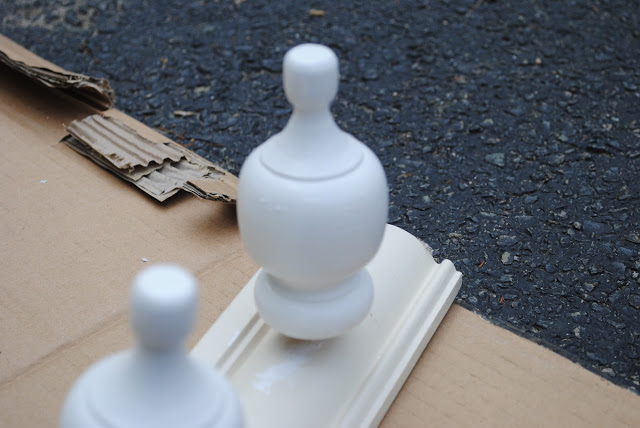
Next step was painting, which Karen had requested in white.  To make painting the finials a little easier, I screwed them into a scrap piece of moulding I had in the basement.

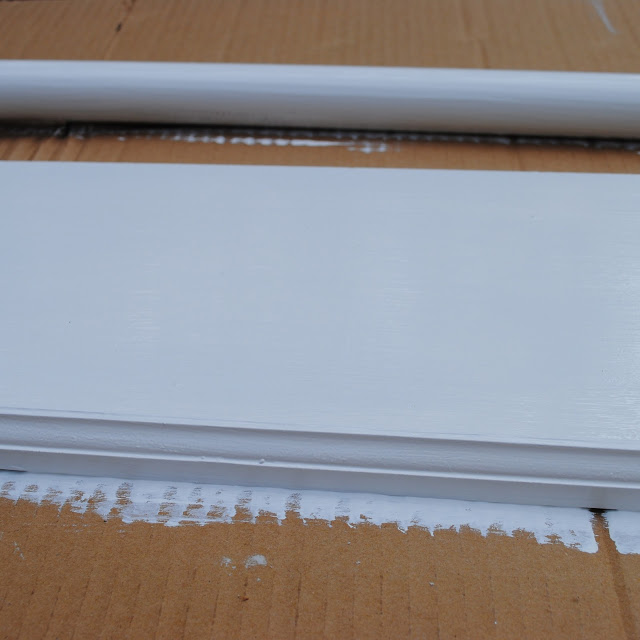
I gave everything 2-3 coats of white latex paint, with drying time in between.

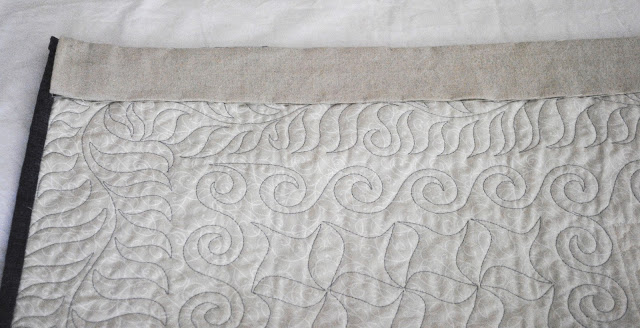
To allow the quilt to hang from the dowel rod, I needed to sew a pocket onto the back of the quilt.  I used some cotton fabric I had leftover from an old tablecloth (the same fabric I used for the underside of the Scandinavian chair I reupholstered a few weeks ago), and cut it to 56″ x 6″.  I ironed 1/2″ and then another 1/2″ on each long side and then sewed a quick straight seam down each ironed fold.  Then I flipped the fabric sleeve inside out, pinned it together, and sewed another straight seam 1″ from the edge down the entire long side of the sleeve.  After the sewing was finished I flipped it rightside out, ironed it flat with the seam facing the back, and loosely hand-stitched it to the back of the quilt.

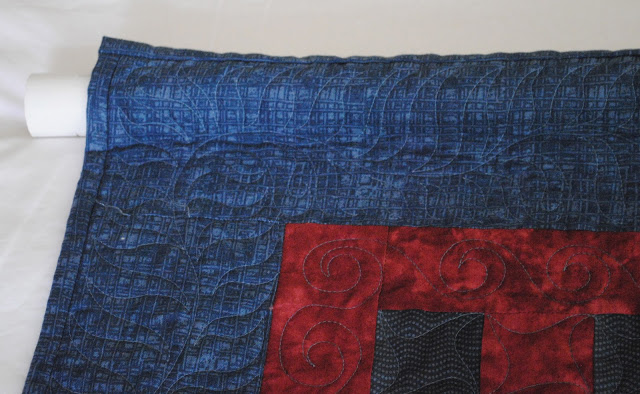
Then came time to slide the dowel rod through the pocket…except it didn’t exactly slide because I hadn’t allowed much wiggle room in my measurements for the pocket.  I was able to get it through, but in hindsight, allowing for another 1/2″ or so of width would have made this process much easier.

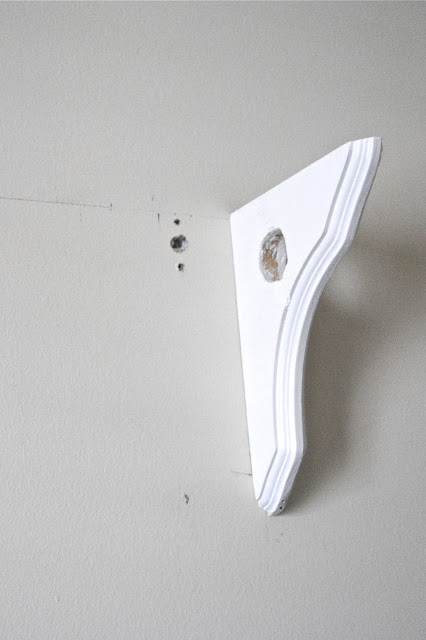
A couple days later I headed over to Karen’s house for the big install, and got there with a bag full of materials, excited and ready to put all the pieces together…and realized I’d left the quilt at home.  I thought I could get some of the pieces hung without the quilt there but messed up the spacing a bit, as you can see by the extra holes I left in her wall.  
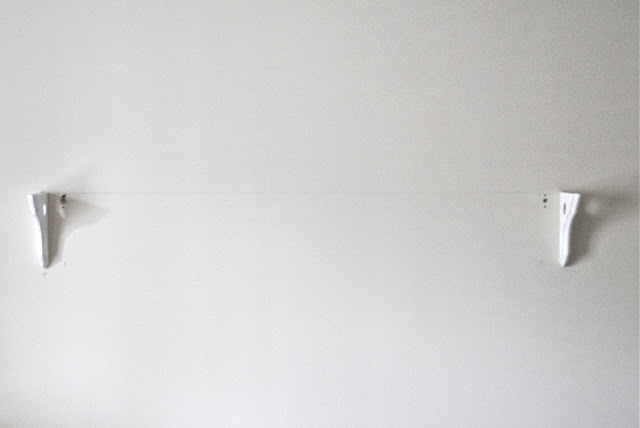
What you need to remember when hanging a quilt in this manner, and what I did not initially remember, is that the space between the brackets needs to be the same width as the quilt.  The general process for hanging is to draw a level line across the wall where you want the shelf to go.  Mark spots for your two brackets that allow enough space in between to fit the quilt.  For this particular installation, the quilt was 54″ wide so (the second time around) I spaced the inside edges of the brackets 54″ apart.  
 
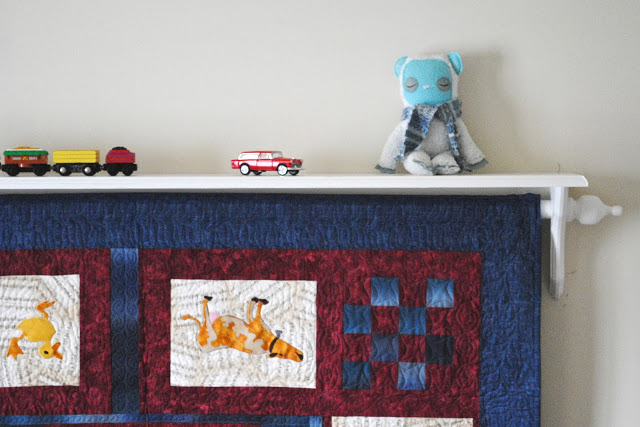
The dowel rod was 56″ so once slid through the holes in the shelf brackets (which were 1″ thick) the ends of the rod lined up with the outer edge of the brackets.  Still with me??

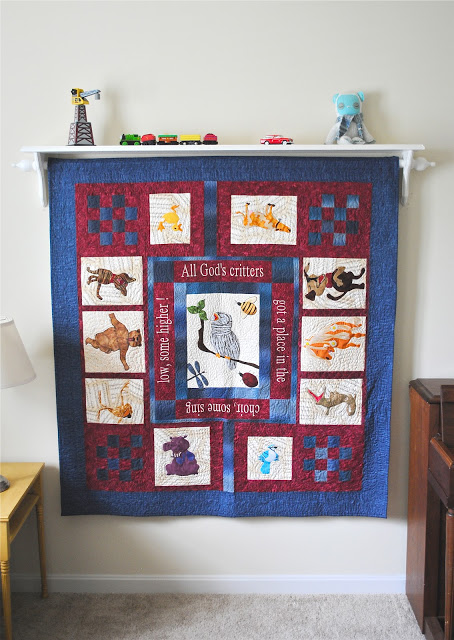
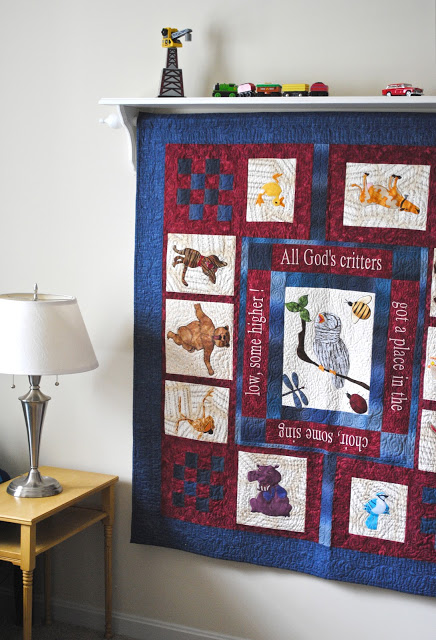
The quilt was now hung and just needed the finials screwed into the ends.  I pre-drilled guide holes in the center of each dowel rod end to make sure the finials were centered, and after twisting them in the installation was complete!


I love the way it all came out and couldn’t be happier to have helped hang this beautiful quilt for two such sweet boys.  I can’t wait to hang Ellie’s crib quilt now…how soon is too soon to move her into a bed??

Filed Under: DIY, Home and Decorating

« Watermelon Feta Bites
Herbed Greek Pasta Salad »


Comments

  1. Michael Williams says

    at

    What kind of hardware is used for the top option, with the hanging rings?


Meet Jen

I'm a design and DIY lover, decorator, modern home-maker, foodie, fashion enthusiast, and jill-of-all-trades when it comes to home improvement. I'm slowly but surely adding classic-contemporary style to my early 90's colonial home one inch at a time and I'm taking you along for the ride.

It's often messy - there are usually project remnants and toys strewn about - but the making of a home isn't always tidy work and I love showing you how you can make and style and organize your way to a home and a life you love!

Search the Chronicles of Home


AS SEEN IN


Copyright © 2023 · The Chronicles of Home · Privacy Policy

Copyright © 2023 · Foodie Pro Theme on Genesis Framework · WordPress · Log in