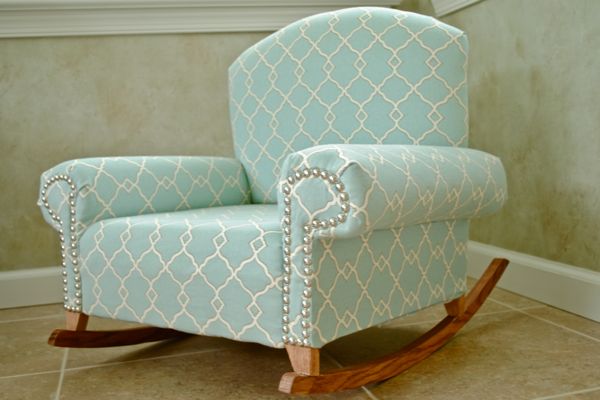
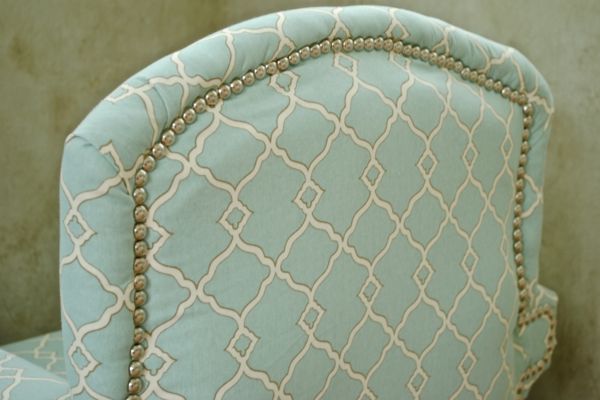
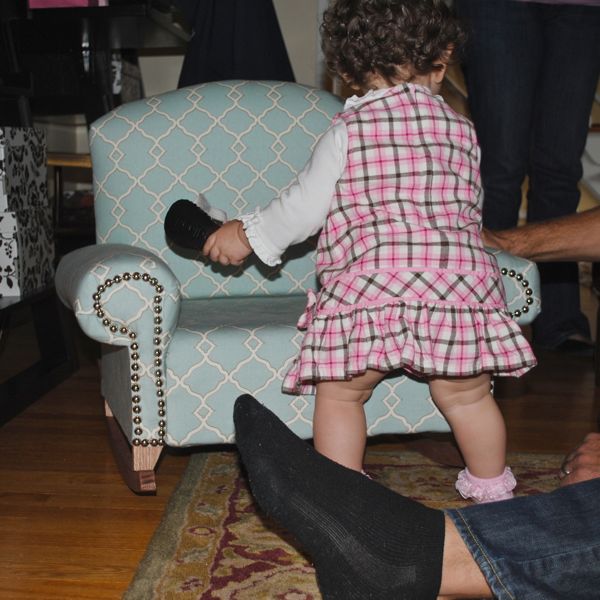
My sweet niece, Lily, tuned one on Monday. We drove to PA for the weekend to be at her birthday party on Sunday. I’ve been so excited to give her her birthday gift – a child-sized rocking chair I made from scratch, frame, rockers, upholstery, and all (the fabric is Waverly Chippendale in Mist). You may remember the little rocker I reupholstered a couple months ago. After taking that one apart and seeing how it was made I felt pretty sure I could make one myself, and pint-sized upholstered rocking chairs have become something of a first birthday tradition in my family. My mom’s grandfather was an upholsterer and made a little upholstered rocking chair for her first birthday. My parents had an exact replica made for Ada’s first birthday (you can see it in the same post detailing my reupholster of the small rocking chair linked above). And now I’ve made this one for Lily.
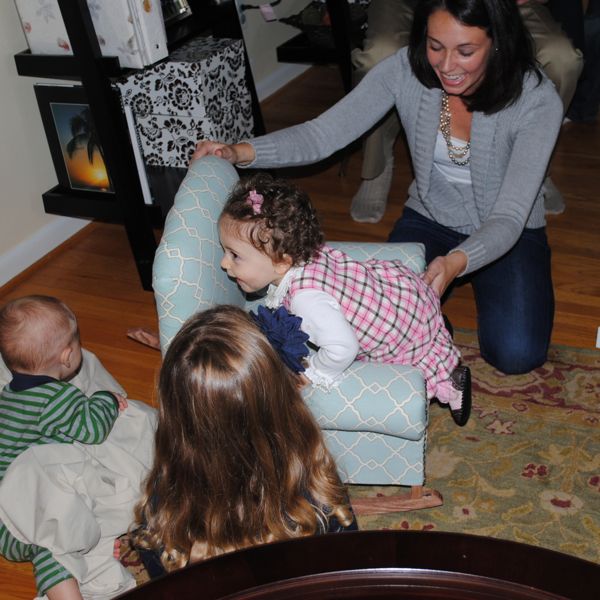
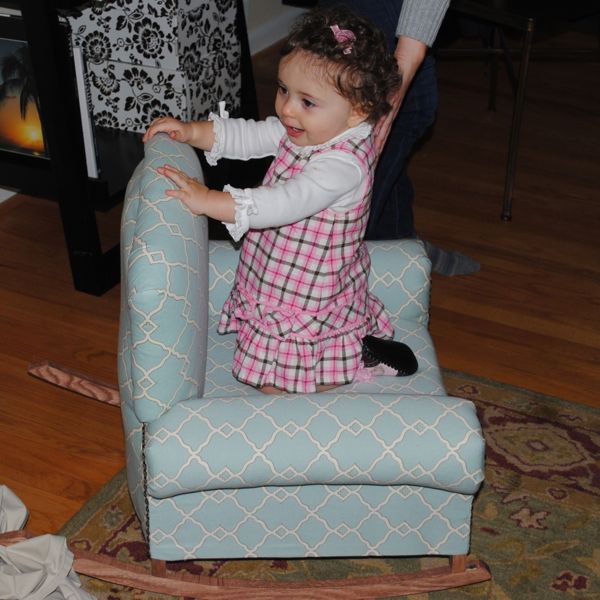
Lily jumped right up into her chair with a big smile on her face the moment it was unwrapped, which made every hour spent and every bruise and bloodied finger more than worth it.


She looks delighted! I can’t wait for the tutorial!
I hope I’ll have another chair made and tutorial up in a month or two. Probably two :)
I can’t believe you made that from scratch!!!! You are so talented. Your niece looks so excited to have her very own chair.
Thanks, Lo :) I think she loves it, which is what I was most hoping for!
WOW!!! t is just beautiful!!!!!! love the fabric and style- you are SO talented!
YOU. ARE. AMAZING. That is all.
Wow!!!!!!!
So pretty,I love your rocking chair soooo much!
Thanks, Sayuri!
Ok, shut the front door. My jaw just about dropped when I read that you made this from scratch. Are you kidding me?! It is absolutely gorgeous, the fabric is perfect, the stain you chose and the detailing. I’m seriously in awe.
The chunky legs are SO CUTE! I have a sweet little one with some seriously chunky legs too!!!! The chair is AMAZING! I am tearing apart my first slipper chair to reupholster and you’re right it’s pretty cool to see how they are made once you’re “in”. I just love the idea that you made the whole thing for her. A gift to treasure for her and keep and pass on someday!
From scratch?!! You are INCREDIBLE!! Stopping by from Design Dining and Diapers
I found this through Miss Mustard Seed’s link party. It is GORGEOUS!
Thanks for stopping by and for the nice comment Mekenzie!
This is way too stinkin’ cute! Stopping in from Jen’s link up today. Now I need to go poke around your blog some more….
This is beyond gorgeous!!! I keep scrolling back up to stare at it ( you should start a business doing just this – you’d make a killing!!! )
Definitely your newest follower – would love to have you come by and follow back when you have the time :)
Hugs,
Suzan
This is sooo cute!! I can’t wait to see the tutorial ! Thanks, iam new, came over fron Lucy
Jennifer , I read your blog everyday with my coffee, I need my daily dose of Jennifer’s bog! My jaw dropped when I saw these. My husband nd I are working on the x base stools. We love the way u wrote down the tutorial . Please submit this to apartment therapy ! U deserve to be famous ! You are one heck of a woman ! If I’m not asking to much I think I am what would be the approx dimensions of an adult rocker….
That’s so sweet, Dee, thank you! Love to hear that you’re making the x-benches. I have a little update on upholstering the tops planned for this coming Wednesday.
Dimensions for adult rockers…hmmm…this one here is a similar style and you can see the height, depth, and width dimensions. Hope it helps – http://www.landofnod.com/rockers-and-gliders/kids-furniture/attractive-american-rocker-and-ottoman/f4445
Oh my goodness! I am in love with this piece! I cant believe you MADE it! It is simply perfect. From the fabric down to nail heads. It looks like it will be enjoyed for lots of story times in the future. (And those chubby legs on that baby are just so cute! I love baby legs, and arms, and bellies) ;)
Looking forward to realy taking in your whole blog and gaining more knowledge on reupholstering.
Come by and visit if you get a chance. :)