Lesson learned here: use high-density foam when making furniture. It’s expensive, with 4″ foam usually running $69.99 a yard, but JoAnn Fabrics is pretty much always offering a 50% off coupon and I’ve made a point to never buy foam without one!
So, as much as I was groaning inwardly at the thought of redoing the top, I wanted it to be done “right.” My point in making these wasn’t to just have any old x-bench in my living room. I wanted the benches to look professionally done and the way they looked and felt kept nagging at me.
So I removed the tops from the x-leg base, pulled out all the nailheads, removed the fabric, batting, and foam, and found myself back at a bare square of plywood. The bonus for you is that I’m now able to offer you a much more detailed tutorial on how to upholster the bench tops than what I originally provided.

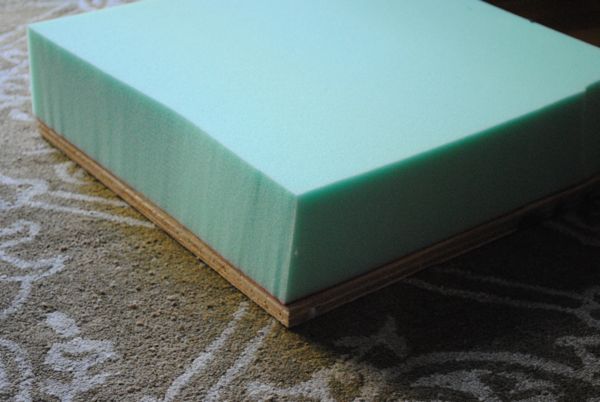
Use an electric knife to cut high density foam exactly the same size as your plywood top.
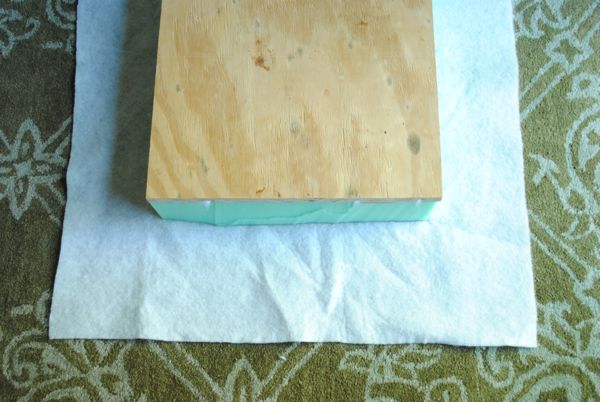
Lay a square of batting on the floor cut it about 6″ wider than the plywood on all sides. You can eyeball the measurement by laying the foam on top and cutting. It just needs to be big enough to wrap around the foam and plywood and staple to the underside of the plywood. Lay your foam on top of the batting, centered in the middle, then place the plywood on top of the foam so they line up exactly.
Pull the batting in the center of one of the sides snugly up and over the foam and plywood and use a staple gun to staple it to the plywood. Pull the batting snugly and staple on either side of the center staple, a few inches apart. Repeat for an adjacent side.
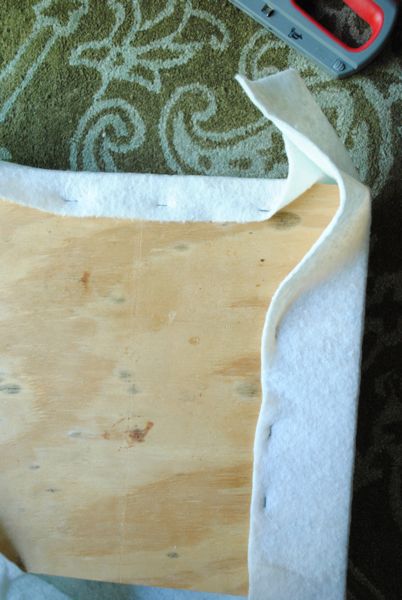
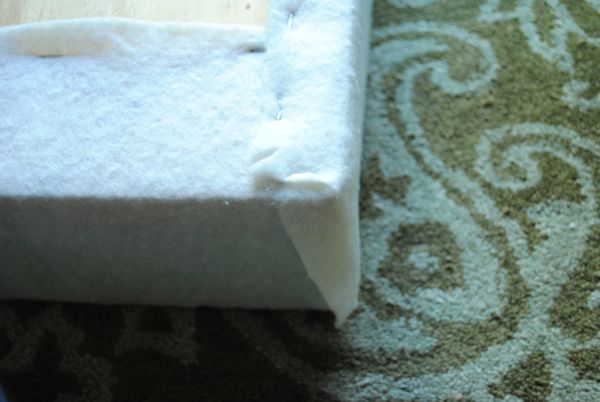
For the corner, fold one side of the batting across the plywood corner and staple.
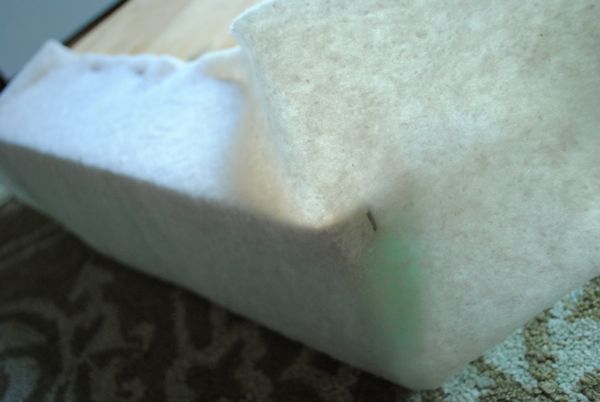
Cut excess batting away to reduce bulk and wrap corners like a present so the batting lies relatively flat. Staple in place.
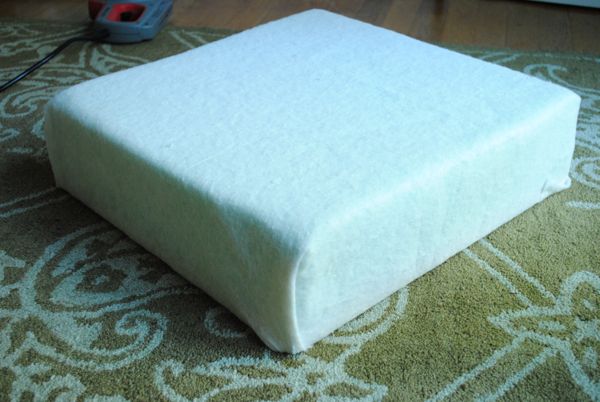
Repeat with the other sides of the batting until the whole top is neatly and snugly wrapped in the batting.
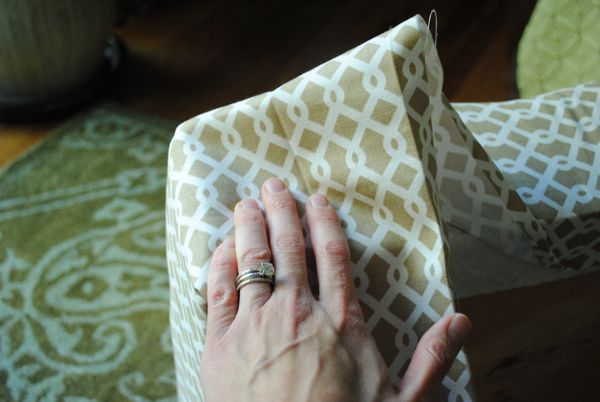
Next lay your fabric on the floor upside down and place the batting-wrapped top in the middle of the fabric, foam-side down. The fabric should be cut 6″-7″ wider than the top on all sides If you’re using a patterned fabric you’ll want to pay special attention to keeping the pattern straight and centered. As with the batting, pull the middle of one side of fabric up and over the top and staple it to the underside of the plywood. Repeat with staples on either side of the center staple and again on an adjacent side.
For the corners, wrap one side across the corner like you did with batting and staple in place.
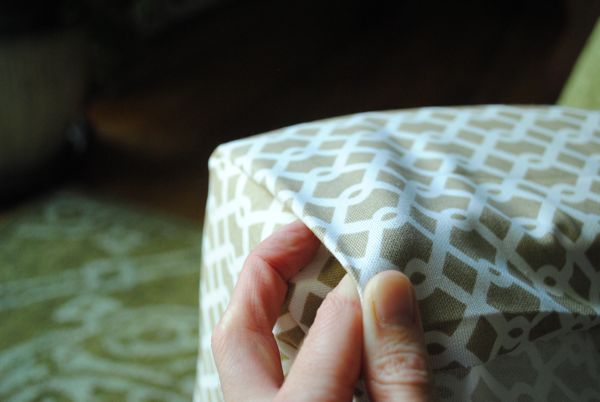
Play with folding the fabric until you get a straight smooth edge. Note where the edges will be and trim excess fabric. Be sure not to cut so much that you expose a raw edge, but take away a good bit of the extra so you aren’t left with lumpy corners.
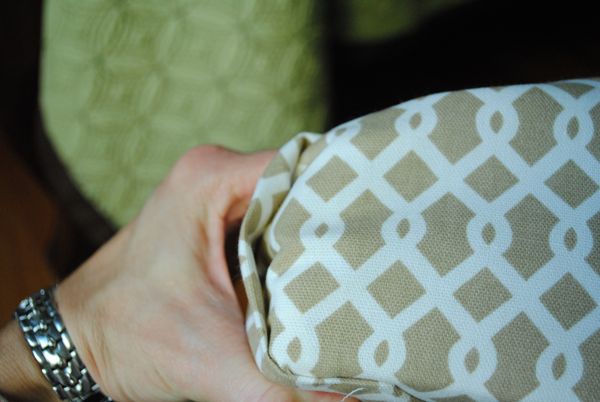
With excess fabric cut away, tuck the edge with the staple under and tuck and fold the other edge over top and pull tightly to the underside of the plywood and staple. Staple any loose fabric flat on the bottom.
*Remember to be watching your pattern as you’re stapling to keep it as straight and even as possible!
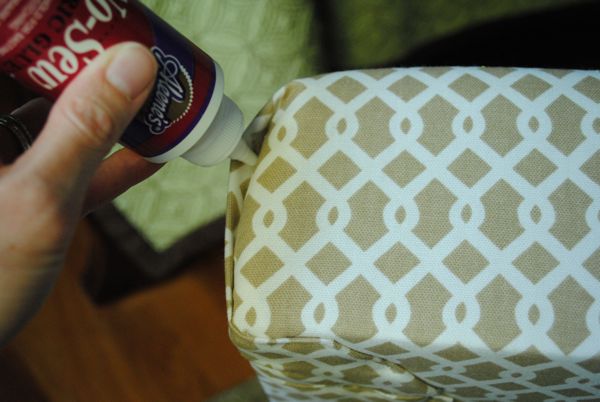
Run a hot iron over the folded edges to make sure they are as flat as can be. You can leave them as is from here, however, when someone sits on the bench the edge will bunch.
To solve this issue, I ran a line of fabric glue inside the fold and held it in place for a minute to set, then let fully dry.
I reattached my upholstered seat to the X-leg base using wood screws.
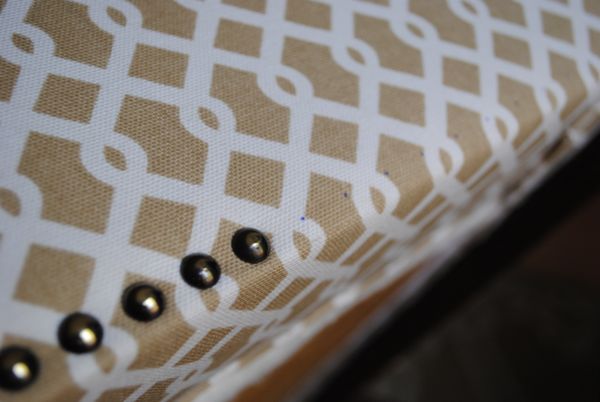
For the nailheads, I used a ruler to mark dots in a straight line every 1/2″ and then hammered them in one at a time. High quality nailheads are important because they’re less likely to warp and go crooked. I’ve had good luck with ones from Lowes and DIY Upholstery Supply.
And now, truly, I love my x-leg benches. Sometimes it’s best to cut your losses and start over to get what you really want.


I love these benches and the way you have incorporated them into the room – they look great! Thanks for providing a tutorial for both the base and upholstery. I’m going to pin this in hopes that one day I will have enough confidence to make one (or maybe two!). Can’t wait to check out the rest of your blog.
Wendy
ps. I’m visiting from Funky Junk Interiors.
Thank you so much for taking the time to write such clear and easy to follow instructions! We took this idea and applied it to our horse trailer that we are finishing out the interior of. We used a faux gator material. It turned out great! Thanks again for all the help!
Oh I love this! So glad the tutorial helped you – this looks great!!