Well now…that was an awfully long silence on the how-to-build-a-deck front, wasn’t it? If you’re just joining me, you can catch up on how my husband and I have gone about building a Trex deck in our backyard here, here, and here. In my last update, I mentioned that my parents and their friend (a veteran contractor) came up for a weekend this past summer to help us with the building of the frame and the laying of the boards. It was a tremendous help to have that many hands (and one expert mind). My mom really made it all possible by doing all meal prep and childcare while we were working too, and I know from experience how little I would have accomplished had she not been there to take over all of those things!
Now about those boards – this is the fun part. This is where the grunt work suddenly seems totally worthwhile because you really start to see things come together. There is some measuring and cutting but this part also goes pretty quickly thanks to the two different fastening systems that you can use with a Trex deck.
First, Cortex hidden fasteners are used on the perimeter boards. You use the included drill bit to drive a screw (included) through the boards and down into the joist underneath, and it leaves the perfect-sized hole for these tiny plugs that match the decking exactly. They are all but invisible once the plugs are hammered in. I thought this was just the coolest thing. One or two screws should go into each joist along the length of a board.

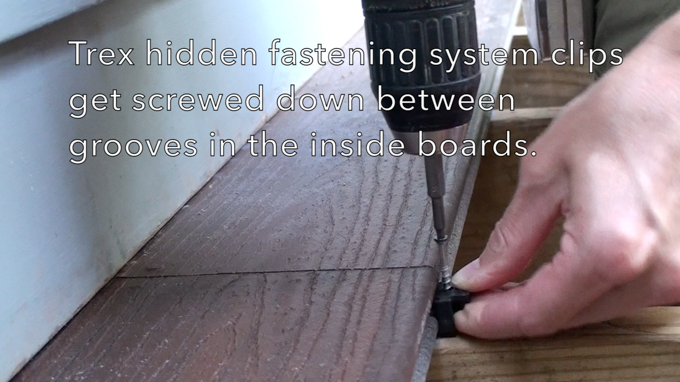
The sides of the interior boards have grooved edges (perimeter boards have smooth edges). Trex’s universal clips fit right into the grooves, so you hold the clip up against the grooved edge and screw the included screw into the joist below, again repeating at every joist.
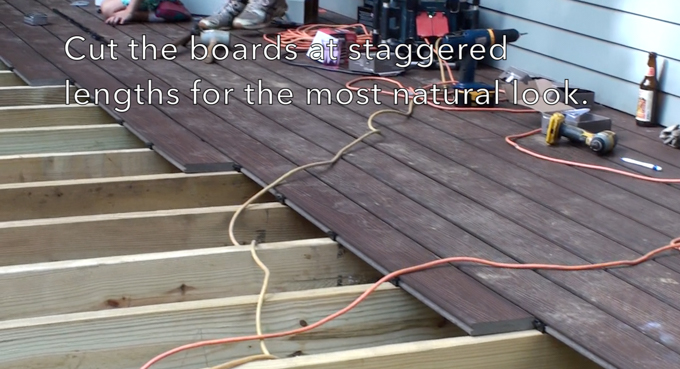
Boards should be cut at staggered lengths for the best finished look.
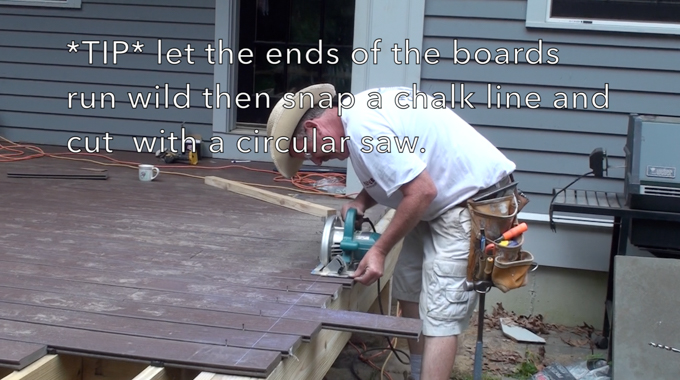
One of my favorite decking terms was “let them run wild,” which means the boards at the ends don’t have to be cut to an exact length. Instead, let them run a little long and then when most or all are fastened, use a chalk line (super inexpensive and the best way to get a perfectly straight line on anything big) to snap a straight line and then cut along the line with a circular saw (this is the one I use – great all-purpose circular saw).
At this point we were getting so excited to see things starting to look like a real deck that a spontaneous dance party broke out.
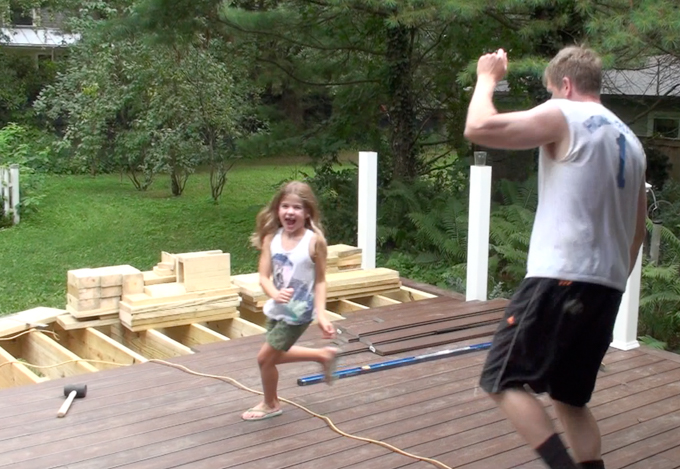
The video does the dance party better justice, and also helps to show how the installation steps above really work. Check it out here, and be sure to click over to YouTube and subscribe to my channel there if you have a minute!
You can also see in the video the large excavated space next to the deck…surprise! We’re also building a patio! We wound up bumping that project up on the priority list because the deck steps will go right down on top of the patio pavers so it really was the best time to get that moving. Problem is, the ground freezes around here by November 1st, so we only have a few weeks left to work on things and then we’ll finish up both the patio and the deck sometime after April 1st, when the ground tends to thaw again. It’s a long winter, my friends. But man, am I excited to use these outdoor spaces next spring and summer and to finally, after all this time and all this work, show you how they look fully completed.


What does your hubby say when you get styled and talk in front of the camera? So so good.
Oh he is usually not here when I’m filming ;) I’m starting to feel less awkward about it, but no question it still feels a little odd to talk to basically no one!
I LOoooooooooOOOOOOOve it so much too!! Holy crap Jen! I was not seeing the final product until those last panning shots! Holy smokes it is so gorgeous! And I want you guys to hurry and finish all the railing so I can see it all done! Snap to it! ;) Also the video of the dance party was adorable. :)
You’re the best, thanks! This made me laugh, I love when I can actually hear you inside my head when I’m reading a comment! I am so excited to have it done!!! Why does it have to get so cold here in the winter and shut down all outdoor projects?!
Amazing!!! I can’t believe you guys BUILT THAT!!!! Next summer’s going to be so great!!
I’m not going to lie, I kind of like nonchalantly saying, “Oh, the deck? Yes, we built it.” ;)
Is it weird, that I just watched that video not because I want to learn how to build a deck, I just wanted to see my friend! hee, hee
Nope, not weird, just the nicest thing! Thanks! :)