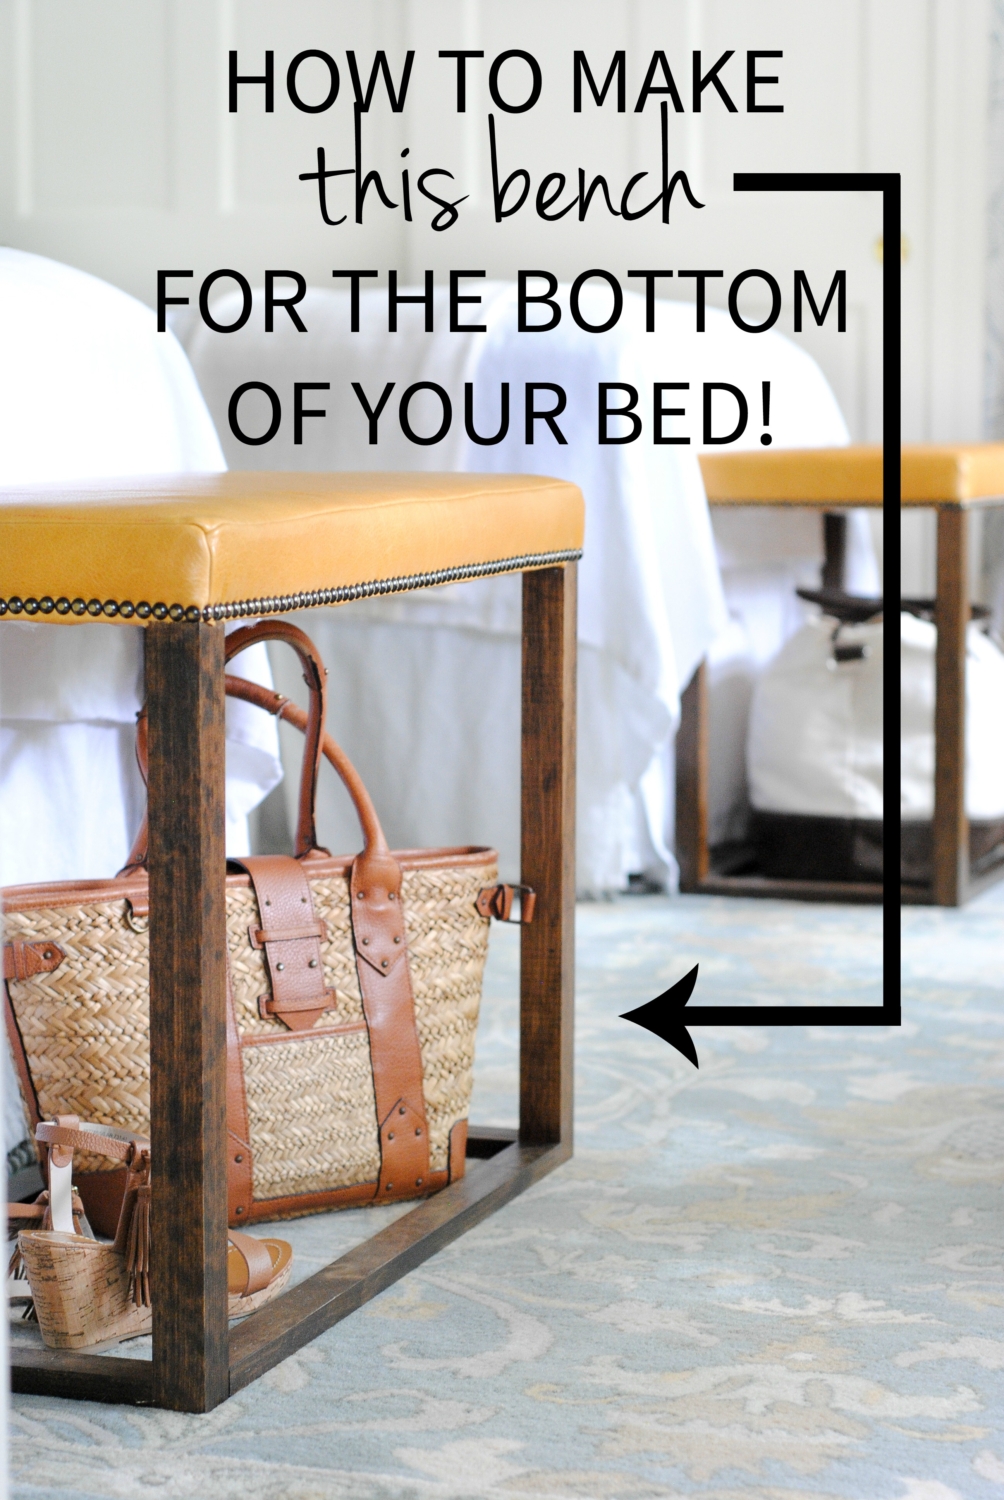
I am really in the home stretch now with the guest room makeover I’ve been working on the past few months! The latest addition is a DIY bedroom bench with leather upholstery at the bottom of each bed. I love the look of a bench at the bottom of a bed when there’s no footboard. I think it just really completes the look.
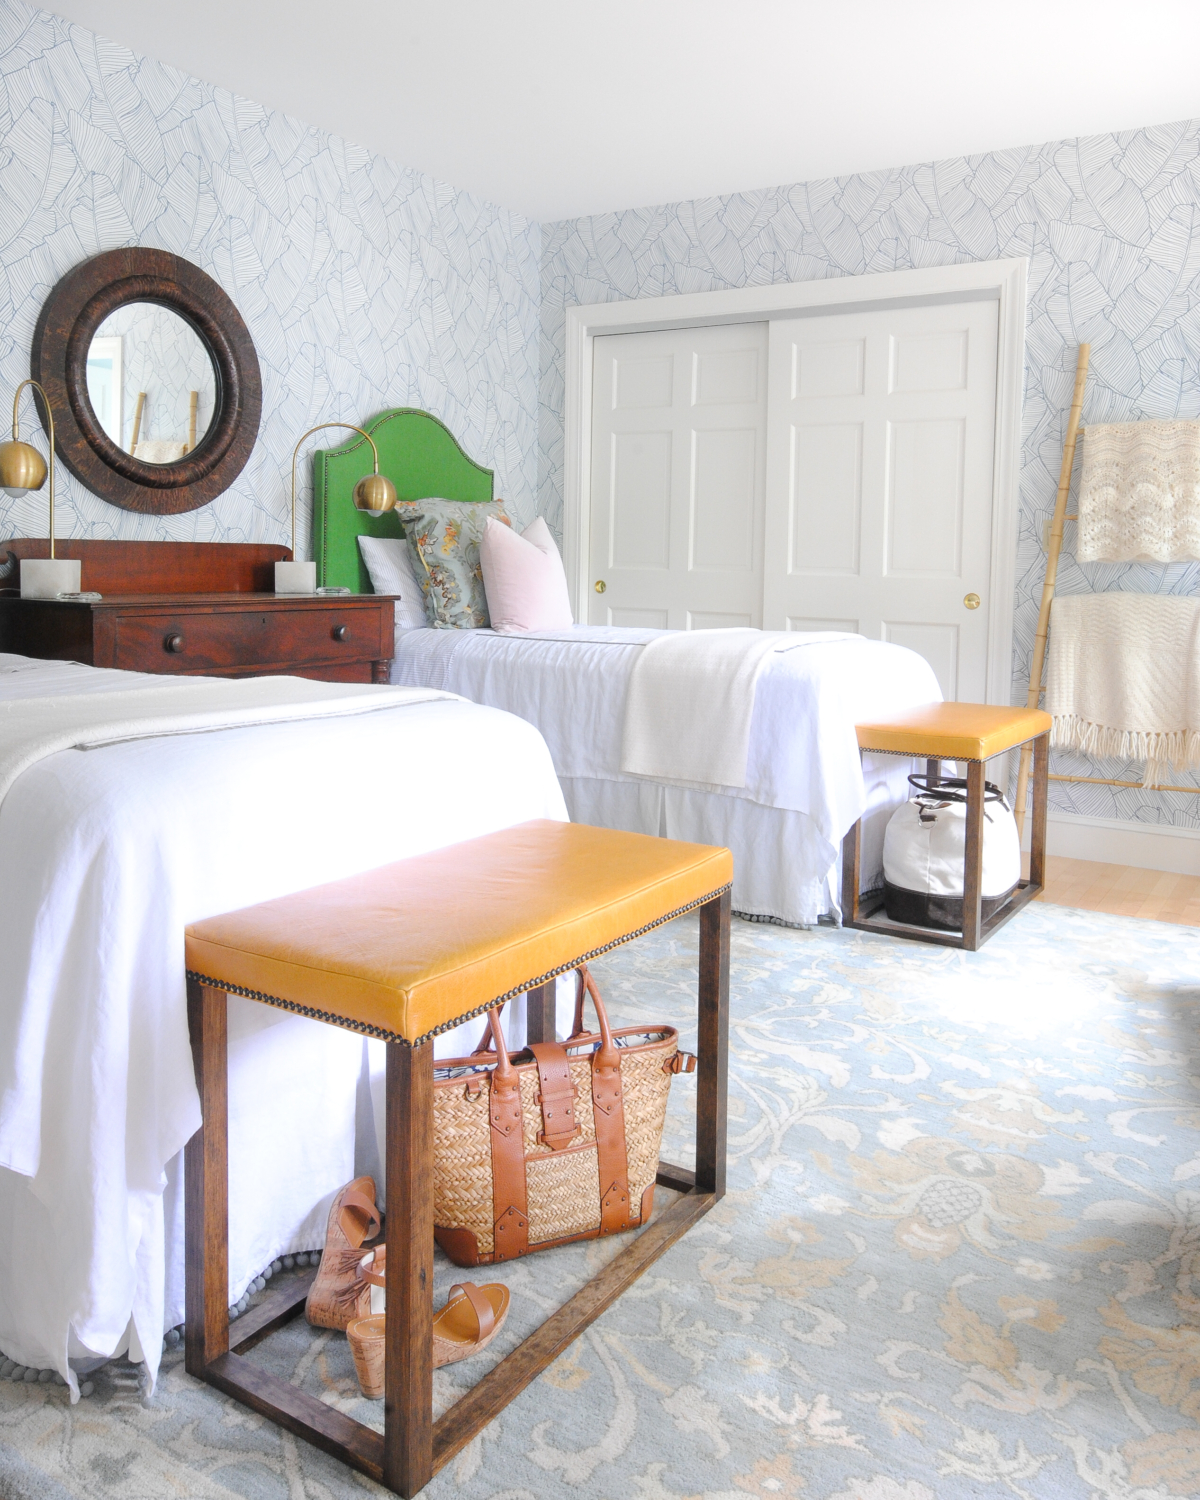
Now that the benches are finished there are only a handful of minor pieces left until I will walk away from this room and consider it truly complete. I find the room really dark at night with just the two bedside lamps so I want to add a floor lamp for some extra light. I have a big, gorgeous piece of artwork arriving this week that I can’t wait to hang and share with you. And I’m feeling like the DIY bamboo blanket ladder, which I moved into the guest room a couple months ago, is looking a bit crowded now with the benches at the bottoms of the beds. So I may swap that out for a full-length mirror.
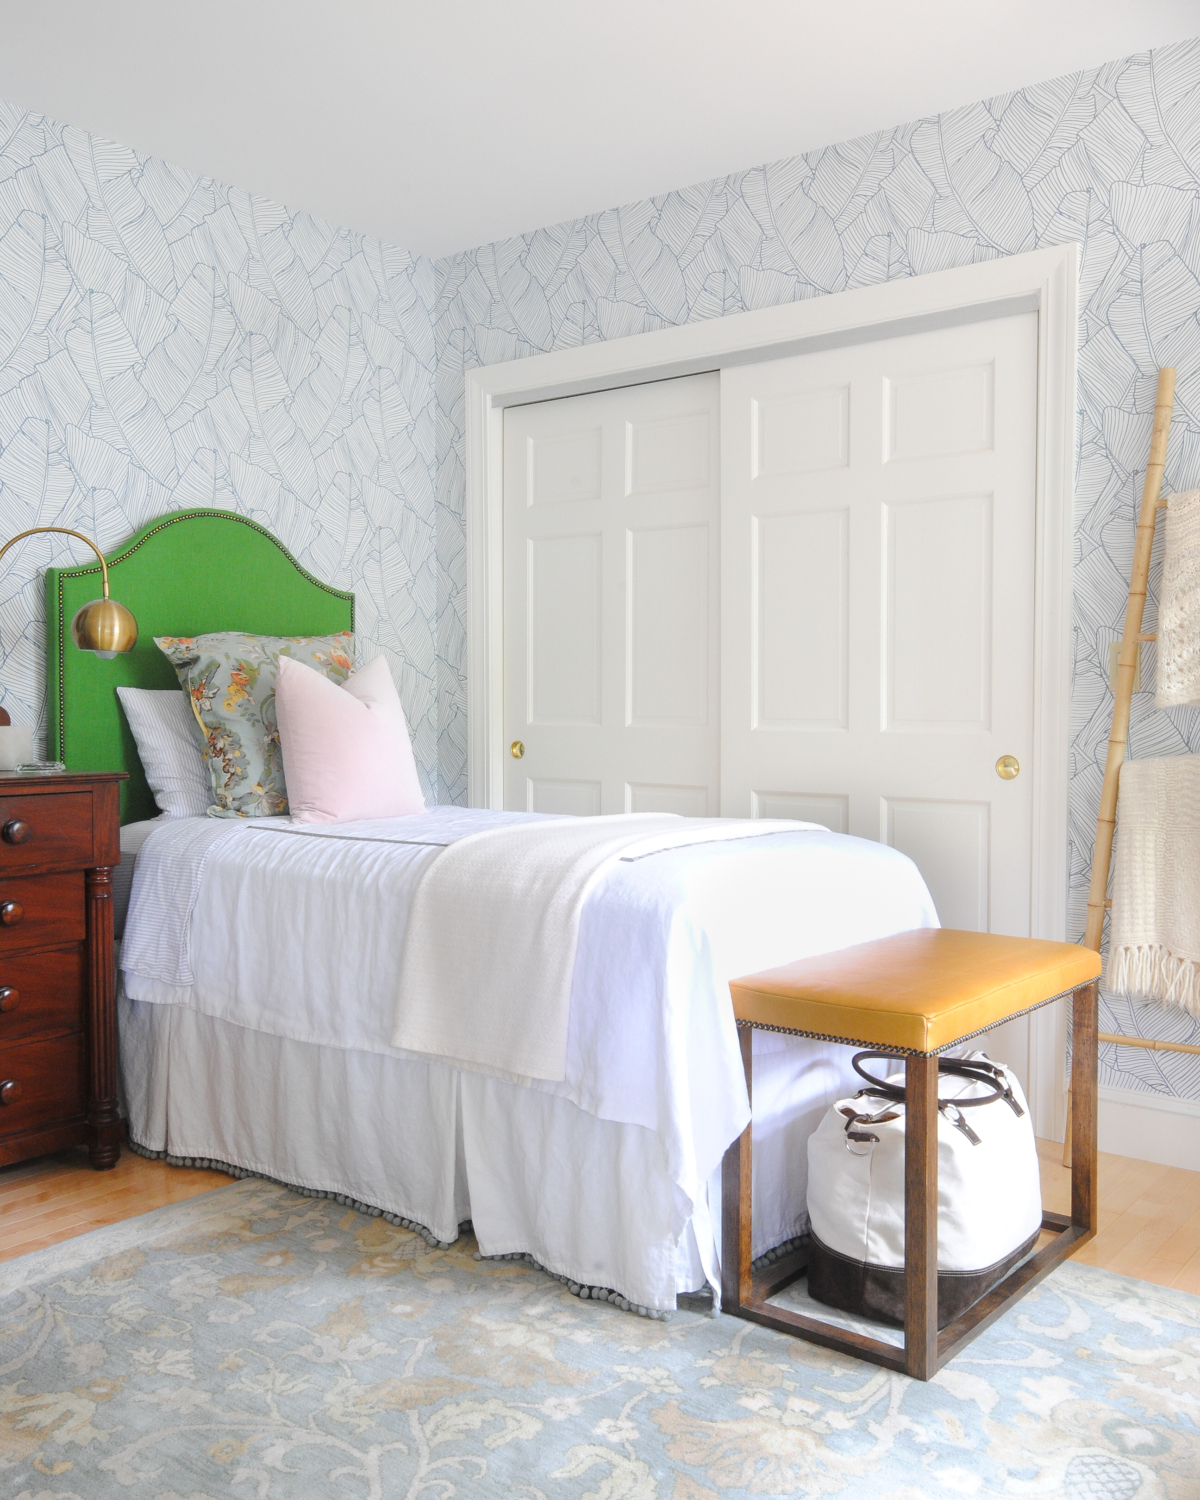
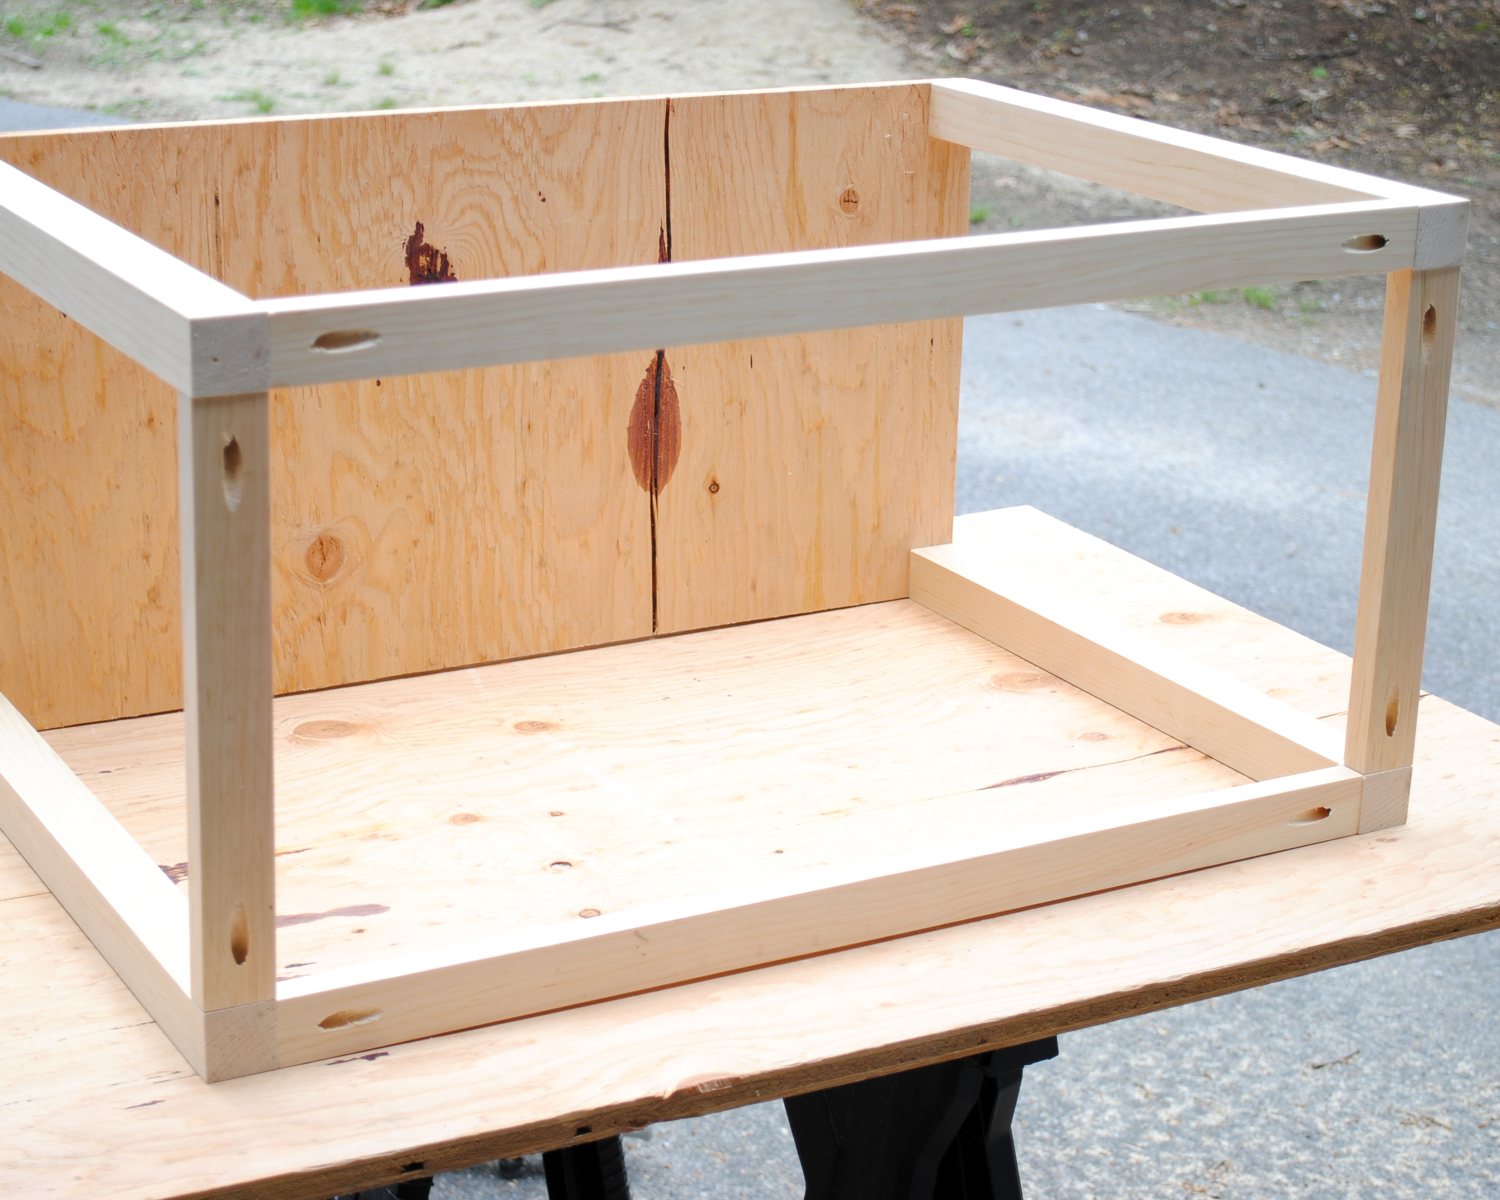
I had originally planned for benches with an X shape between the four legs but decided to make an open frame shape instead to allow for bag storage when we have guests.

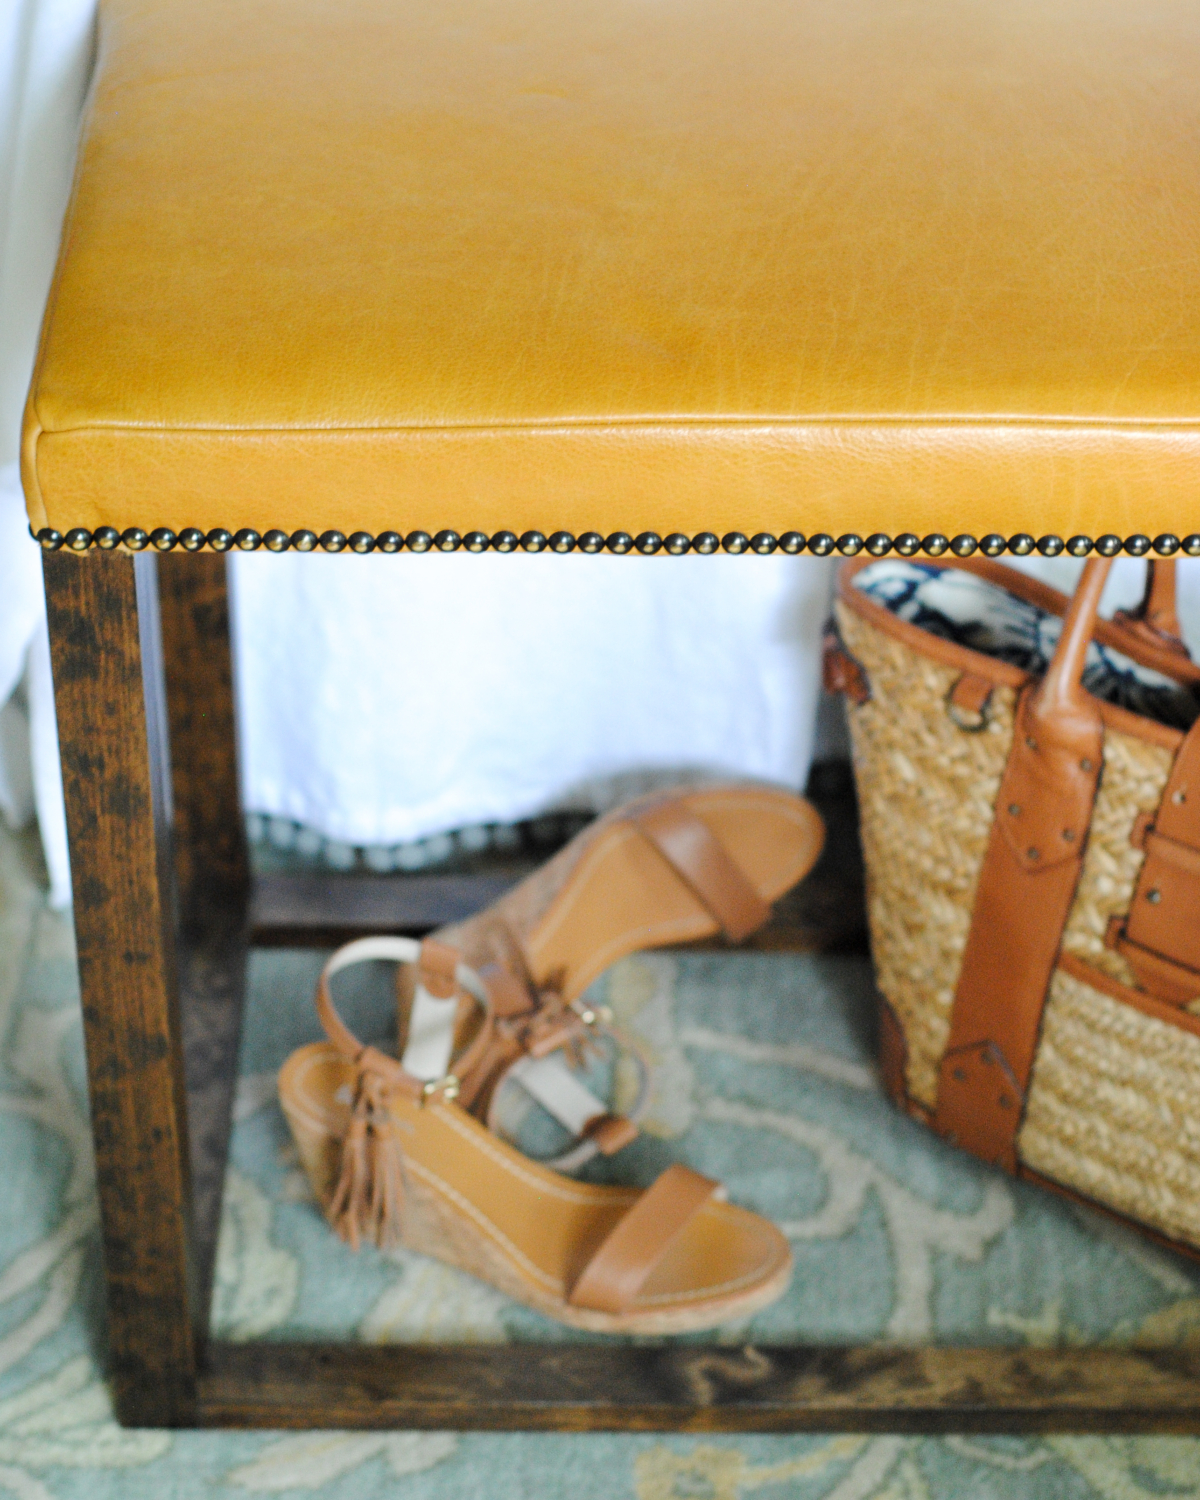
The leather I used for the top is a gorgeous, buttery, deep yellow shade from Leather Hide Store. This particular remnant was the Deep Marigold color, but that shade doesn’t appear to be available anymore. There are still loads of beautiful leather colors from which to choose, though. I’ve worked with leather from Leather Hide Store before (see the DIY Moroccan leather pouf I made here) and I can’t recommend them enough. Their leathers are really outstanding quality and the customer service is excellent.
I made these benches a bit tall because of the height of the beds, so if you have lower beds, you’ll want to modify the measurements I give below. Remember that these benches are meant for twin beds too, so you’ll need to make the top longer for a larger bed. All measurements and materials here are for one bench – I made two for the two twin beds in the guest room.
Materials
- 3/4″ plywood
- Circular saw
- One 8′ select pine 2×2
- One 8′ select pine 1×2
- Miter saw
- drill and small drill bit (otpional but recommended)
- 2″ wood screws
- Kreg Jig
- 1″ pocket hole screws
- Minwax Dark Walnut stain
- foam brushes
- paper towels
- Water-based polyacrylic
- electric knife
- 2″ high density foam
- Upholstery spray adhesive
- Bonded dacron batting
- Upholstery staple gun (you need an air compressor for this one)
- Leather
- Sewing Machine
- Nailheads
- Hammer
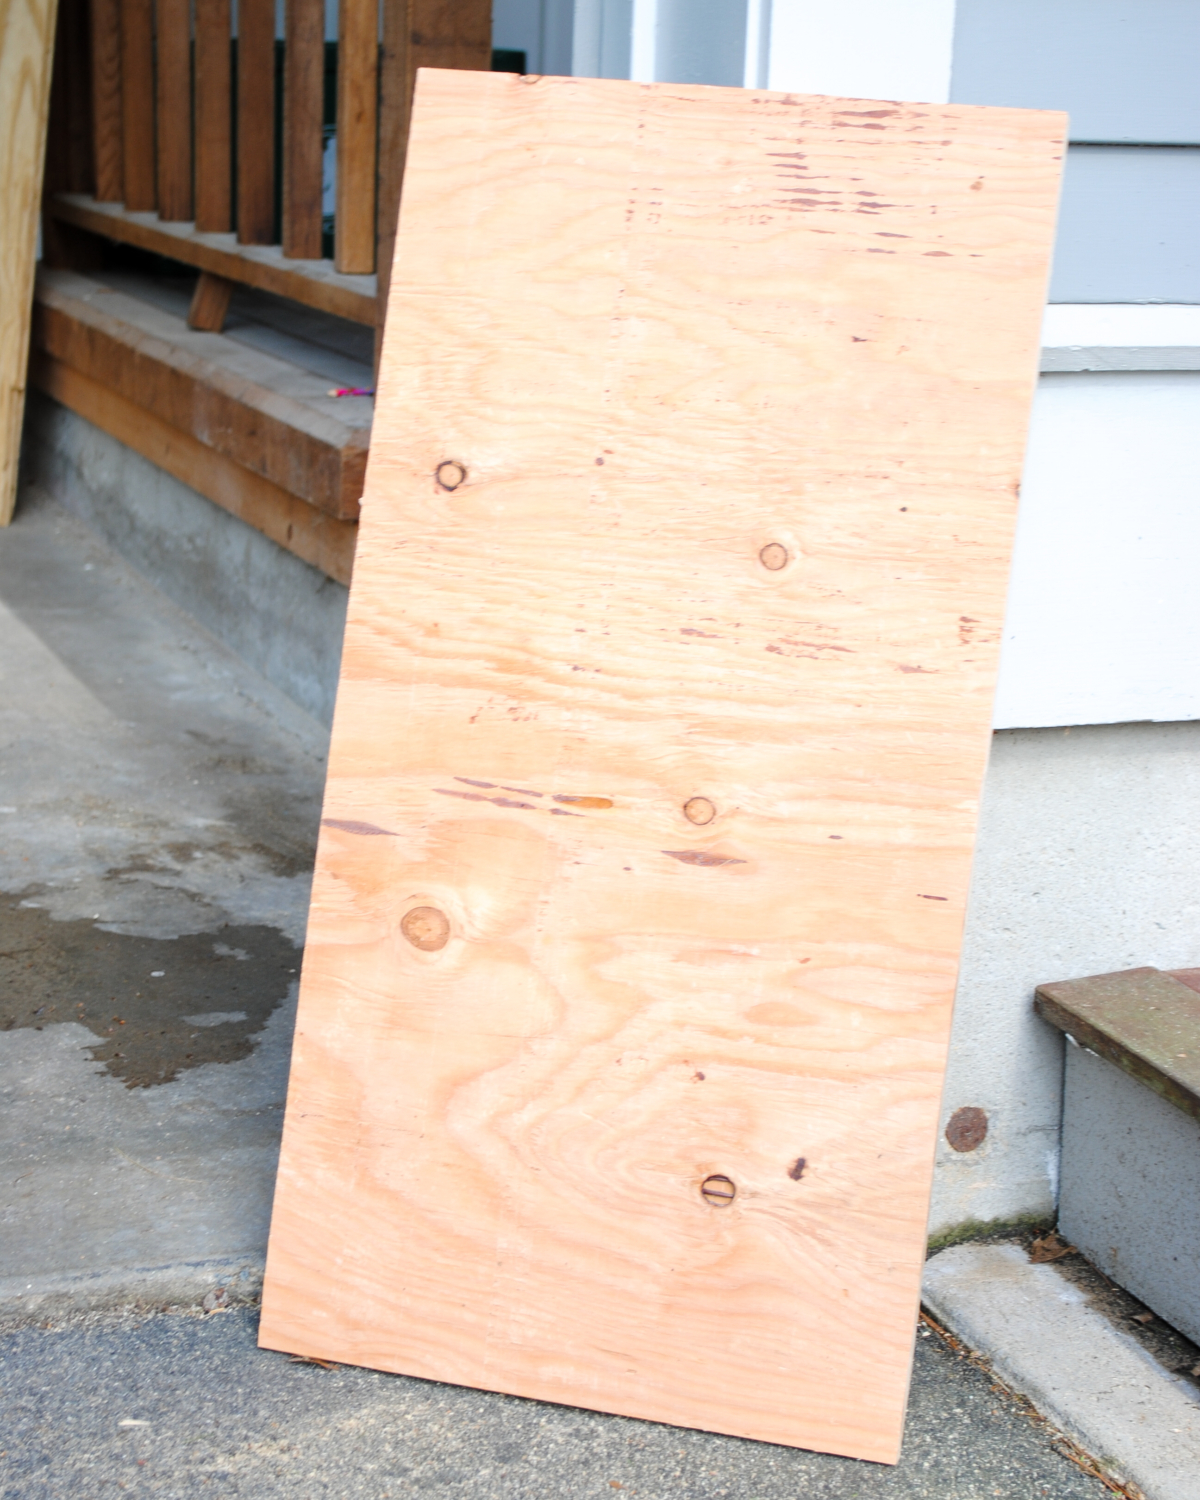
To start, use a circular saw to cut a piece of plywood that measures 15″x30″.
Then use a miter saw to cut the 2×2 into four pieces, each 20″ long. Attach to the piece of plywood at the corners using 2″ wood screws – make sure to line up carefully so the legs sit flush with the sides of the plywood. It helps to drill pilot holes first using an electric drill and small drill bit.
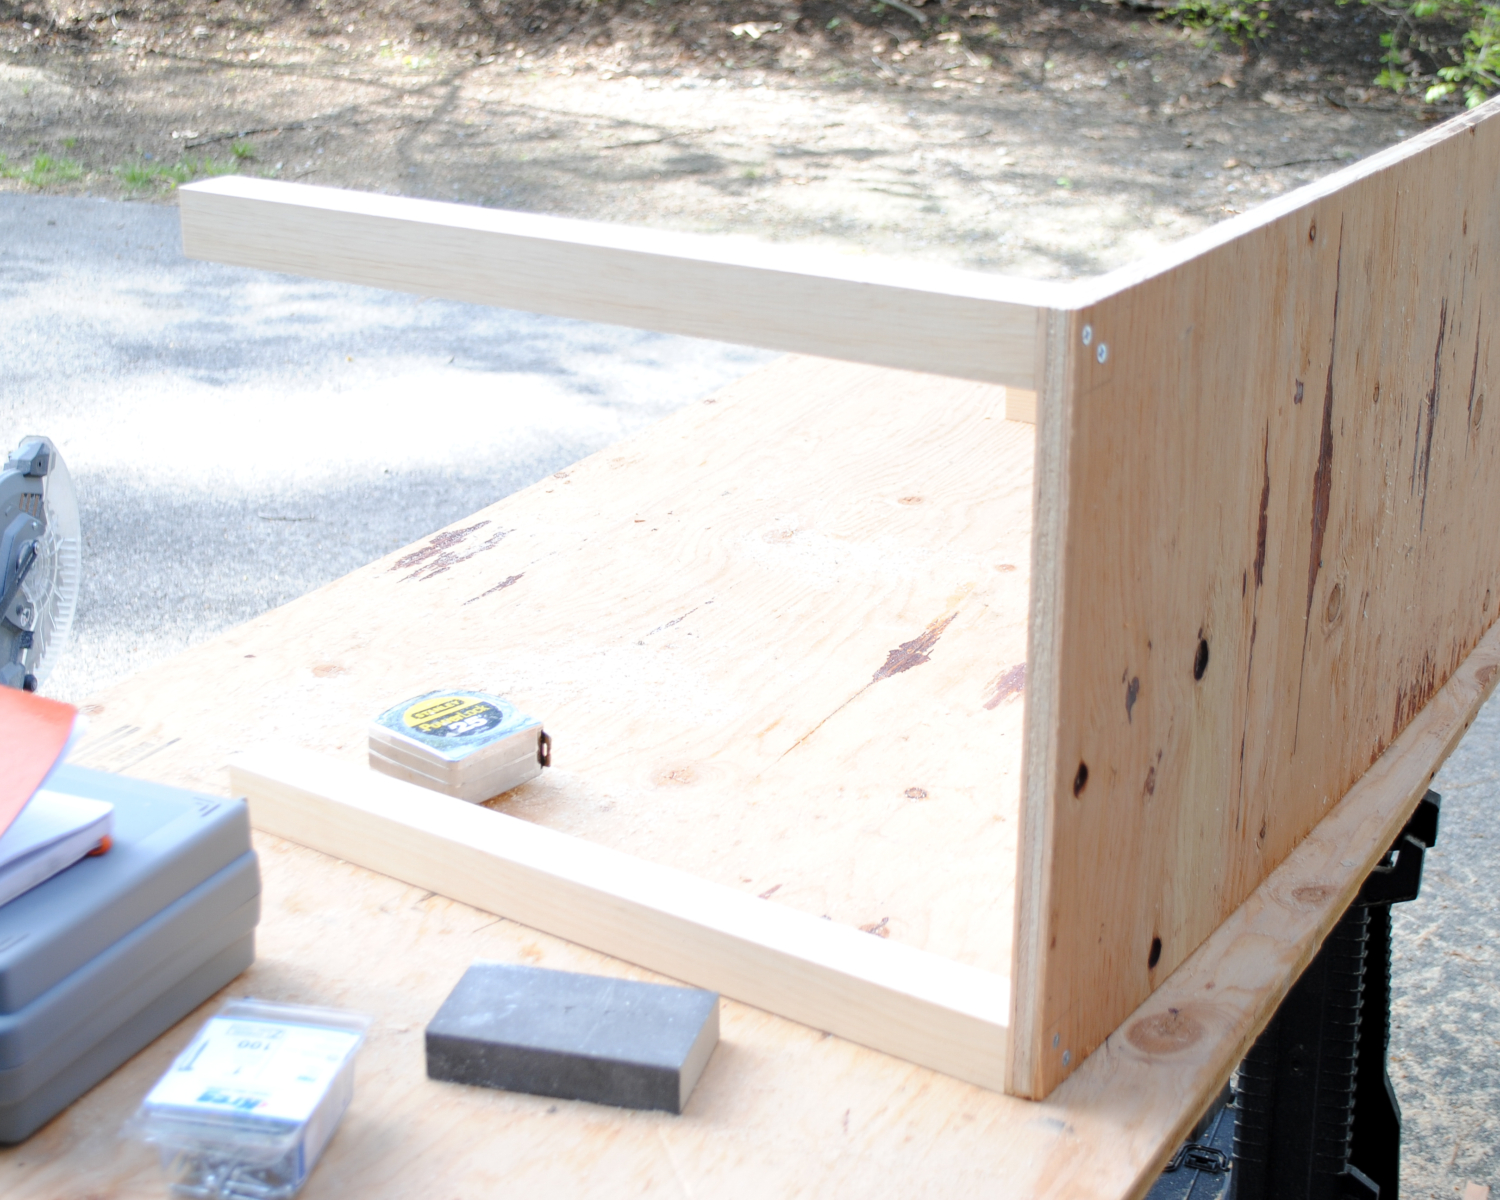
Cut the 1×2 into four pieces – two at 27″ long and two at 12″ long. Use a Kreg Jig to drill pocket holes at each end of the 1×2 pieces. Attach to the legs using 1″ pocket hole screws.
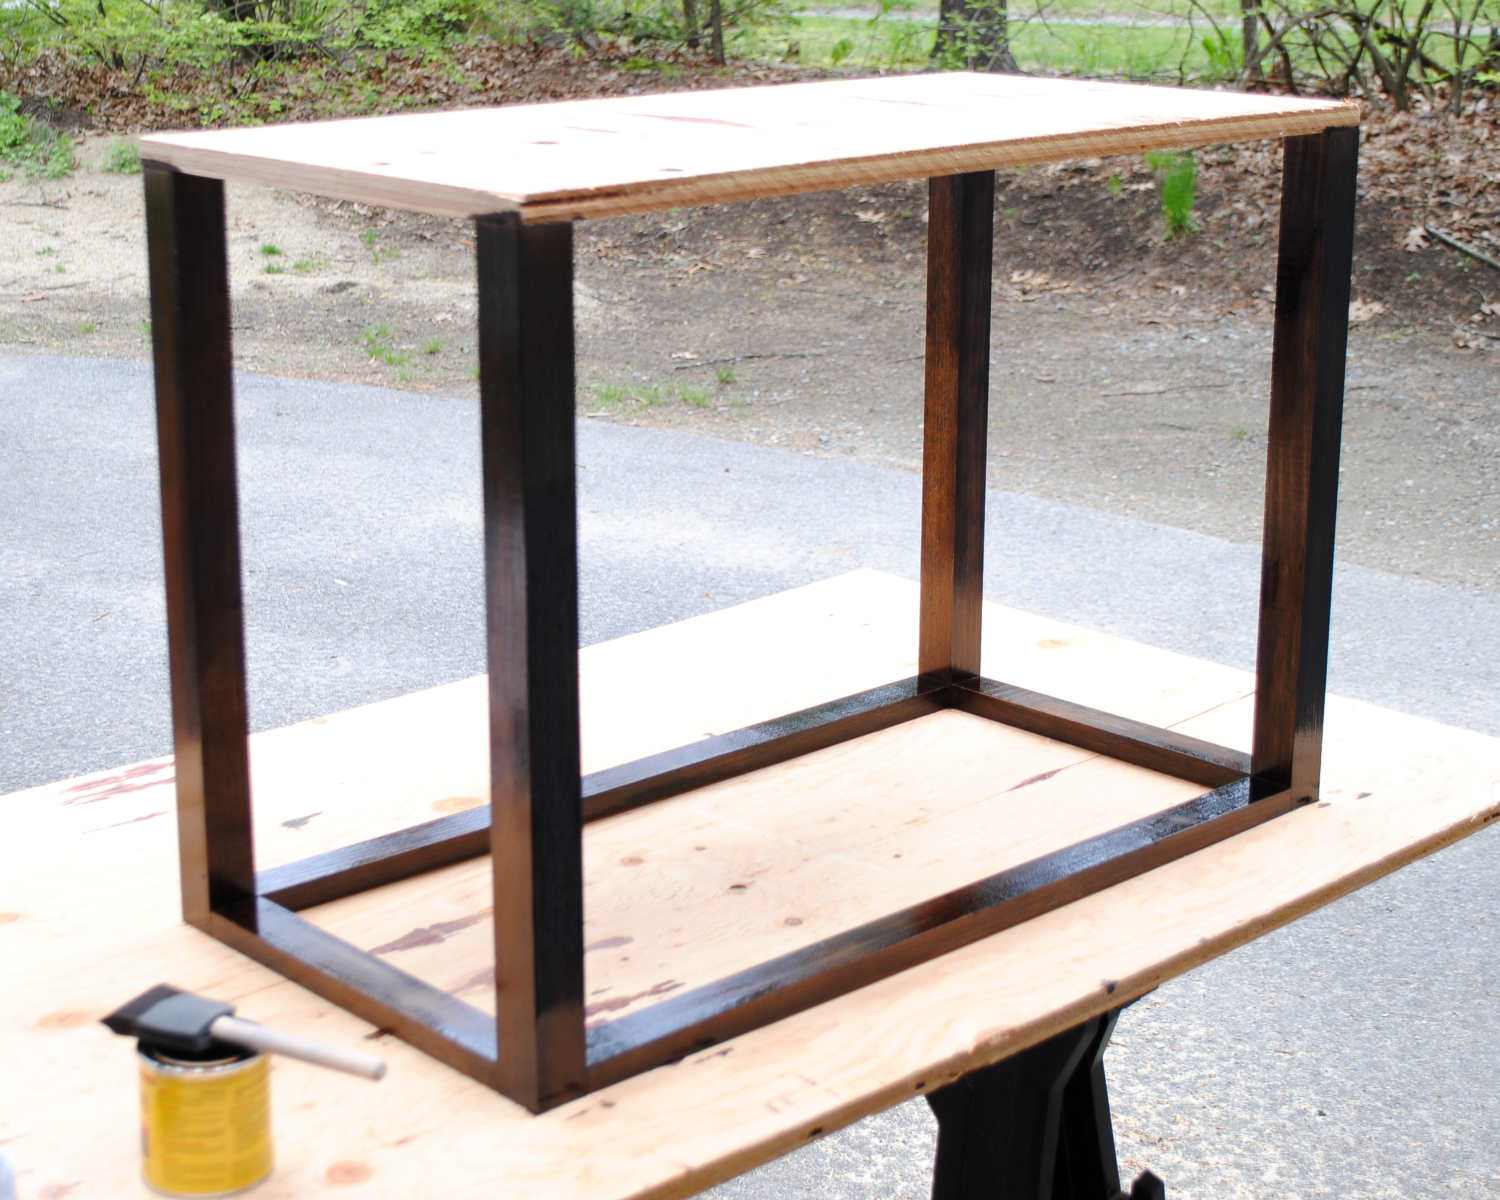
Stain the legs with Minwax Dark Walnut – I brushed all over with a foam brush then went back and wiped away any excess with paper towels. Let dry for the length of time recommended on the can then follow with at least two coats of polyacrylic, again following the directions on the can for drying time in between coats.
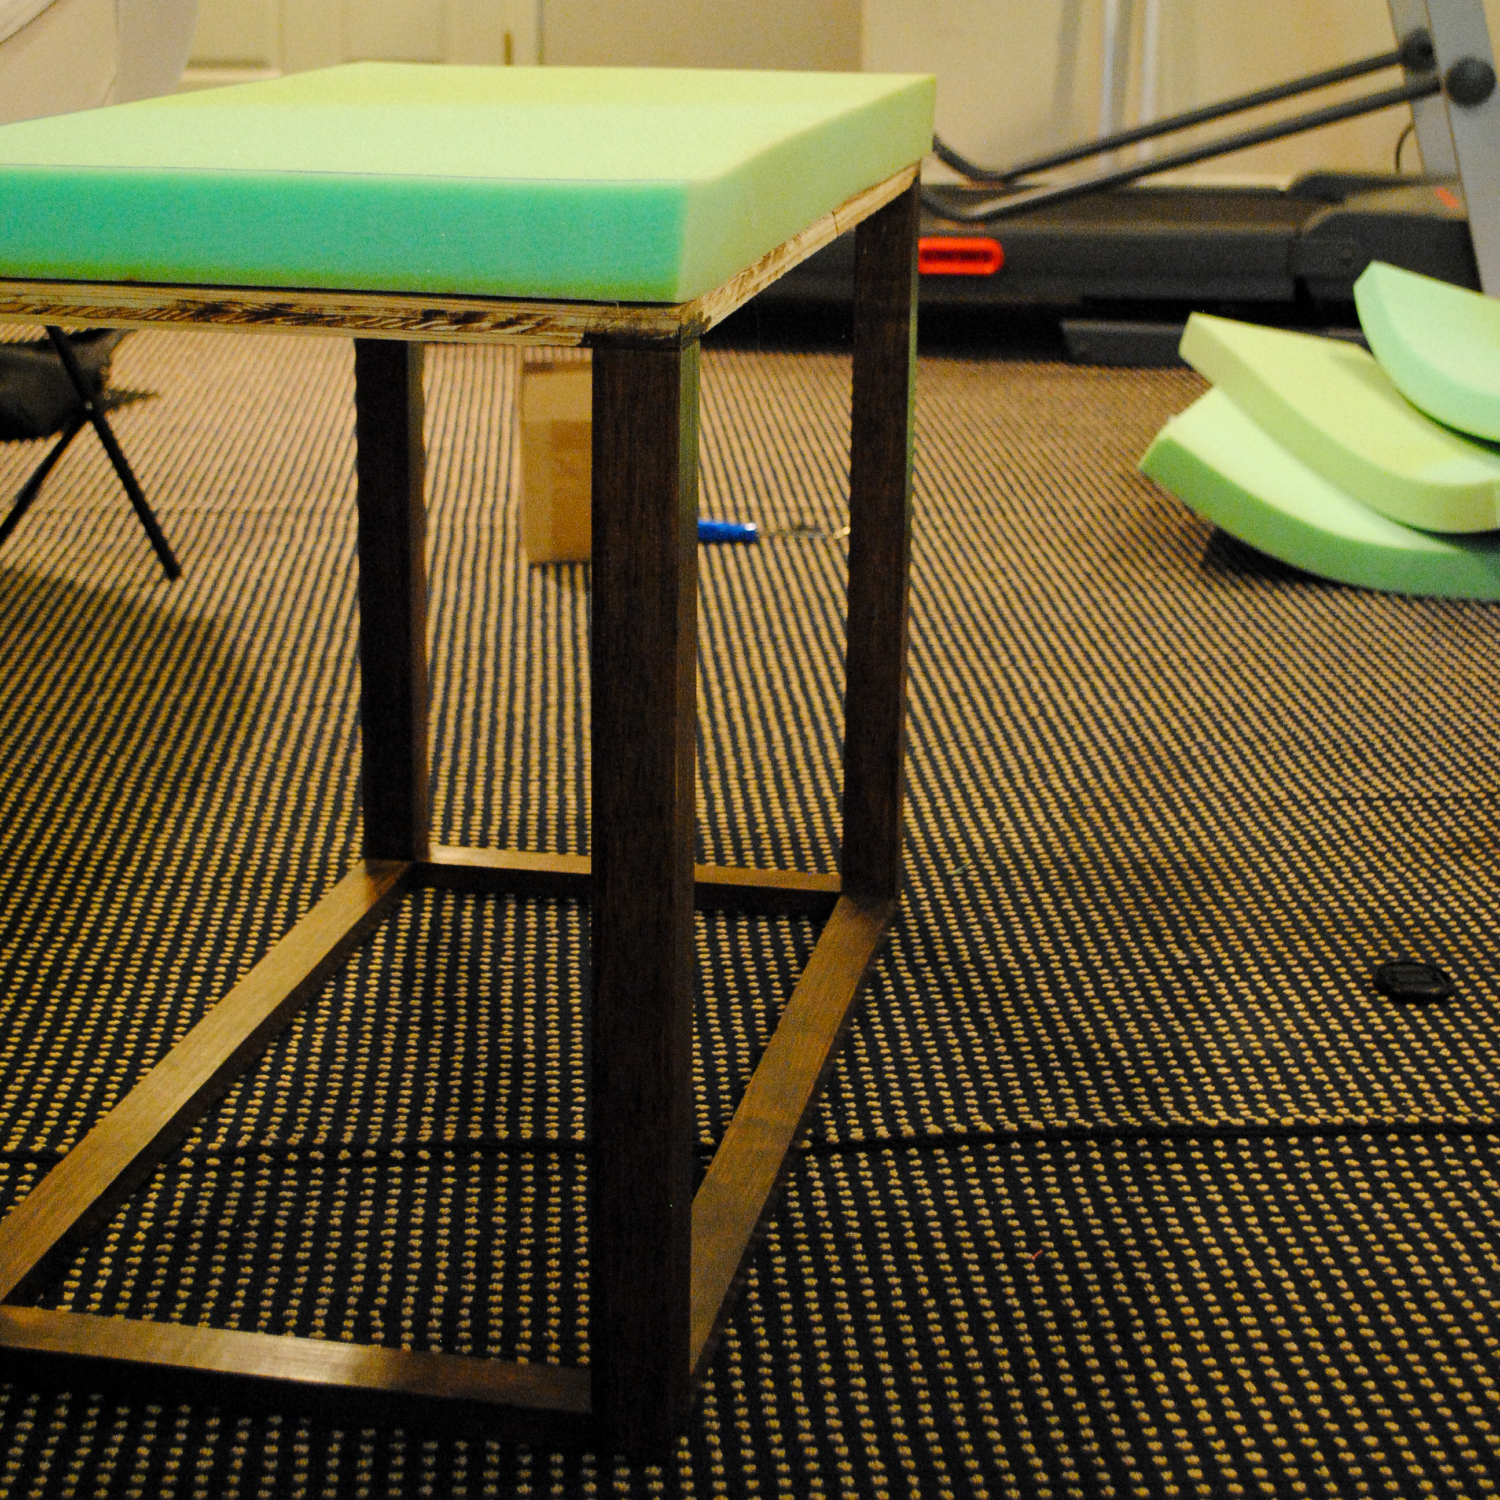
Use an electric knife to cut a piece of 2″ foam into a 15″x30″ rectangle. Attach to the plywood with upholstery spray adhesive. Use bonded dacron batting to wrap the foam (see this tutorial for more information of wrapping batting around foam). Staple the batting underneath the bench, trimming around the legs.
To make the leather top, cut five pieces of leather – two at 4″x17″, two at 4″x31″, and one at 17″x31″. Sewing leather can be challenging and I didn’t take many progress photos since I was doing some figuring out along the way. The basic steps are to line up the 17″ sides (right side facing right side) and sew together with a straight seam, 1/2″ from the edge, then line up the 31″ sides and sew together with a straight seam, 1/2″ from the edge. Then sew the 4″ sides together at the four corners to make a leather top you can pull over the batting after flipping it right side out.
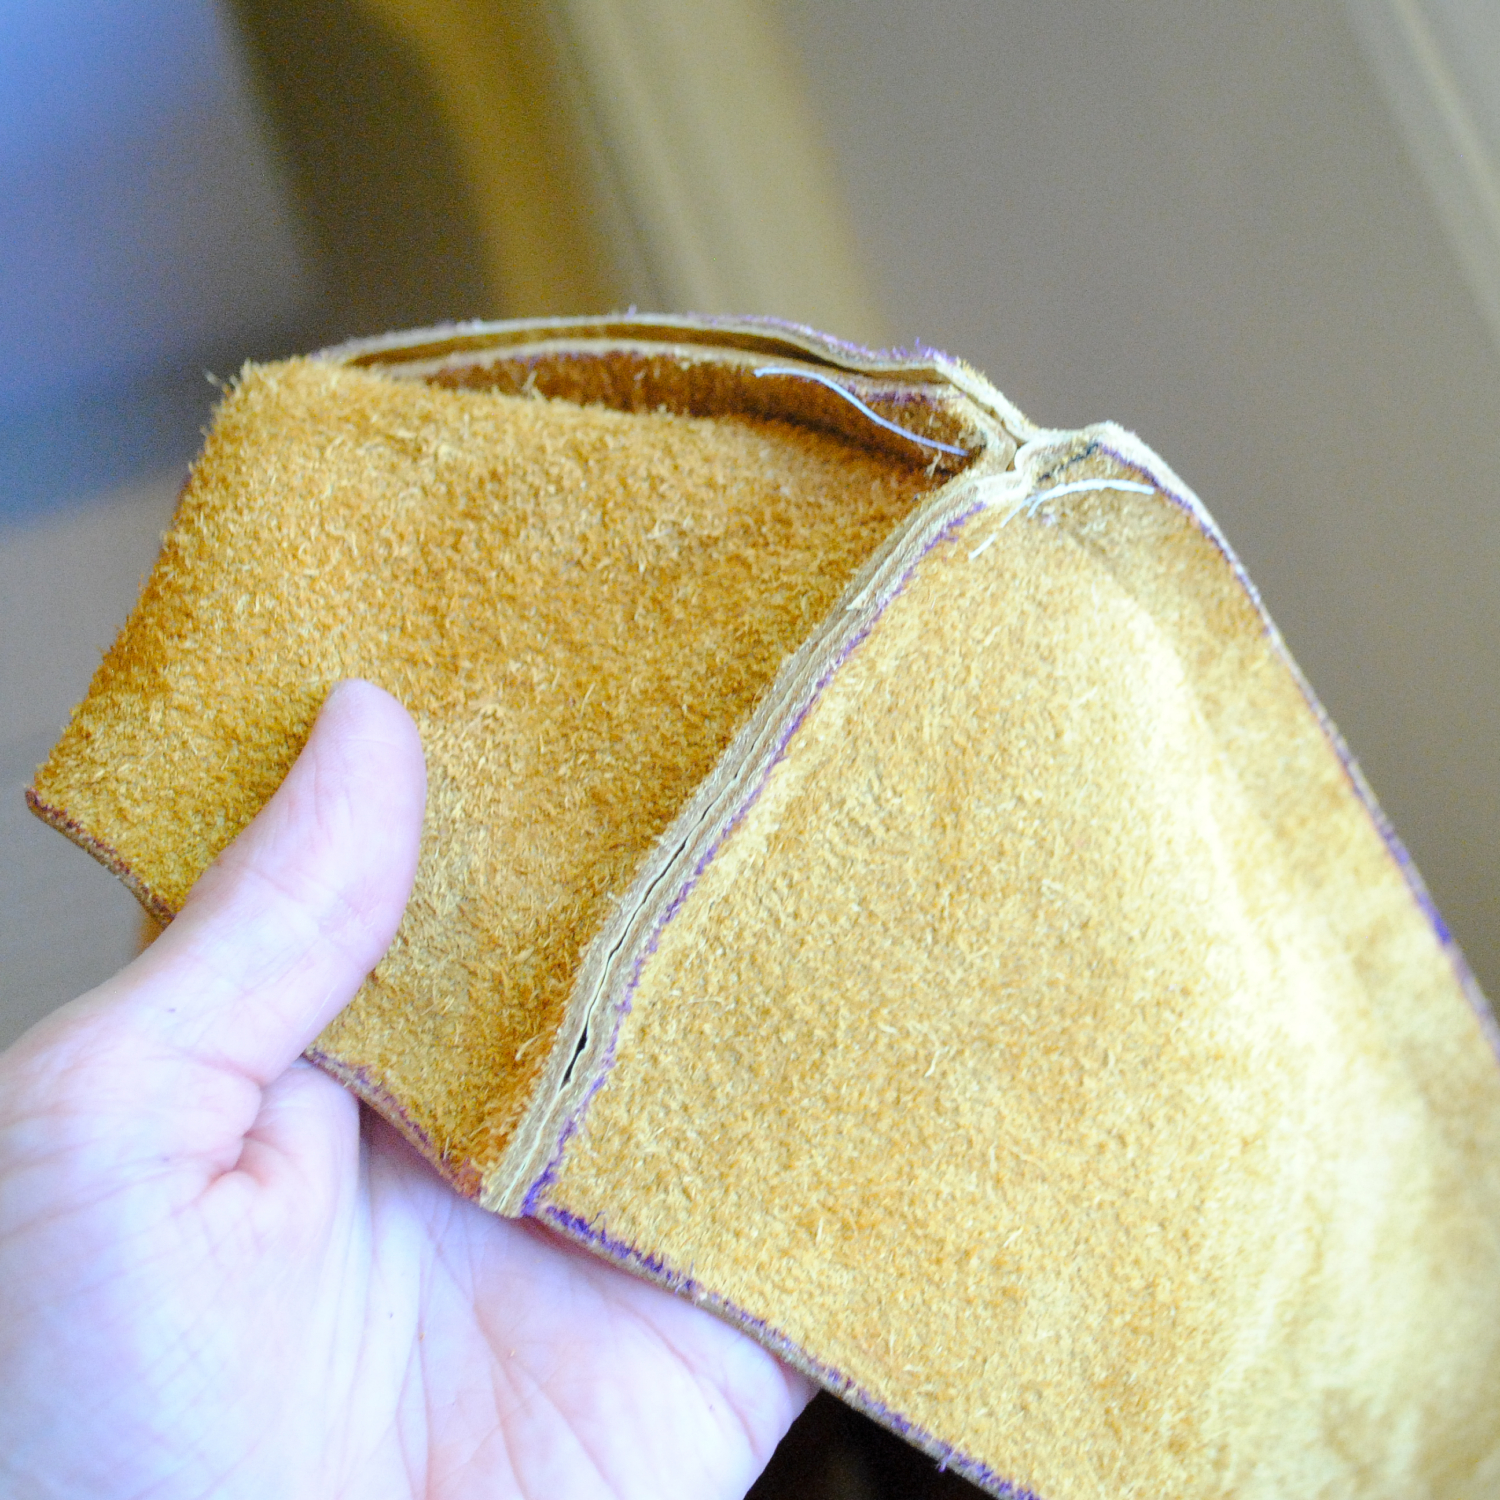
I trimmed and stapled the leather underneath to attach it to the bench top (general upholstery tutorials here and here). Then I applied nailhead trim to the bottom edge of the leather (you can find a video tutorial for applying nailhead trim here).
I love that the open design allows for a tidy spot to store a bag, and that the benches themselves can be used as luggage racks. And the leather is both beautiful and functional – I am always a fan of fabric that can be wiped clean! The deep yellow adds the perfect bit of warmth at the foot of the bed and really makes the beds feel complete in here. Stay tuned for the last few additions in here before the final room photos!


Beautiful! I love the depth the pop of mustard yellow adds. Thanks for sharing!
Thanks, Ashley! I felt like the room needed that warmth too. My vision for it all is really coming together now and it’s so great to feel it happening :)
So pretty! I love, love, love the benches (well the entire room actually).
Thank you, Angela!
Wow! I would never have thought of sewing leather for the top. Clever girl!
It’s hard at times – any corners where the leather is doubled or tripled is a little bit of a struggle for the machine – but it was so worth the effort for the finished look!
aaah jen, love these!!! they look so good and i love the warm touch they add to the room.
Thanks so much, Cassie! I really felt like the room needed some warmth too and I swear that color is almost like a neutral!
These are gorgeous, Jen!! I love the leather top! You’re such an upholstery and building rockstar!
Haha, thanks, Jenna :) The leather is great, so soft and luxurious!
This is seriously an amazing DIY!! Love them!
Thanks so much, Summer!
Thanks so much, Summer!