I’m going to let you in on a little secret. Curtains are really, really, really easy to sew yourself. And today I’m going to show you how to sew curtains, which is likely to save you loads of cash and open up your fabric options for window treatments way beyond ready-made panels.
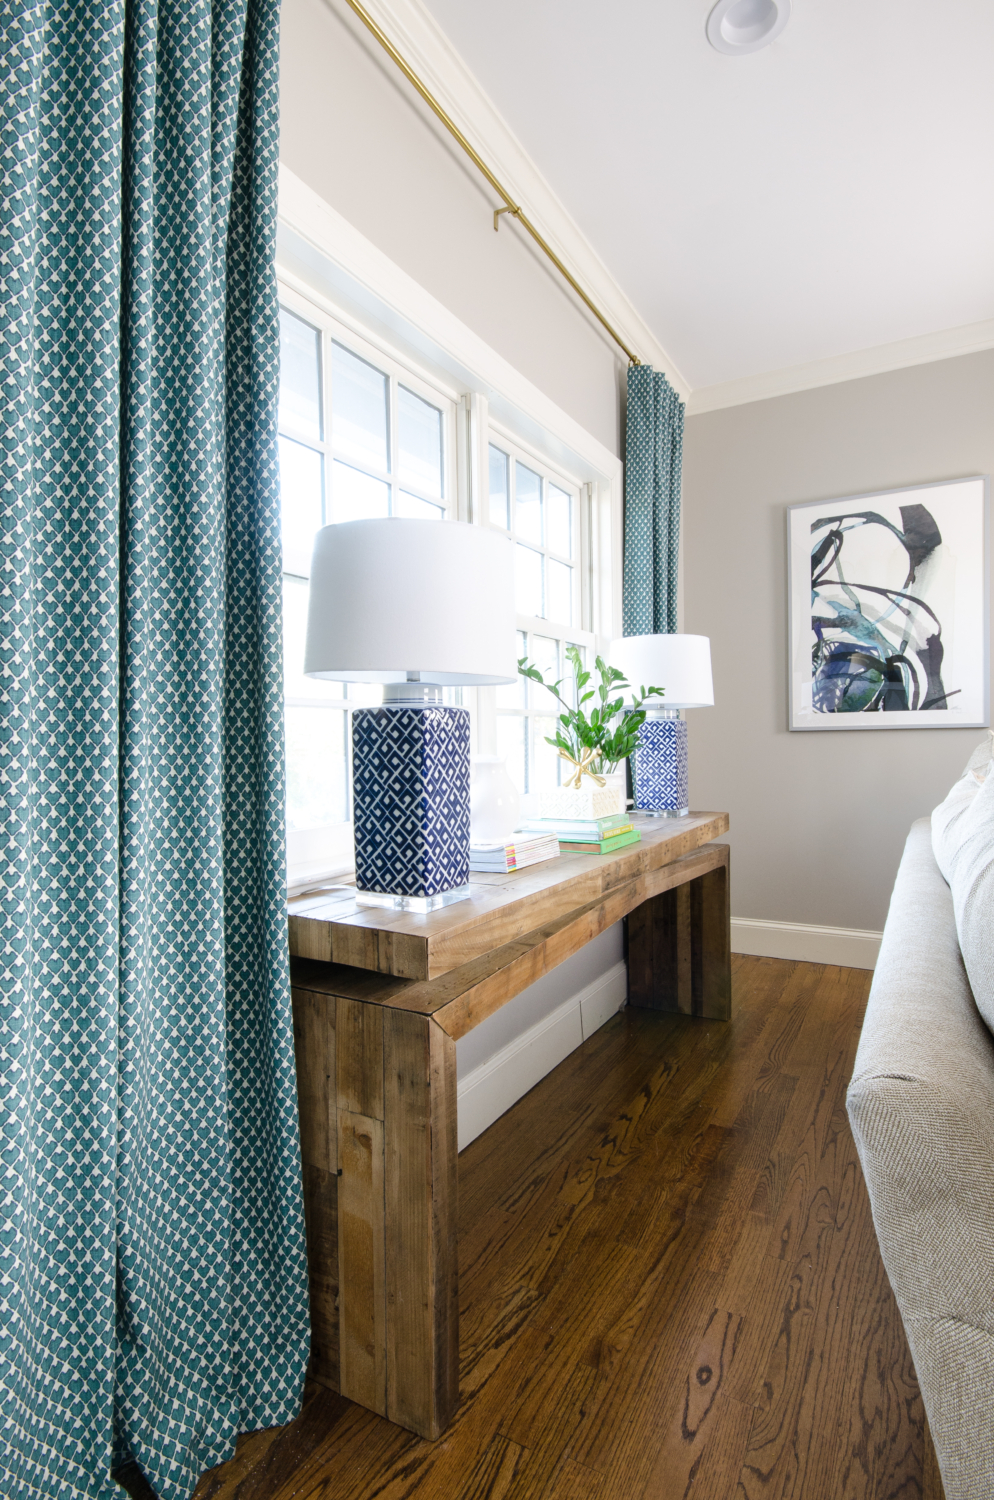
As many times as I’ve started and finished and designed and redesigned rooms it still amazes me how much window treatments finish a space. They’re that last touch that adds softness, dimension, style, and drama. You might not miss them if you don’t have them but once they’re there, I bet you’ll feel like the room must have looked naked without them.
But. Here’s the thing about window treatments. They can be expensive. And this is one of those decisions you need to weigh with more than just cost in mind – it’s most definitely a balancing act. If you choose a really high-end fabric to have custom drapes made you should be prepared to spend several thousand dollars for a couple windows, but they will be exquisite. If you order cheap ready-made drapes you’re going to get what you paid for – less cost but not great looking window treatments. There are a lot of nice ready-made drapes now that are both good quality and reasonably affordable (West Elm is my favorite source) but there are only so many fabric options. For my family room I wanted to be able to choose a patterned fabric that complemented the rest of the room and since I know how to make curtains myself I knew it would be a simple project once I found the right fabric. I started poking around on Lacefield’s site – I always find something I love there and the quality is absolutely excellent for the price per yard. I’ve used Lacefield fabrics on my dining room chairs, dining room bench, dining room windows, and guest room headboards.
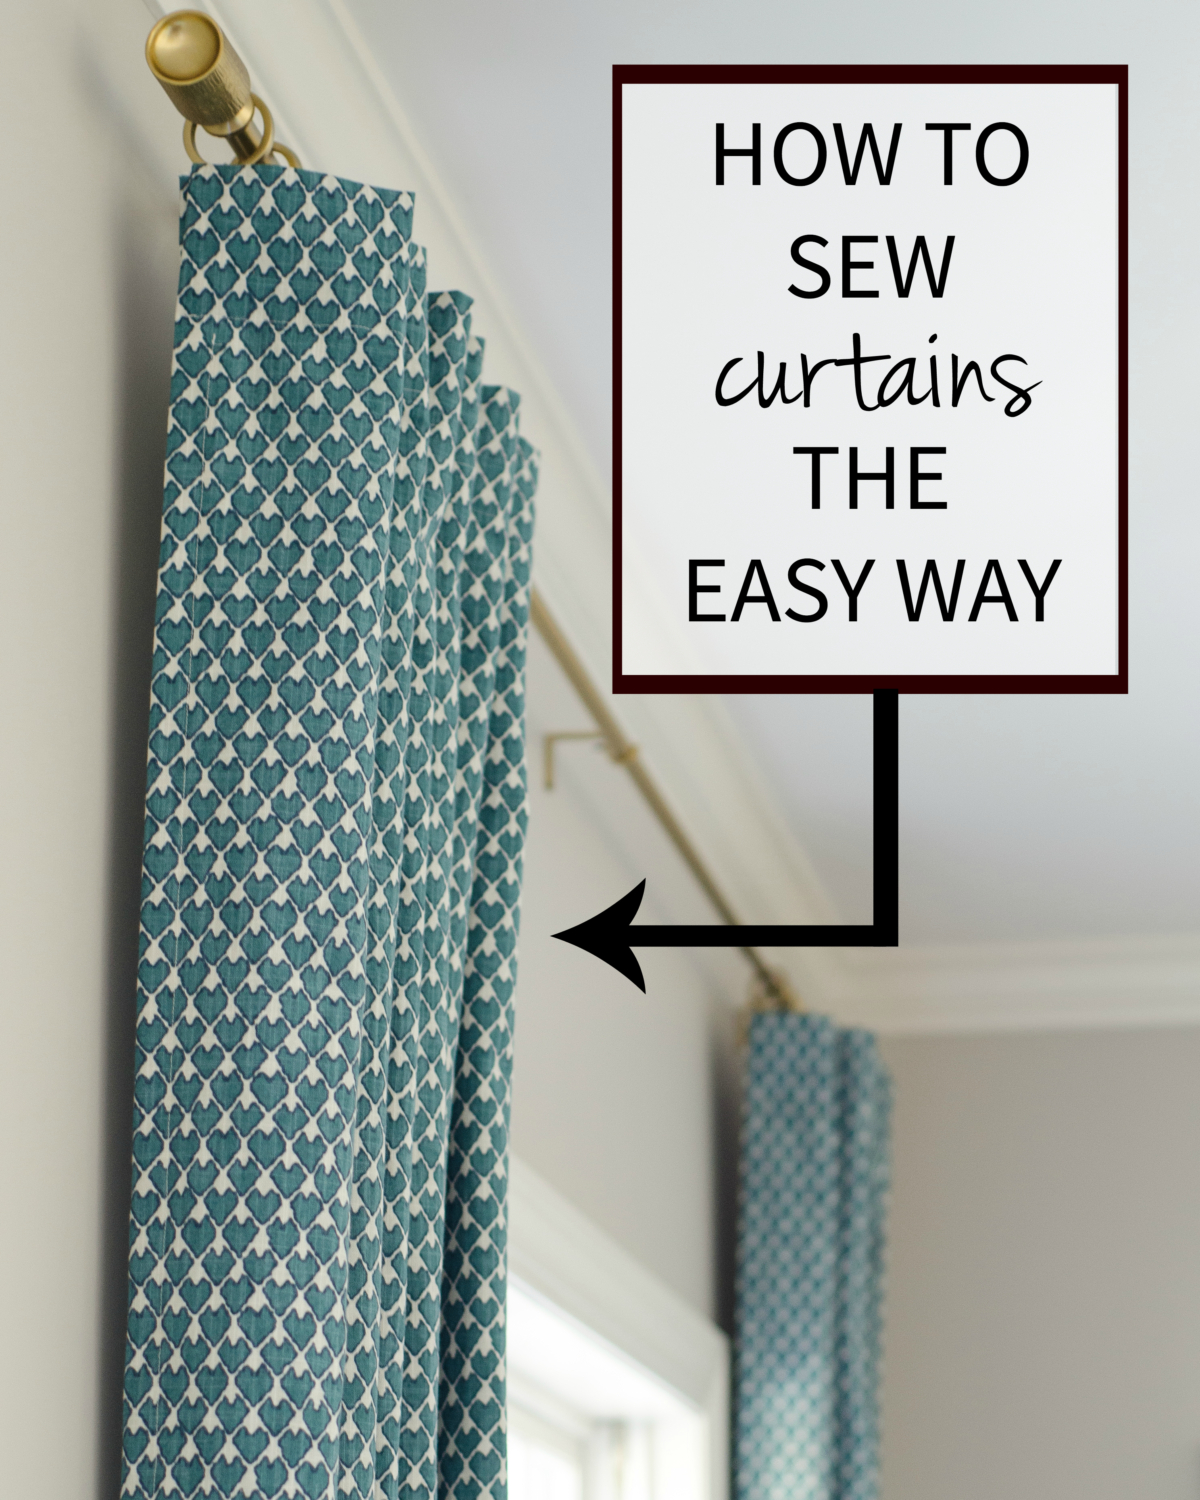
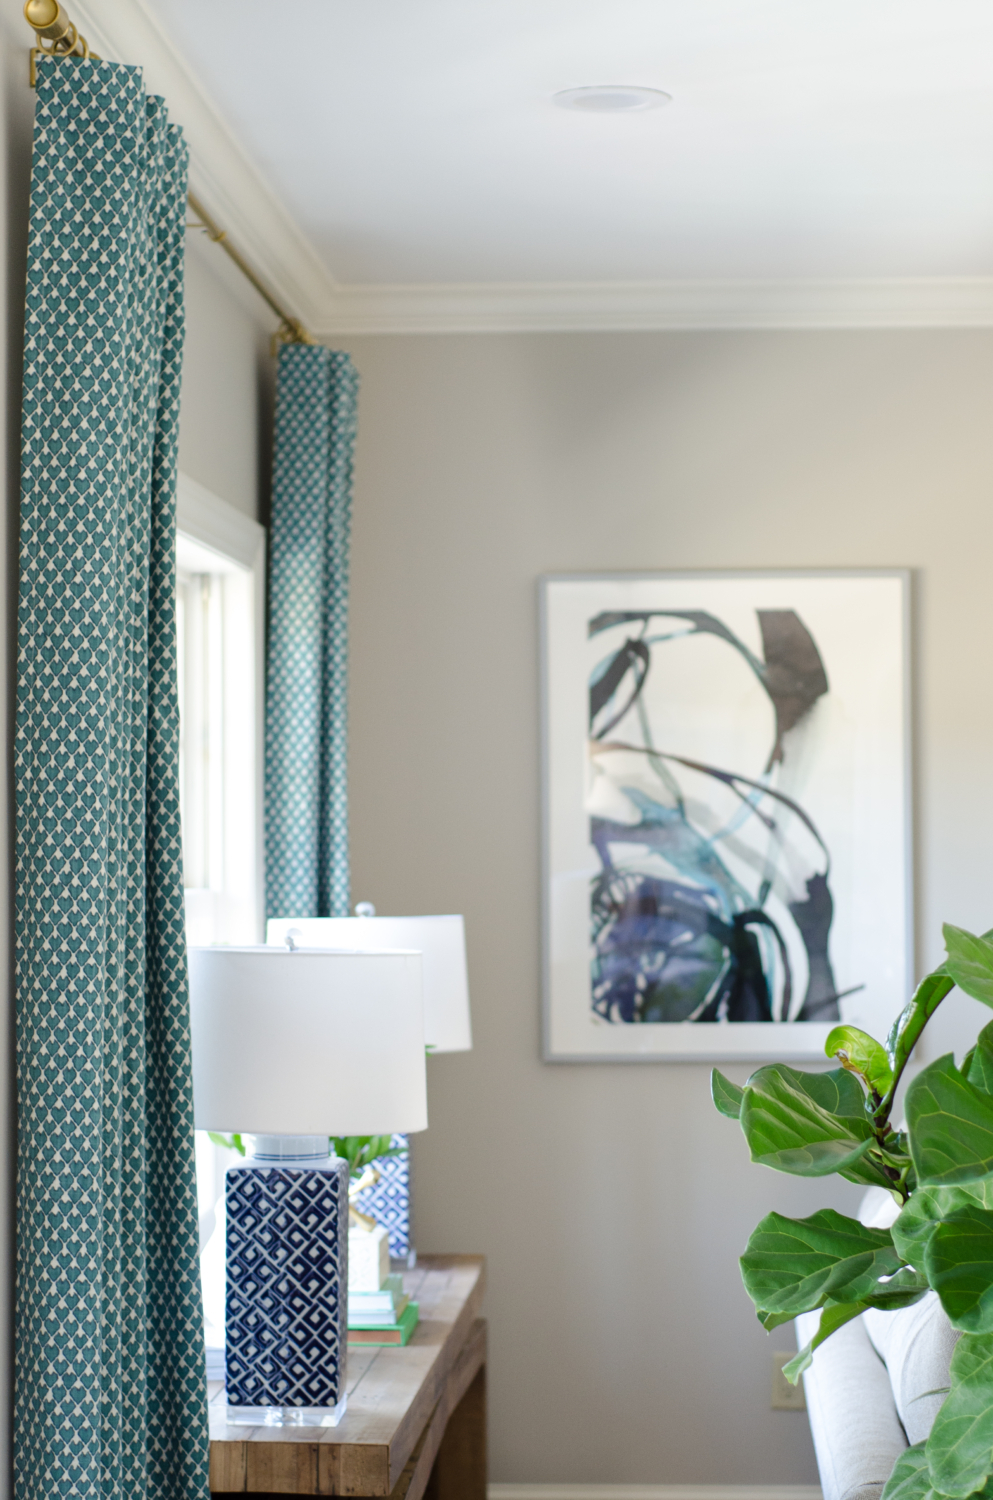
I pretty quickly landed on the Diego fabric in Prussian Blue and set out to make simple drapes for the windows behind my sofa. I don’t usually line my drapes – since I use them just as an accent and not for privacy I don’t need to worry about light shining through the fabric, and I always hang drapes so the innermost edge is lined up with the frames around the window, not covering the windows themselves. Hanging drapes wide like this makes windows appear bigger and your rooms brighter. Plus Lacefield’s fabrics have such beautiful weight to them they don’t need a lining to look substantial.
Here’s what you’ll need:
- Measuring tape
- Fabric (I love Lacefield’s fabric line)
- Iron and ironing board
- Sewing machine (my life changed when I bought this one, it’s worth every penny)
- Drapery hooks
- Drapery rings
- Curtain rod (about two feet longer than the width of your window)
First you’ll need to figure out the finished length for your drapes. In addition to always hanging drapes wide as I mentioned above, I also would always recommend hanging them high. Take a tape measure and position it a few inches below the ceiling and measure to the floor. This number will be your finished curtain length.
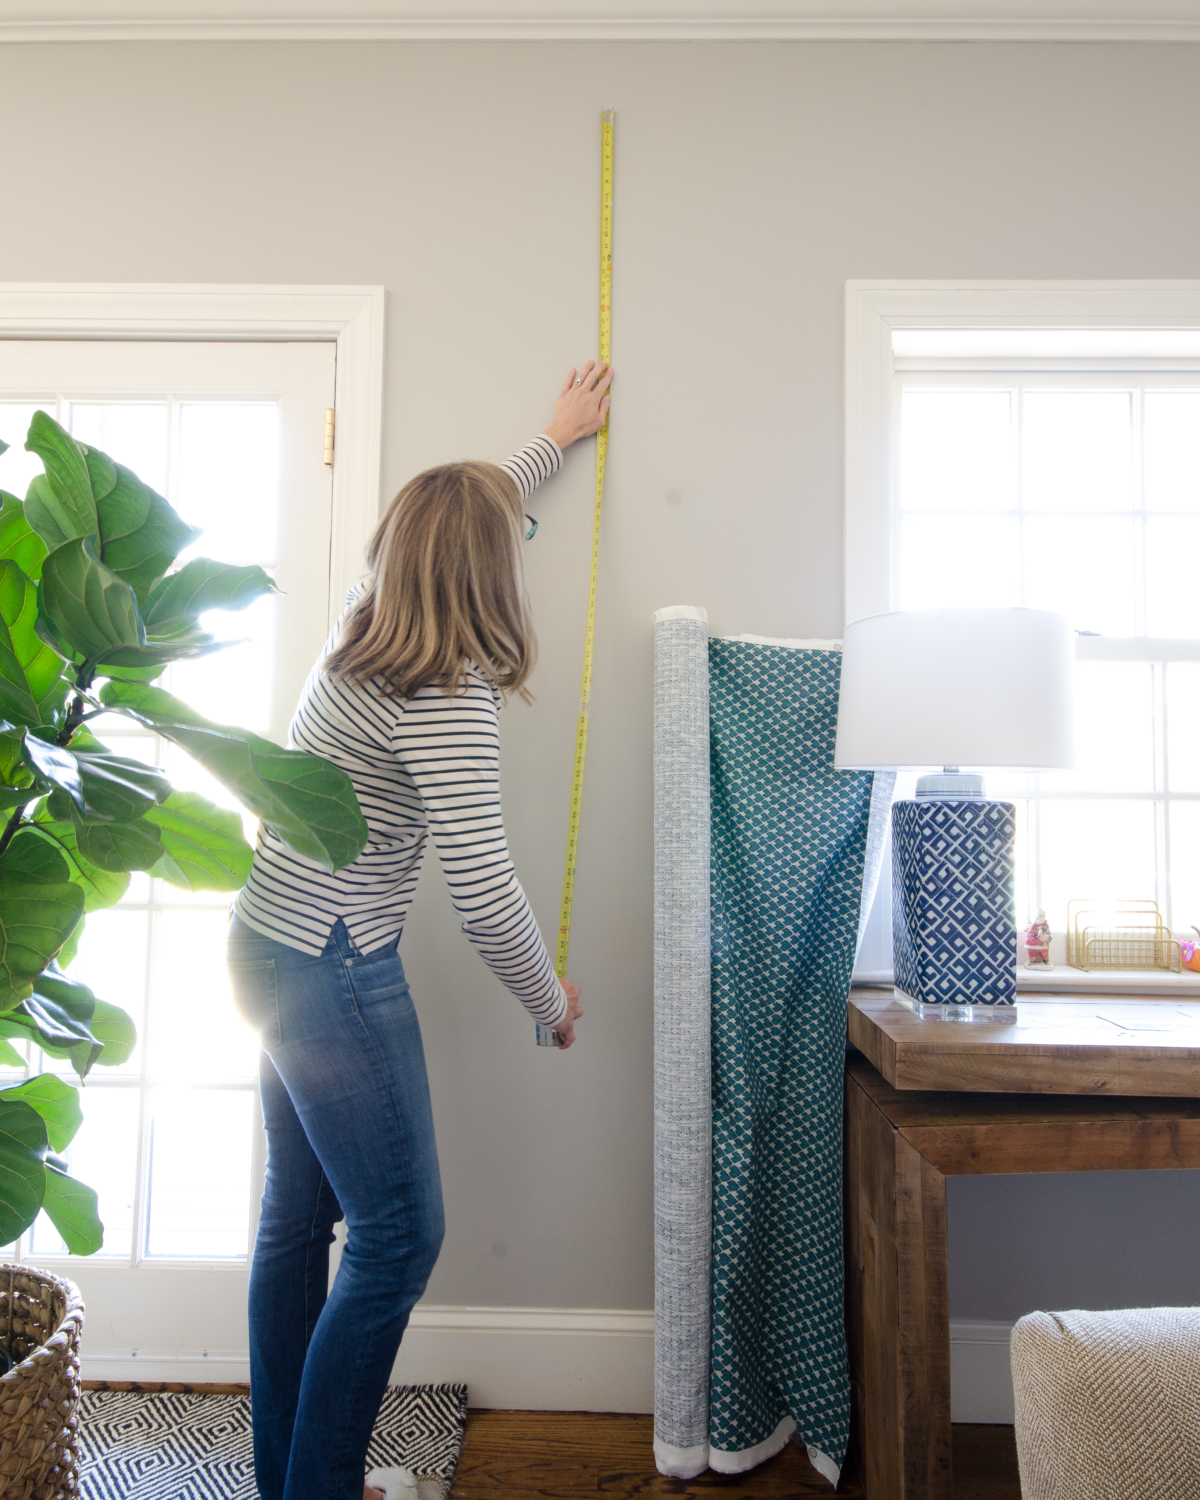
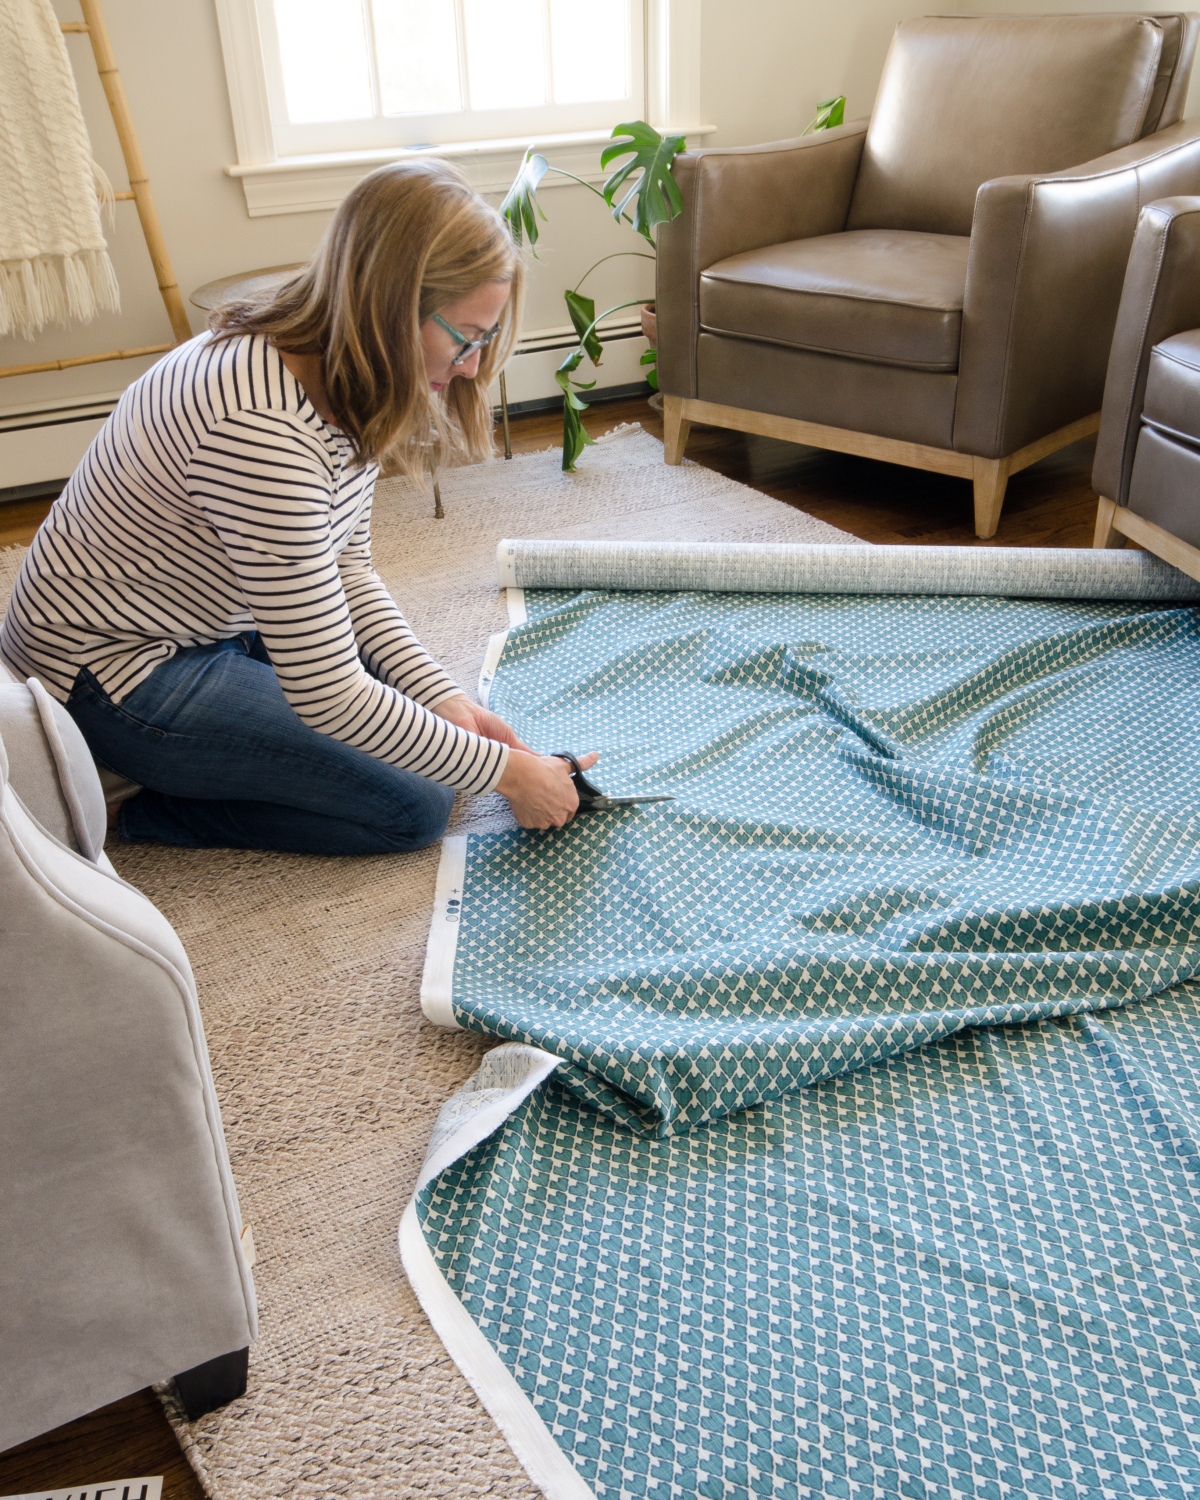
To allow for a hem at the top and the bottom, add 11″ to your finished curtain length to get the amount of fabric you need to cut for each panel.
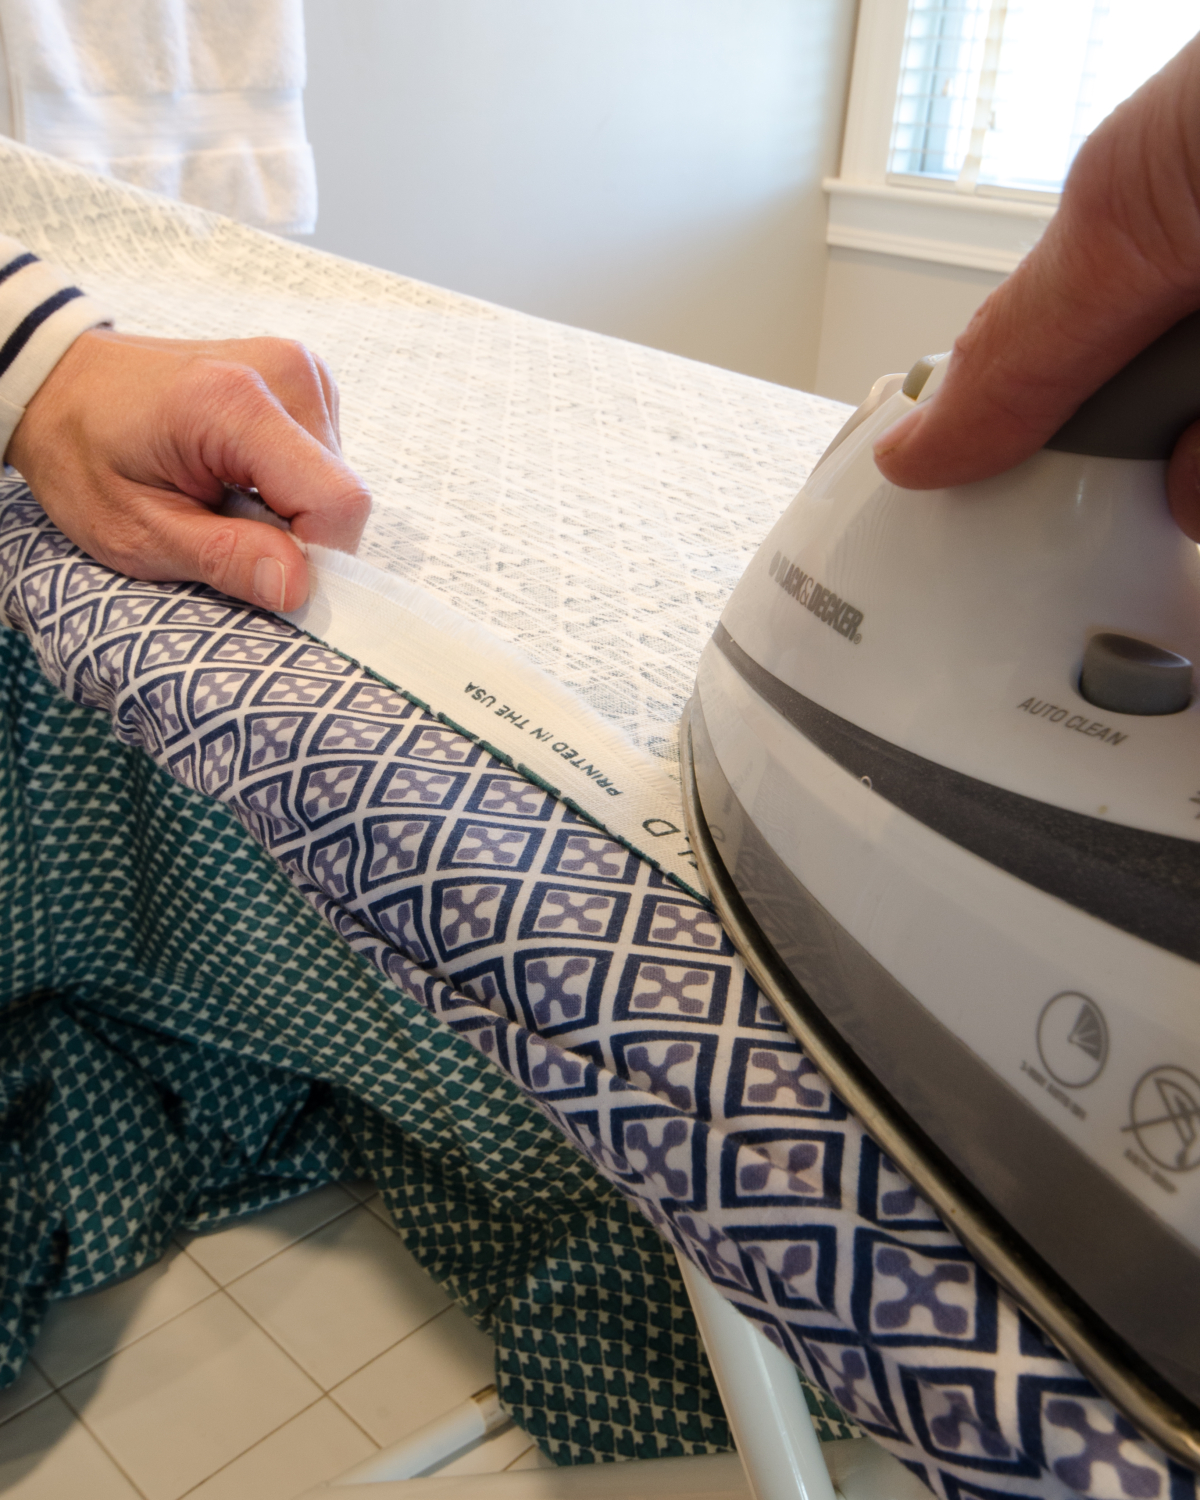
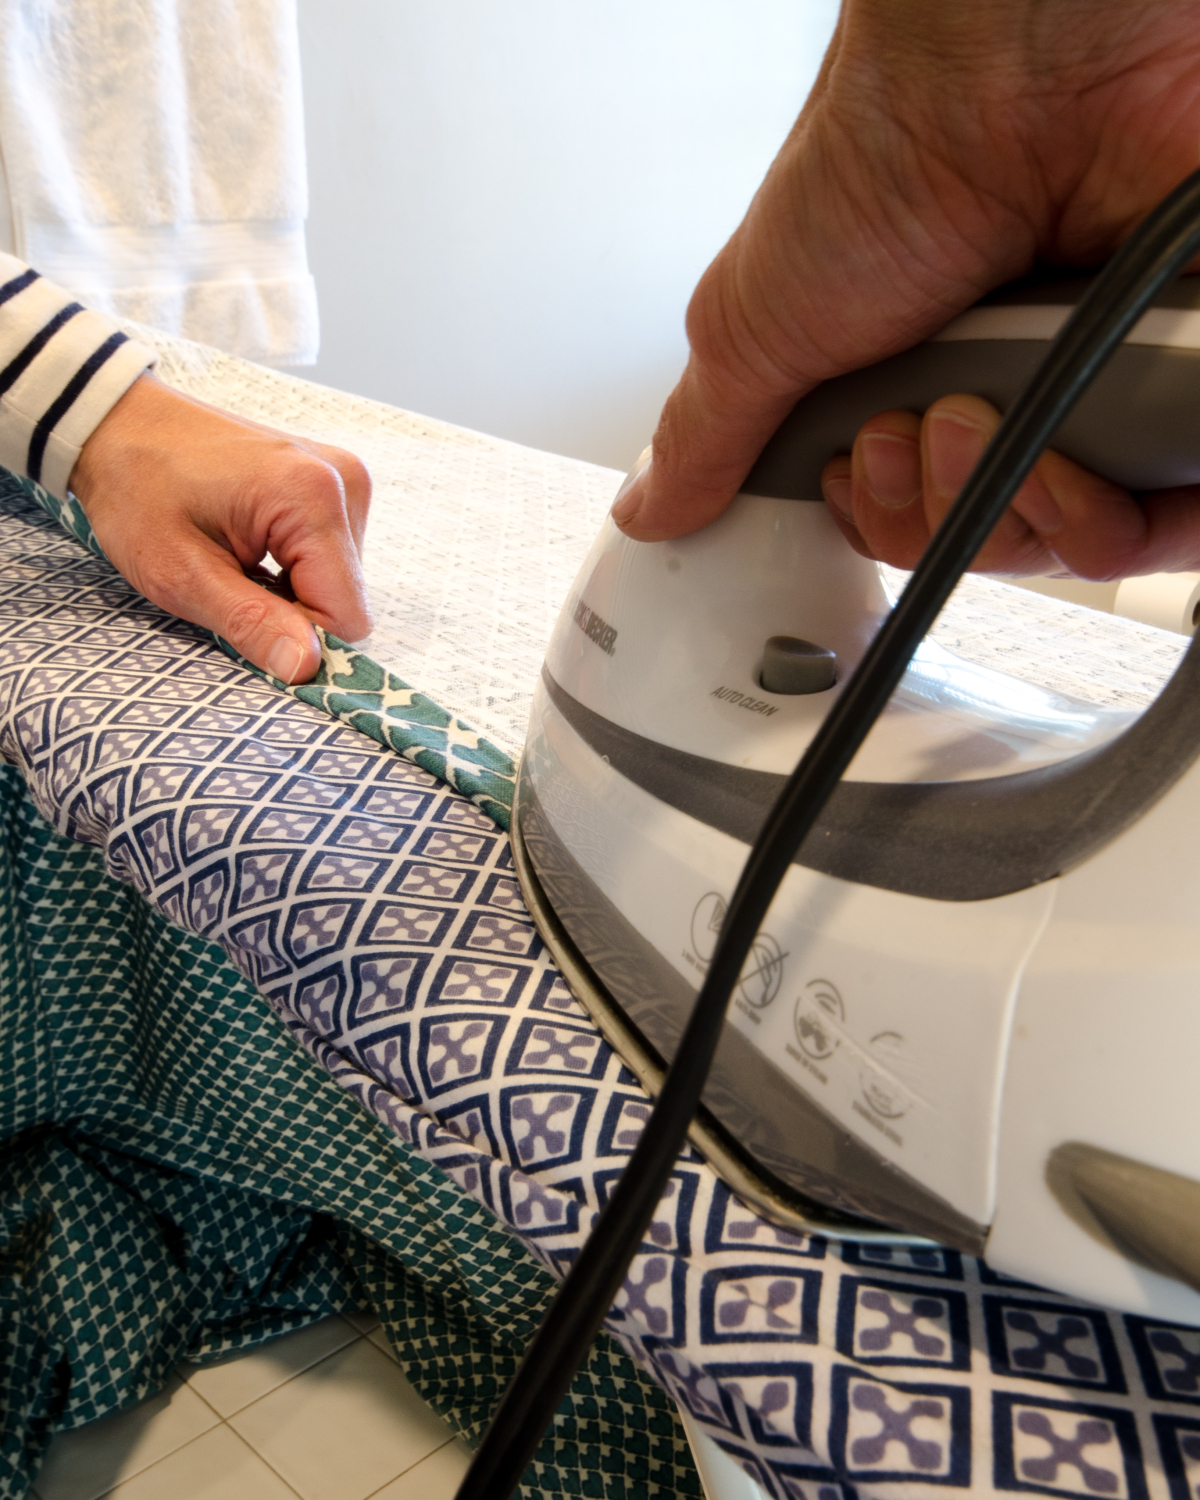
For the side, top, and bottom hems, use an iron press flat. The sides will likely have a strip that you would normally trim off but I use this as my guide for ironing the side hems. You want a double hem on all sides, so fold and iron once and then repeat a second time. For the top hem iron a 4″ double hem (4″ folded and ironed, then 4″ folded and ironed again) and for the bottom hem iron a 1.5″ double hem.
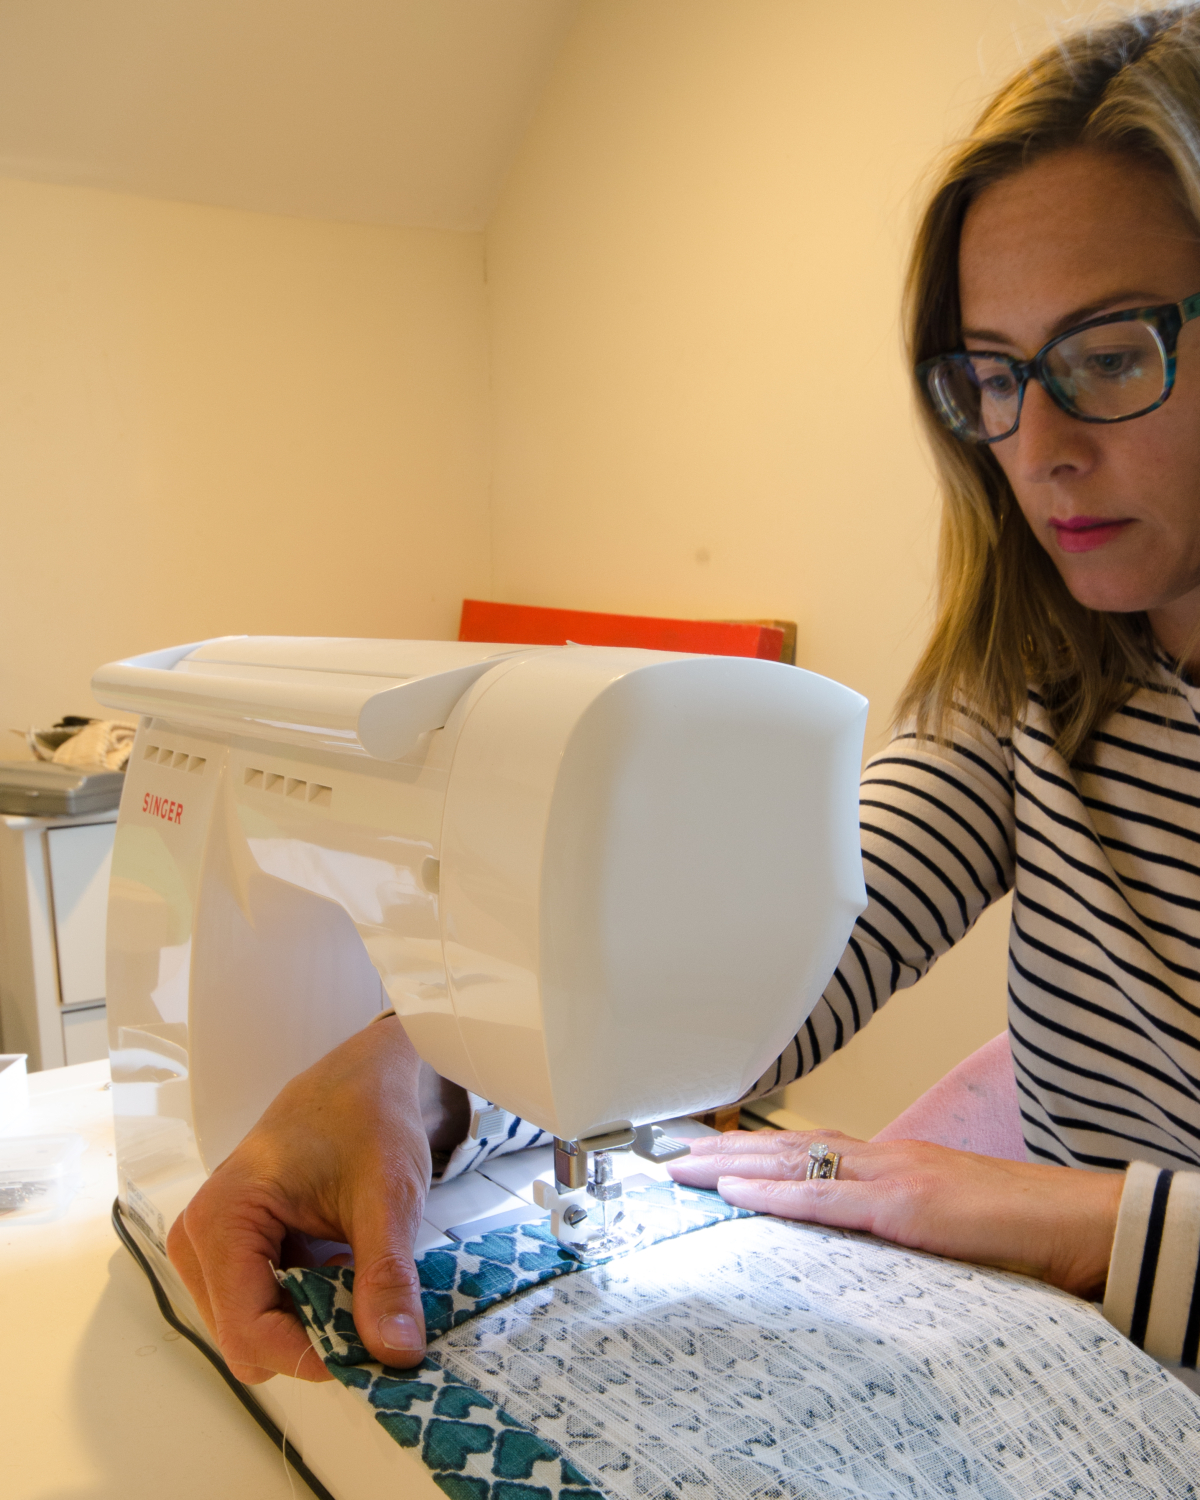
Use a sewing machine and a straight stitch to sew all of your ironed hems closed. Start with the side hems and end with the top and bottom hems. And I was not exaggerating when I said this sewing machine changed my life. If you plan to do any amount of sewing, whether it be clothes, pillows, curtains, upholstery, etc. I can’t recommend it highly enough. It’s a little pricey but worth every penny for it saves you in frustration. It’s a dream. And it can embroider too, like what I did for this DIY leather pouf!
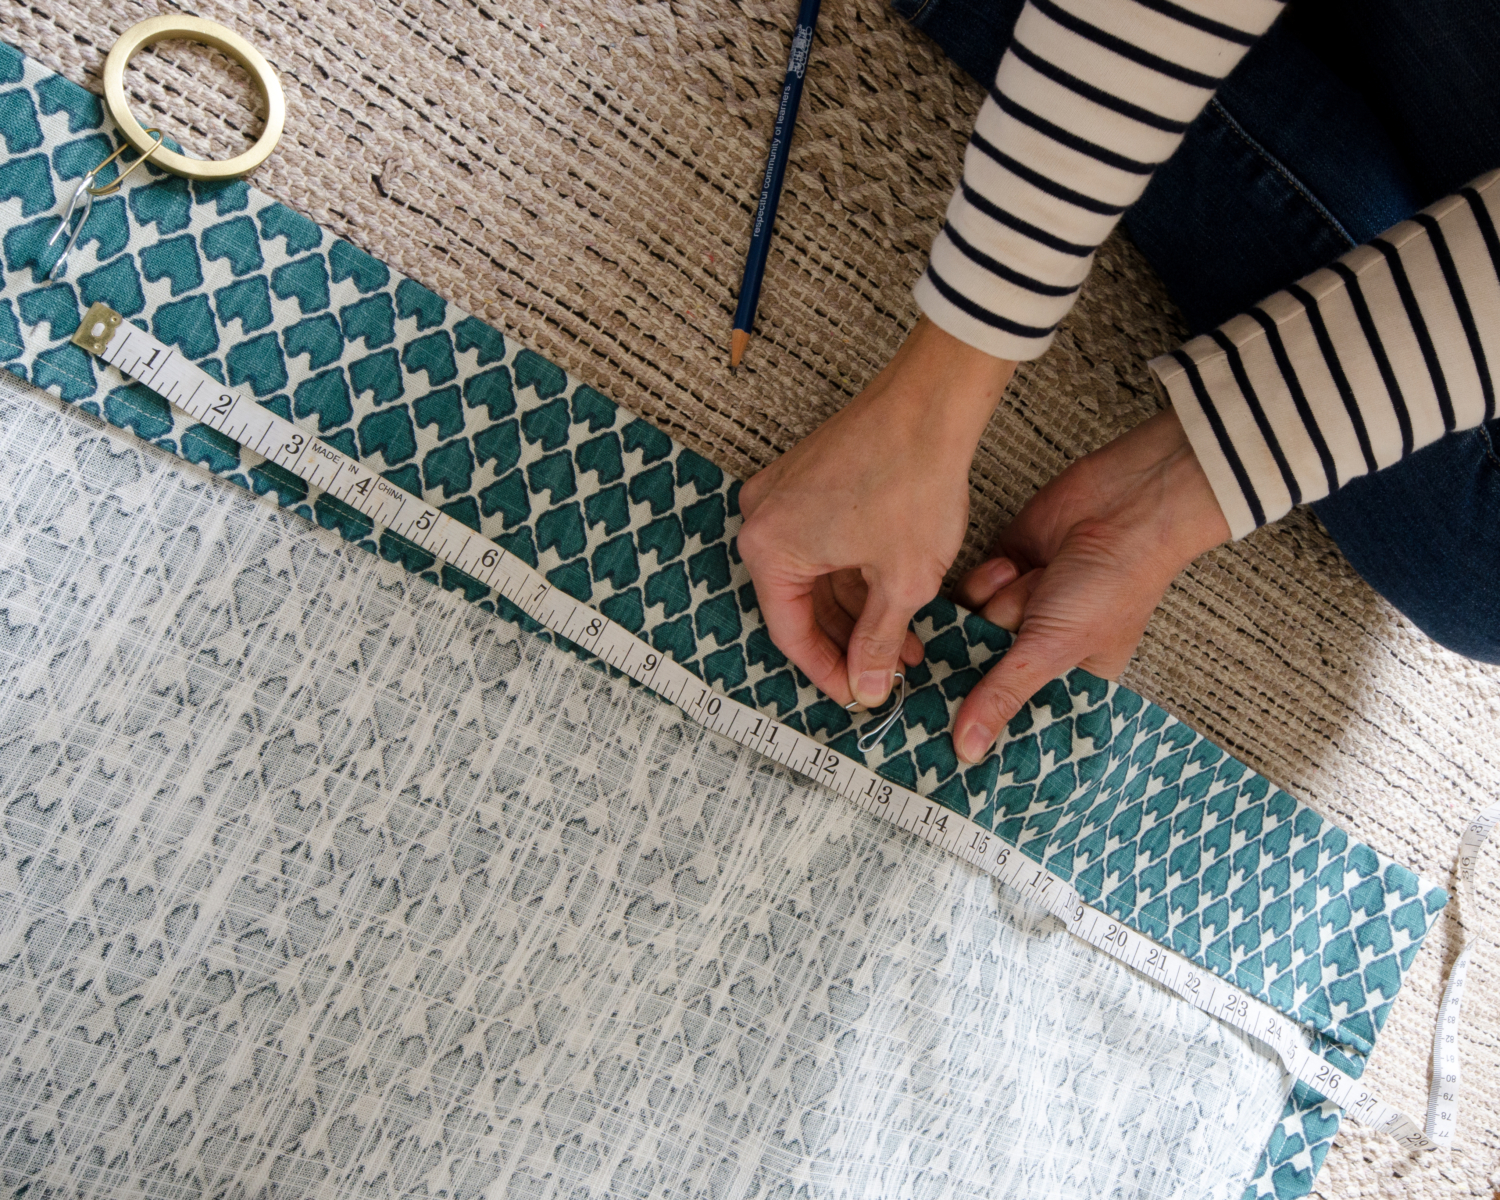
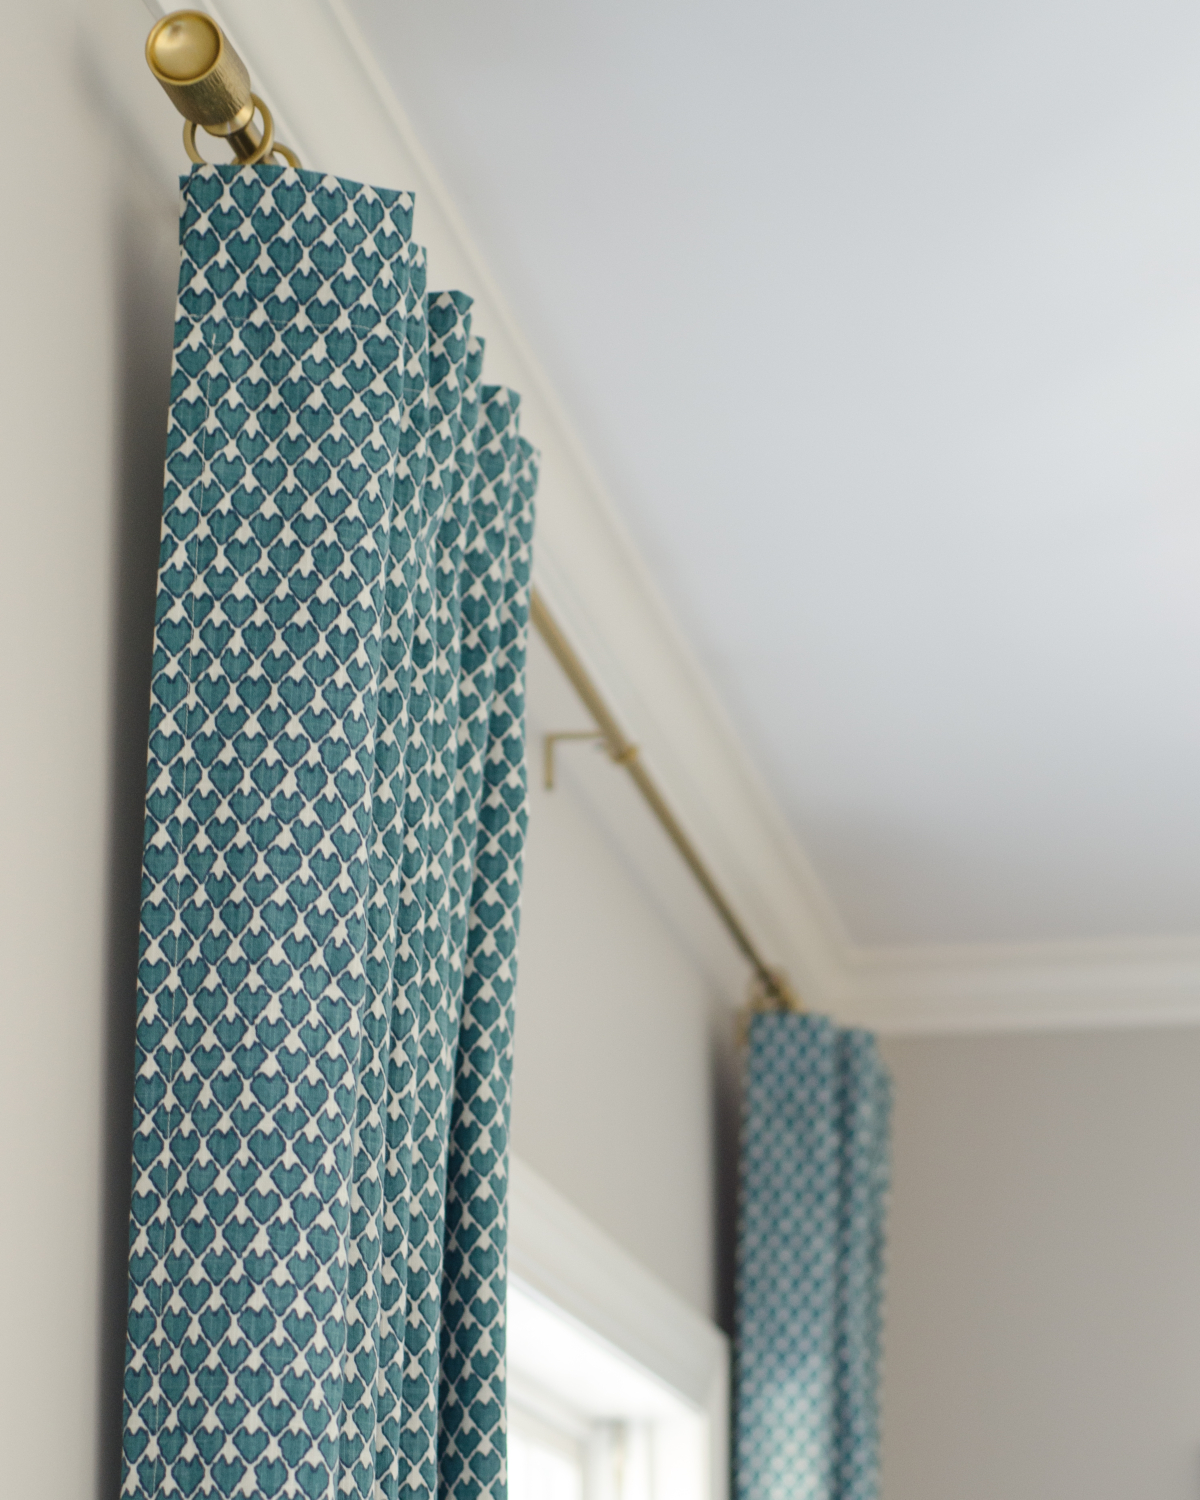
Lay the finished top hem flat on the floor, inside out, and measure seven equal distance points along the length of the hem to mark where your drapery hooks will go. Make sure your marks are equidistant horizontally and also that they’re also the same distance from the top of the finished panel. Carefully slide the sharp ends of the hooks on the marks you made, through the back layers of fabric (you don’t want them to poke through the front).
Hand your curtain rod so it extends about a foot past the window frame on each side. Make sure you double check the length of your finished curtains before mounting the rod to make sure you hang it at the correct height. Slide the drapery rings over the rod and then slide the drapery hooks on the backside of each curtain panel through the small hanging ring on each drapery ring.
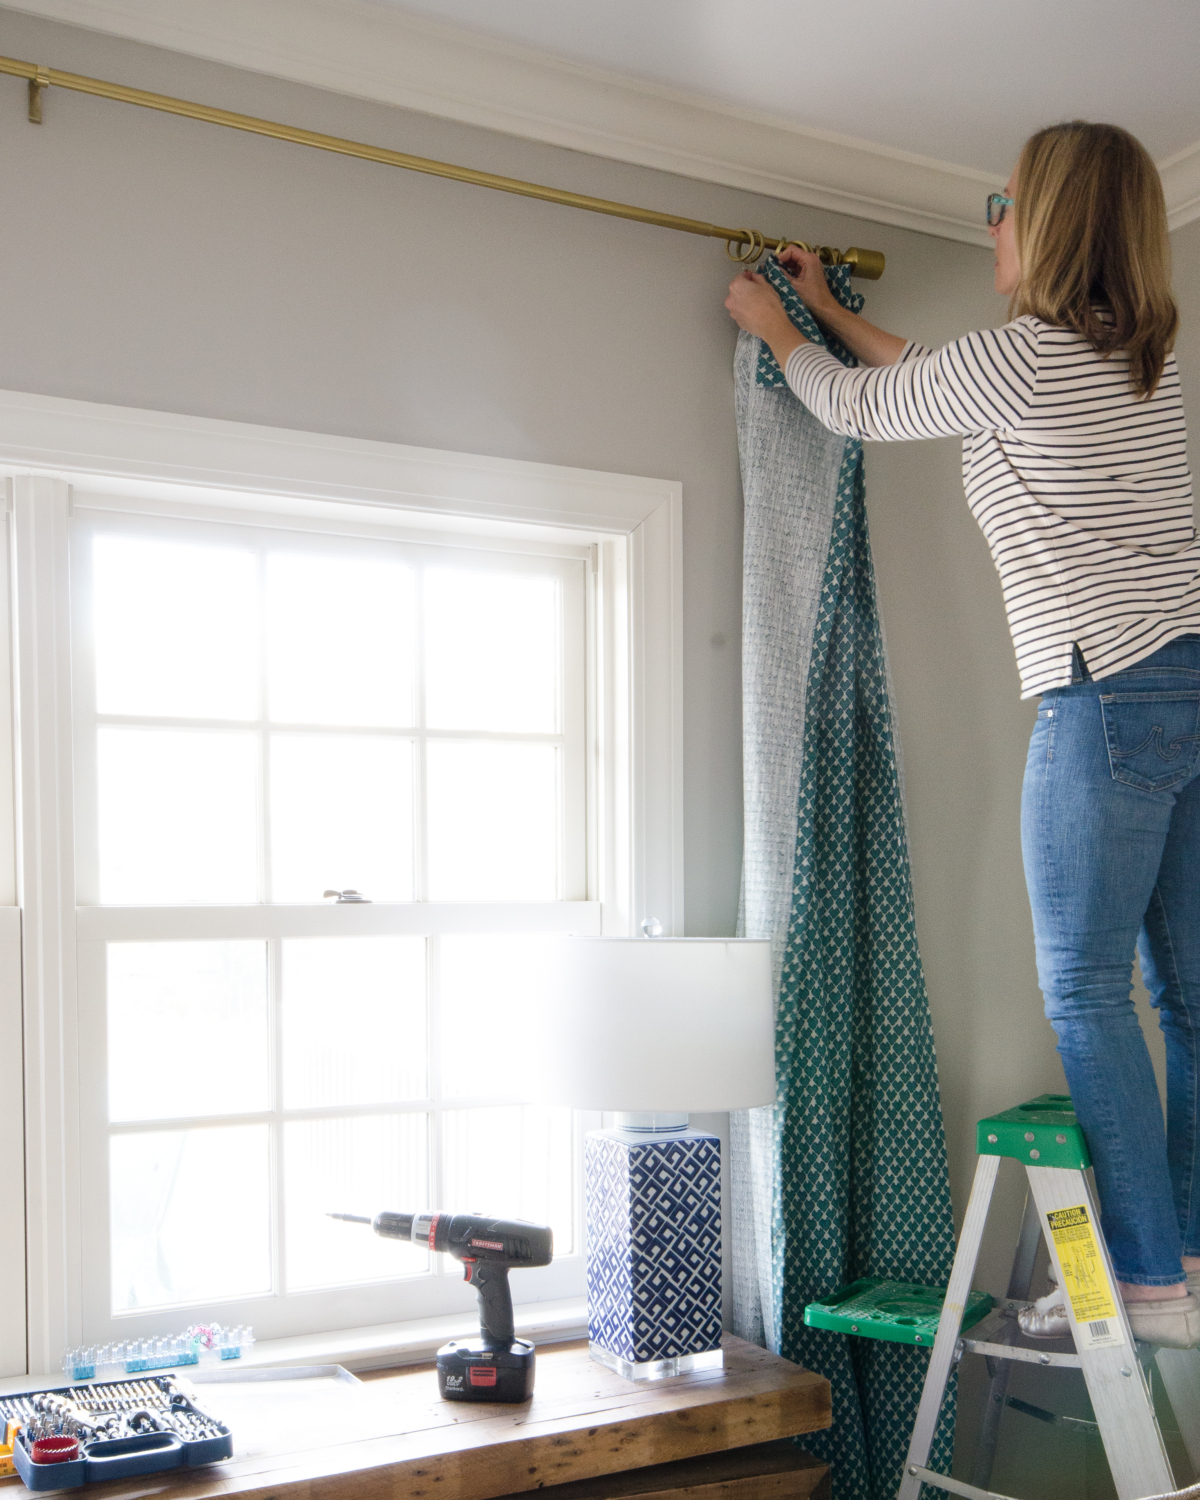
And then you can step back and marvel at how gorgeously complete your room looks!

While the measuring and ironing can take some time, this truly is such an easy project and one very worth trying if you have the most basic sewing skills. I hope this tutorial for how to sew curtains helps you if you’ve been considering making curtains for your house but haven’t known where to start! It’s so worth the effort and lets you customize your fabric while saving you tons of money over hiring someone to sew curtains for you.


