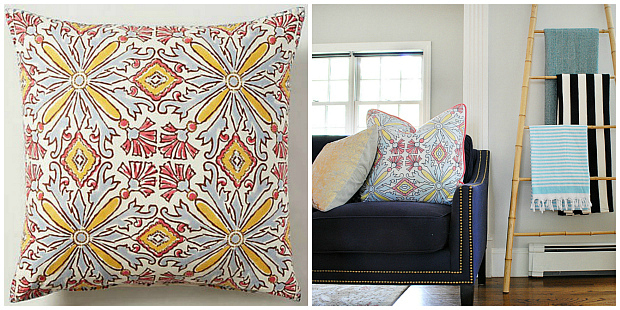
A couple months ago I mentioned I’d been obsessing over this John Robshaw pillow.
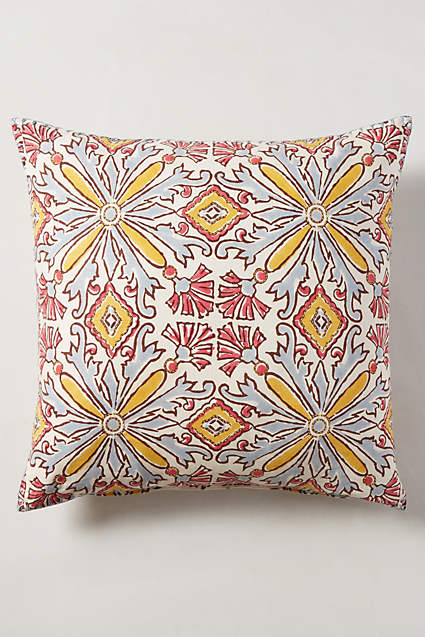
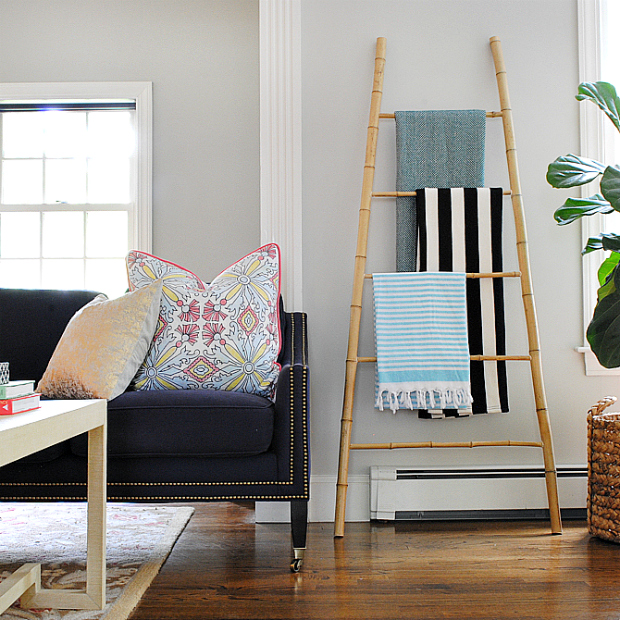
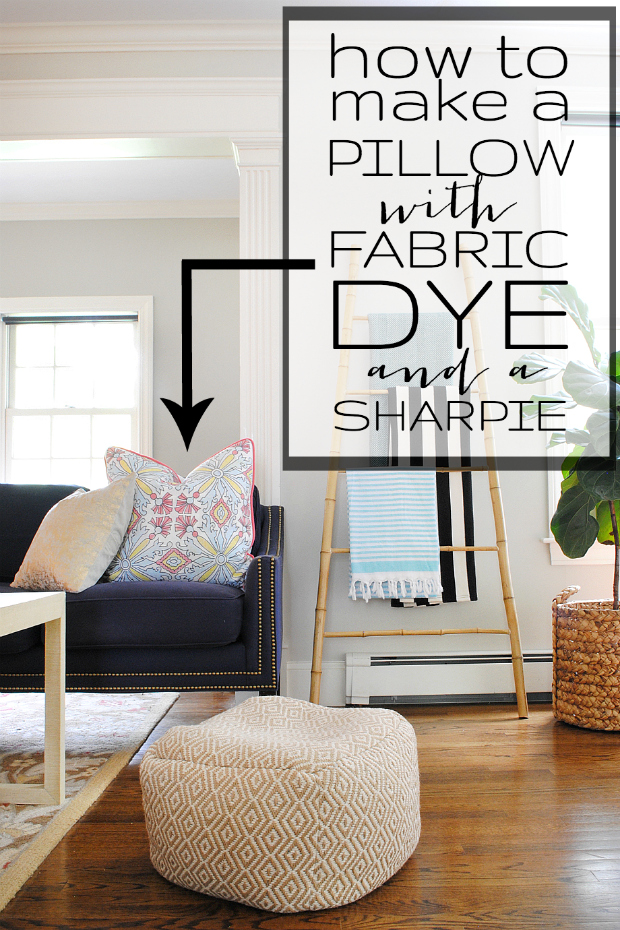
Isn’t it gorgeous? Unfortunately, however, it costs $198. Sooooo…that might actually be grounds for divorce in this house and I decided that I would err on the side of staying married. What I did instead was start dreaming up knockoff options, and I am pretty fantastically thrilled with the results. You caught a peek of it last week when I shared the DIY bamboo ladder.
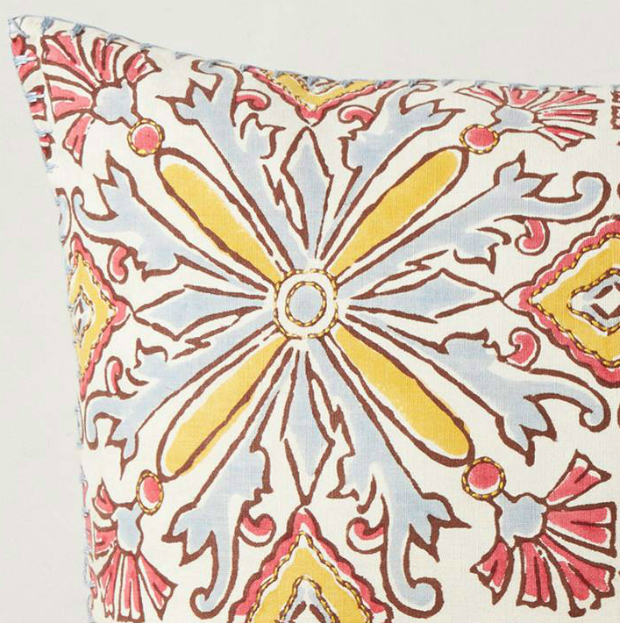
Pretty close, right? Here’s how I did it using fabric dye and a Sharpie. (So MacGyver of me!)
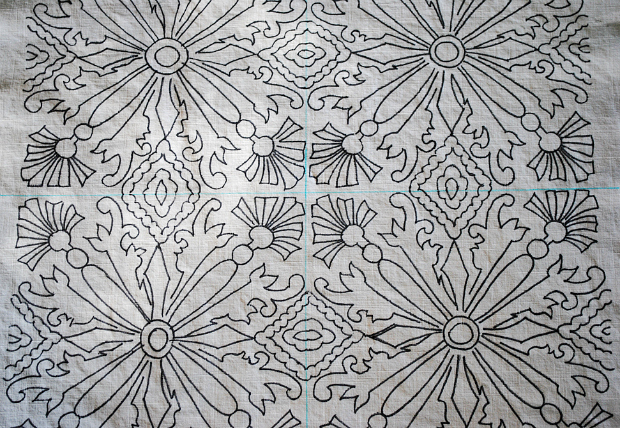
First, I created a square image of one corner of the pillow.
Then I printed four copies in grayscale. Because the edges of the image have a distorted look from being the curved sides of a pillow, I cut out a smaller square of the straightest corner on all four copies.
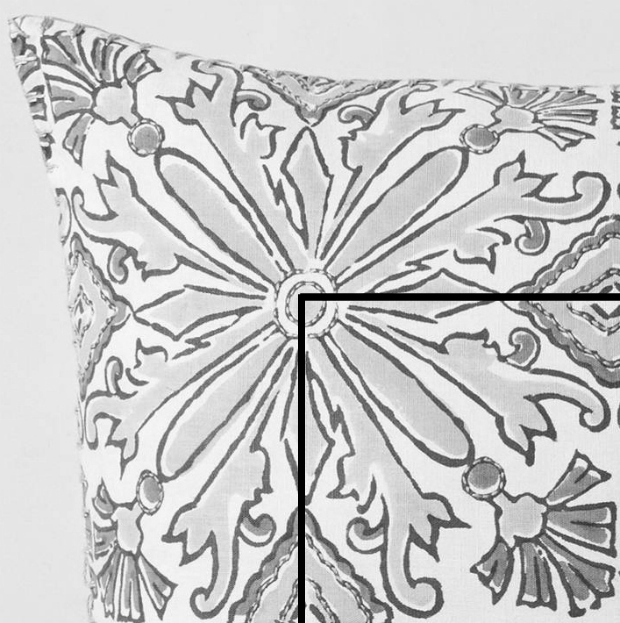
I carefully lined them up and taped them together to make a full picture of the image, but without any of the curve distortions. Then I taped the whole thing to an interior window.
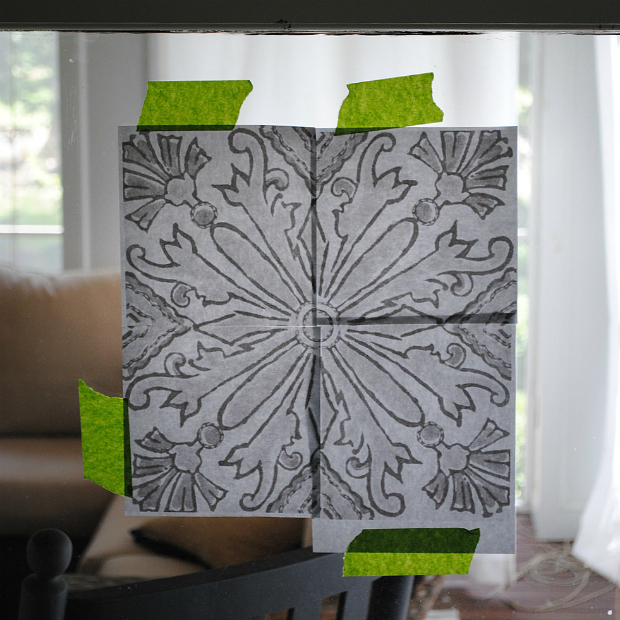
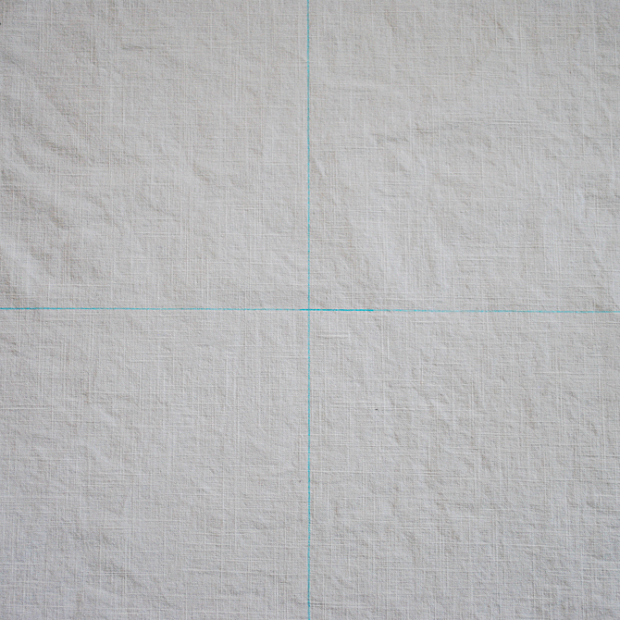
I found an inexpensive white linen fabric at Joann’s and cut it to 27″ square to make a large, Euro-sized finished pillow. With an erasable marker, I drew a grid of four squares on the fabric.
I lined one of the grid squares up over the taped image and then taped the fabric to the window. I put a light on the other side of the window to help me see the image through the fabric.
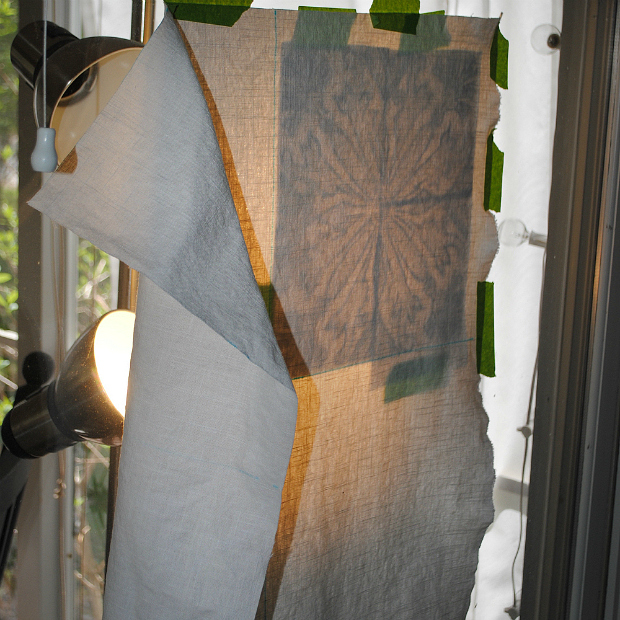
Then I got to work with the Sharpie! All I did was carefully trace the image onto the fabric.
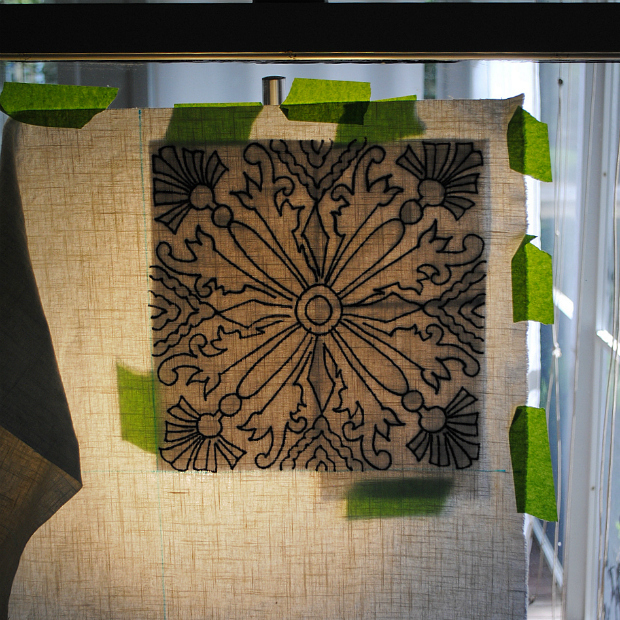
I repeated four times until I had the complete outline transferred to my fabric.
To fill in the color I used Rit dye – I custom mixed the colors a bit but started with Aquamarine, Scarlet, and Golden Yellow. I added water to dilute a bit and to give the colors on the pillow a bit of a watercolor effect, then painted them on with a small paintbrush. Some of the colors bled a little so I touched up some of the areas with another small paintbrush and some bleach.
When the pillow was painted (sorry – somehow didn’t get any photos of the painting process! I think I was at the beginning of a head cold), I let it dry overnight then washed in warm water and dried on high heat. To sew the actual pillow I followed this tutorial for how to sew a pillow with welting. I used a 26″ square Euro-sized pillow insert (great deal on them HERE where you can buy four feather-filled ones for around $25 each!).
This might be my favorite look-for-less project of all time. It’s pretty darn close, isn’t it? But for under $20 instead of nearly $200. My marriage is safe.
As a general technique, I’m really excited about the painted fabric dye route. I’ve painted pillows before with fabric paint (and I love the colorblocked pillow on my porch) but this has a much softer feel and the finished pillow has this amazing watercolor paint look. I can’t wait to try out more applications for this.
Who else is ready to start dying all the fabric? Someone hold me back!


So cute!!! I love that pattern for summer. xo
Yes – feels totally summery to me!
um. wow. that is AMAZING.
Haha :) Thanks!!
love the idea of using rit dye for a softer feel!! This turned out amazing, love it!
Thanks, Sarah! I’m sure I’ll be a fabric dye-ing fool for awhile :)
Ok, this is absolutely one of my most favorite diy products ever. What a fabulous idea and your pillow turned out amazing. I am so inspired by this project.
What a lovely comment :) And it’s definitely up there for me too!
Personally, I think your replica of the pillow looks even better than the real one! What a clever idea.
How nice, thank you, Hailey!
I think I ma even like it better than the original!! And I must go catch up on that bamboo ladder!
I know I would mess up the design!
Jen, Jen, Jen – so clever, clever, clever!! Amazing. xoxo