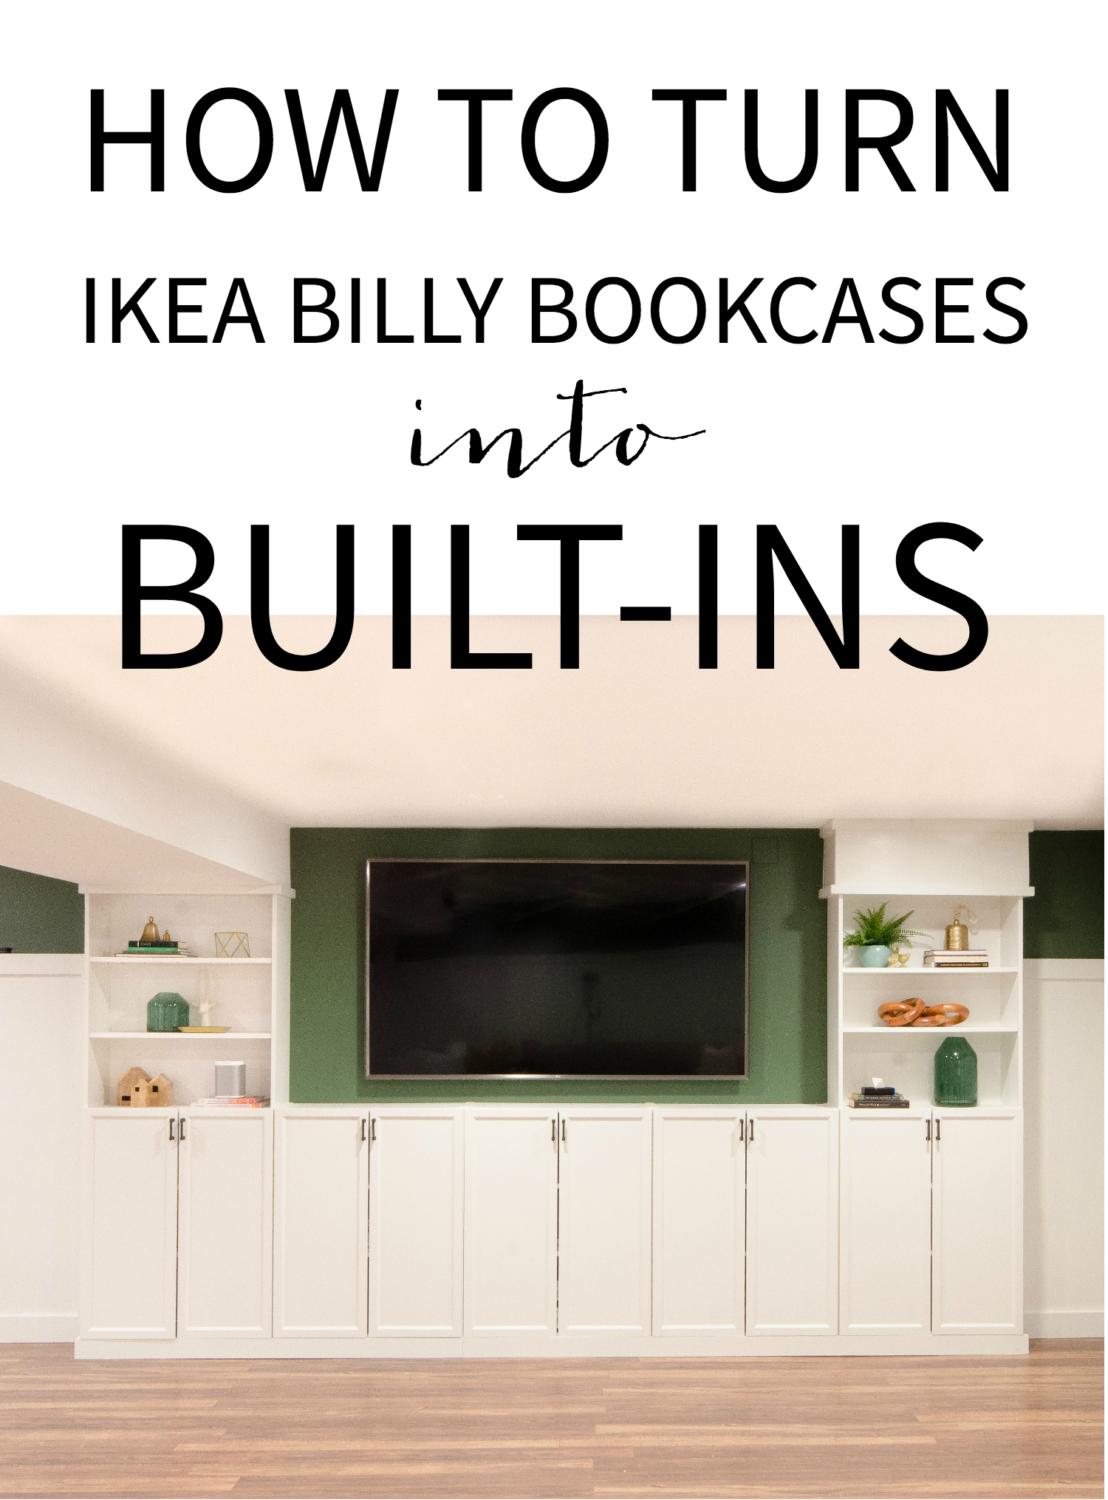
Well this tutorial has been a long time coming. I finished work on turning several Ikea Billy bookcases into built ins nearly a year ago now. I actually can’t even believe it’s been that long! This project was a major part of my finished basement renovation – you can see all the steps along the way here, here, here, here, here, here, and here. (Yes. The project took a really long time!)
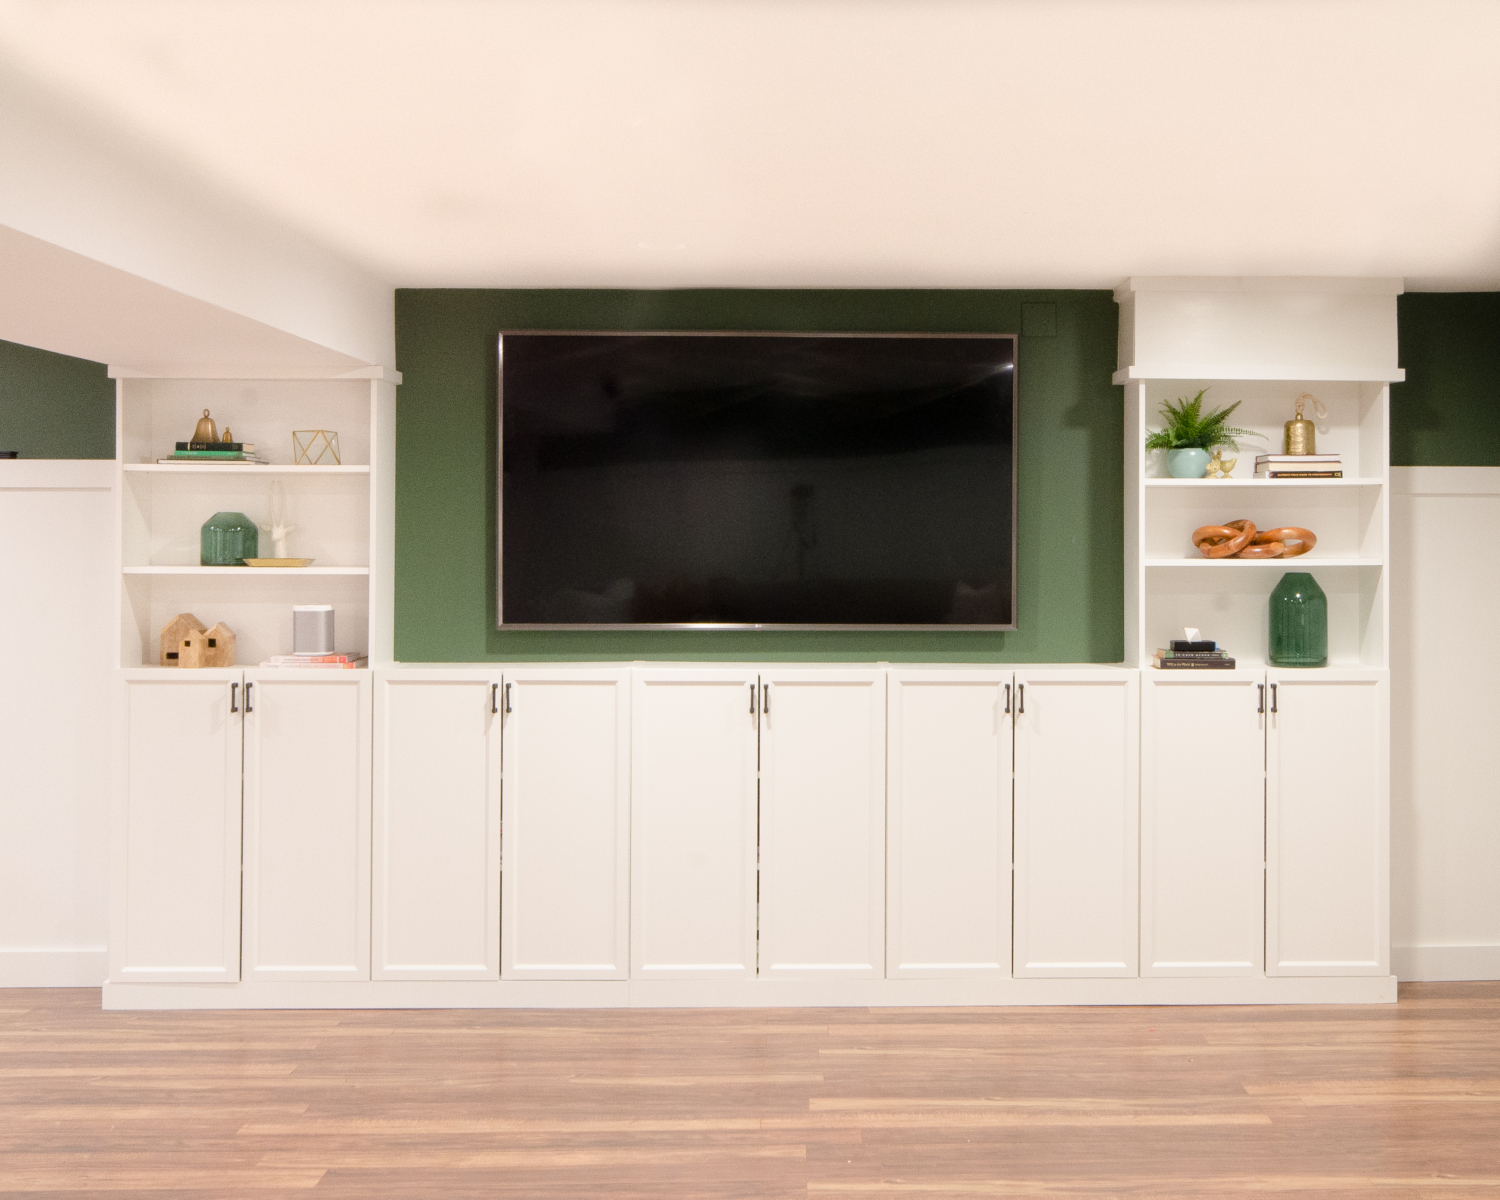
Something I knew I wanted from the very early conception stages of the renovation was a wall of built ins to frame the wall-mounted TV and to hold all of my kids’ toys and games. I considered building them from scratch because I was dealing with some height issues (you can see above that the left side of the built ins nestles under a section of drop ceiling) but the cost of all the lumber was starting to give me anxiety as was the idea of doing such a big project 100% from scratch. I’d seen tutorials showing how to turn Ikea Billy bookcases into built ins before so looked up the dimensions of the shelving units and the tall 31.5″ wide Billy bookcase was practically the exact width and height of the space I had under that drop ceiling. I took that as a sign that this was the way to go and ordered two tall Billy bookcases, three short bookcases, and ten Oxberg doors.
One of the most important steps in turning Billy bookcases into built ins that look and function like built ins done from scratch is anchoring them to the walls and/or ceiling. You do not want them to move after they’re installed, and having them flush to the wall gives the most polished, professional look. Don’t worry about small gaps though – they can be fixed later with trim pieces and caulk!
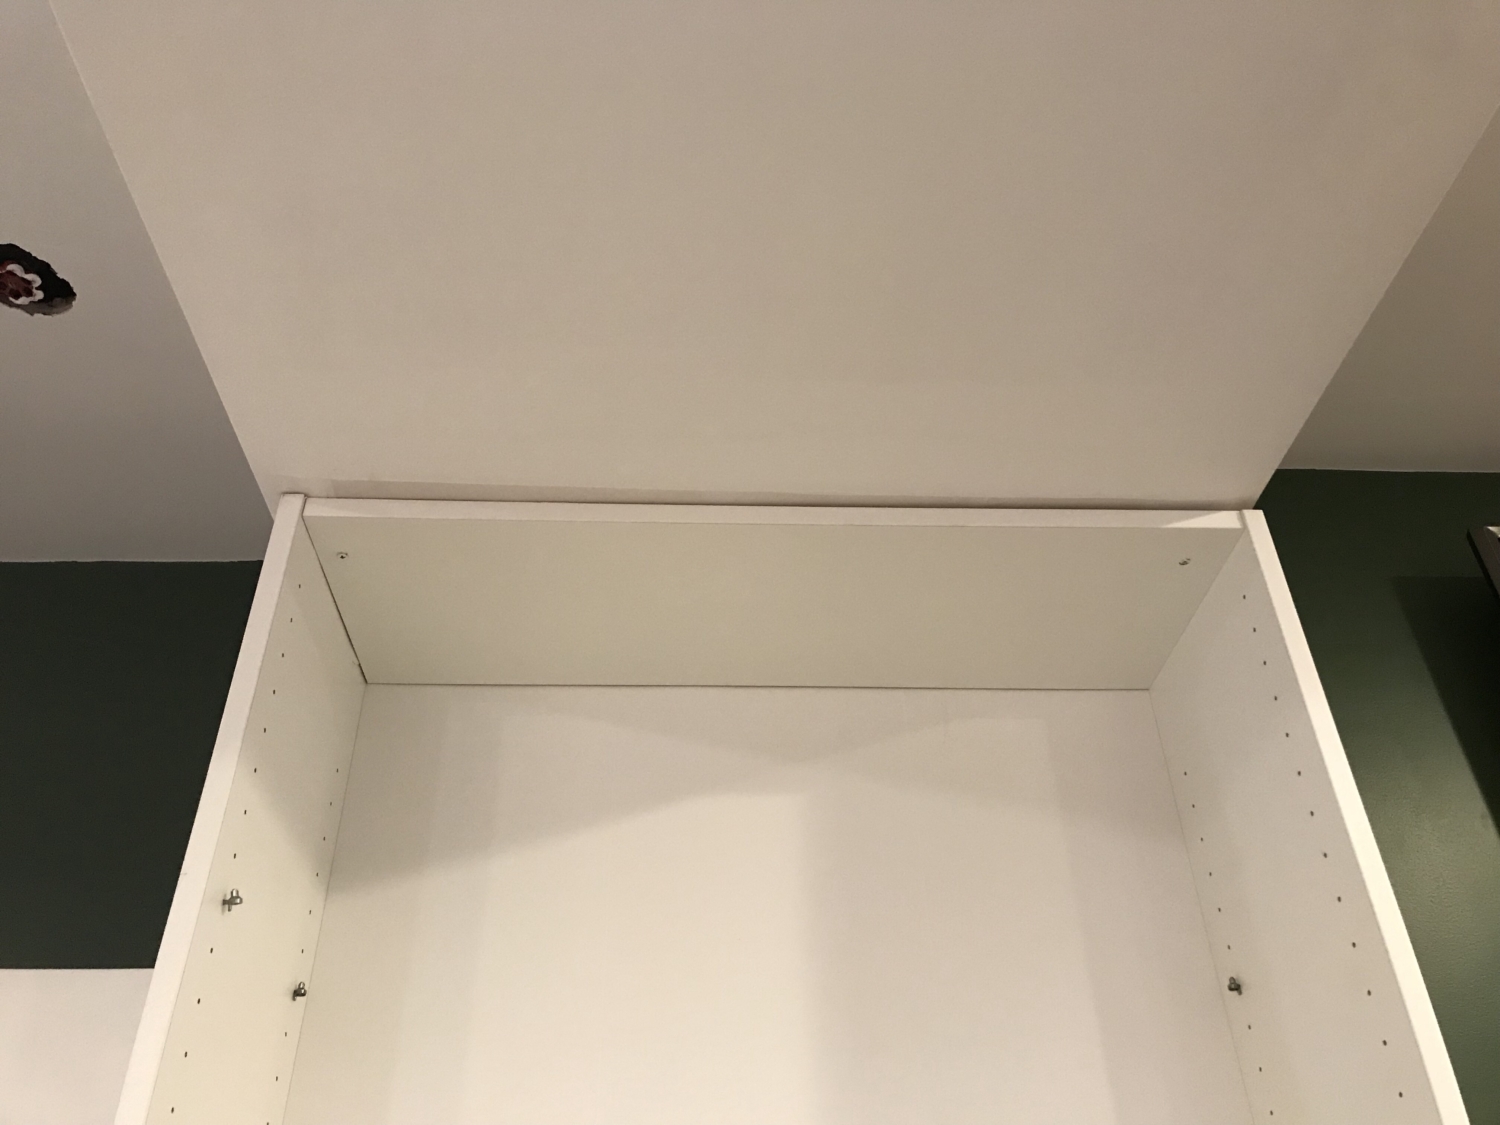
For the tall Billy bookcase that was going under the drop ceiling, I centered the bookcase in the opening and then drove two long screws right up through the top of the book case and into the ceiling (which just happened to be one giant wood stud underneath). If you don’t have this situation, you’ll want to make sure you’re putting your screws into a stud. I’ve had this stud finder for ages and it’s an easy way to find a wood stud when you need one.
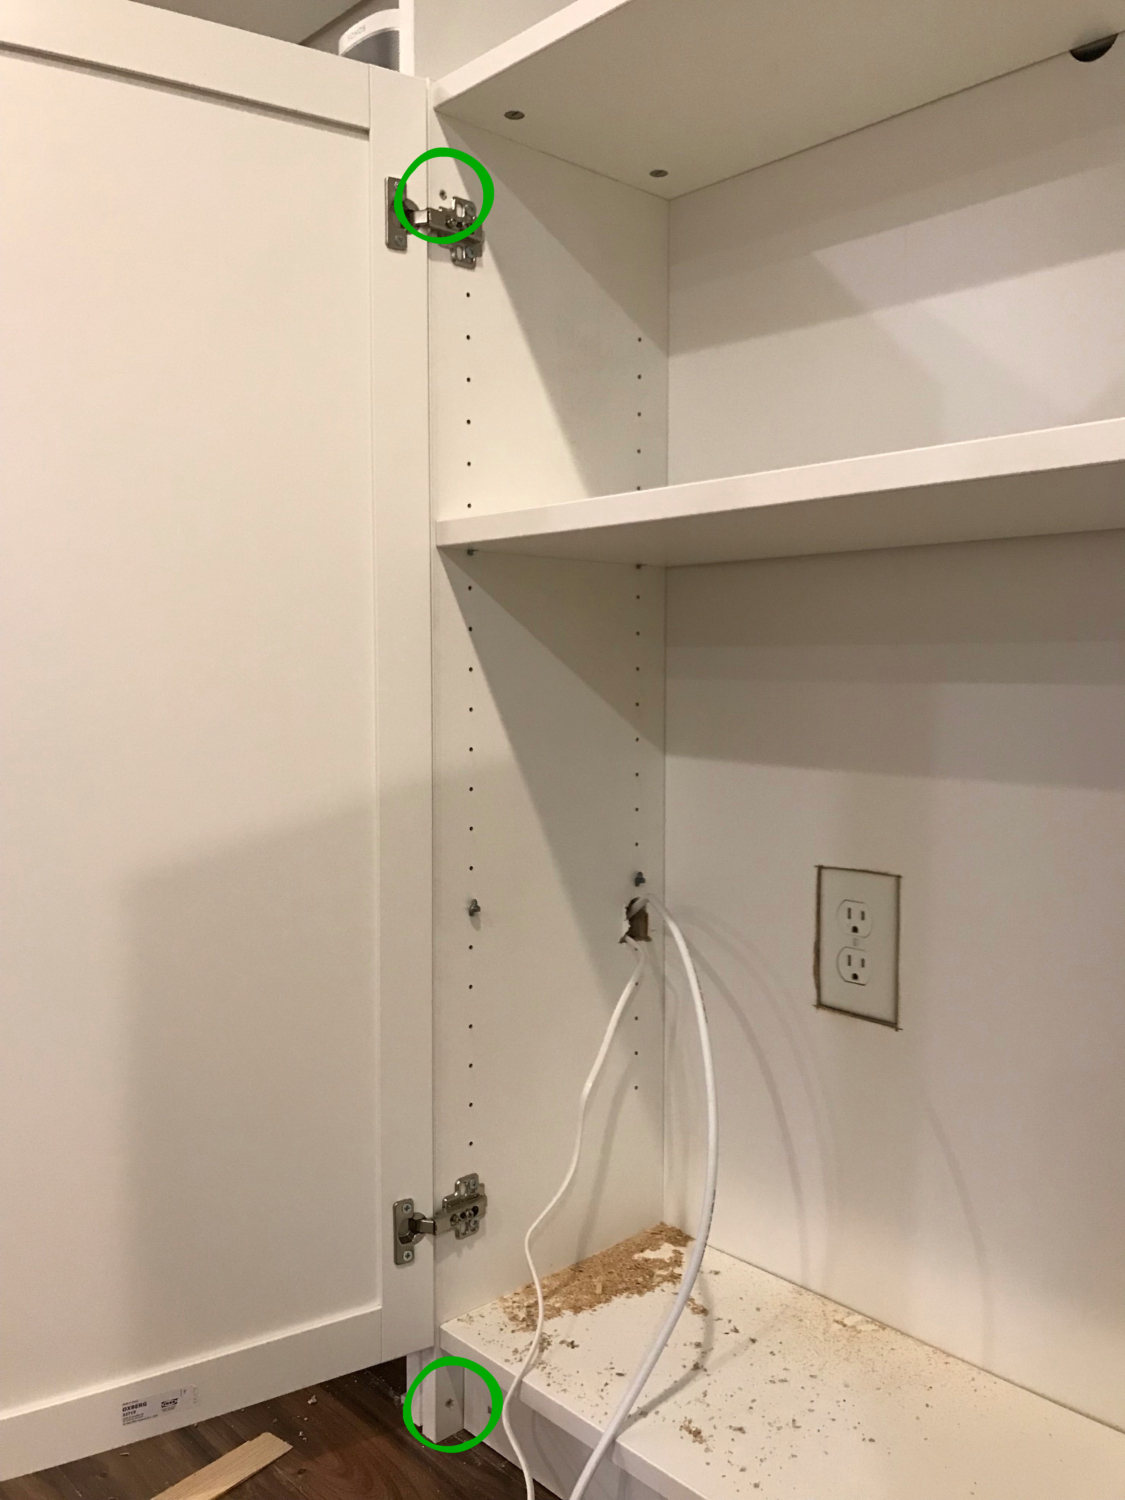
Before I started adding the other bookcases to the row, I measured the location of the wall outlets and cut holes in the backs of the bookcases so they could be accessed. I also drilled some holes through the sides of the bookcases so I could run cords for a speaker, the cable box, and the TV. Wiring the TV behind the wall was actually super simple. I used a hole saw bit and my electric drill to drill one hole through the wall behind where the TV would go and another hole directly below the first one but positioned so it would be behind the lower Billy bookcase. Just make sure you drill this hole between studs where the wall is hollow behind the drywall. When the TV was being mounted, I dropped the cord through the top hole and then fished it out of the lower hole and fed it through the holes I’d drilled in the backs and sides of the bookcase to access an outlet.
To attach the remaining Billy bookcases to each other, I set them in place and then used 1.25″ screws to attach adjacent shelves to each other along the sides. I positioned one screw near the top door hinge and a second underneath the bottom shelf so it would ultimately be hidden by the baseboard. You can see the screws circled in green in the photo below.
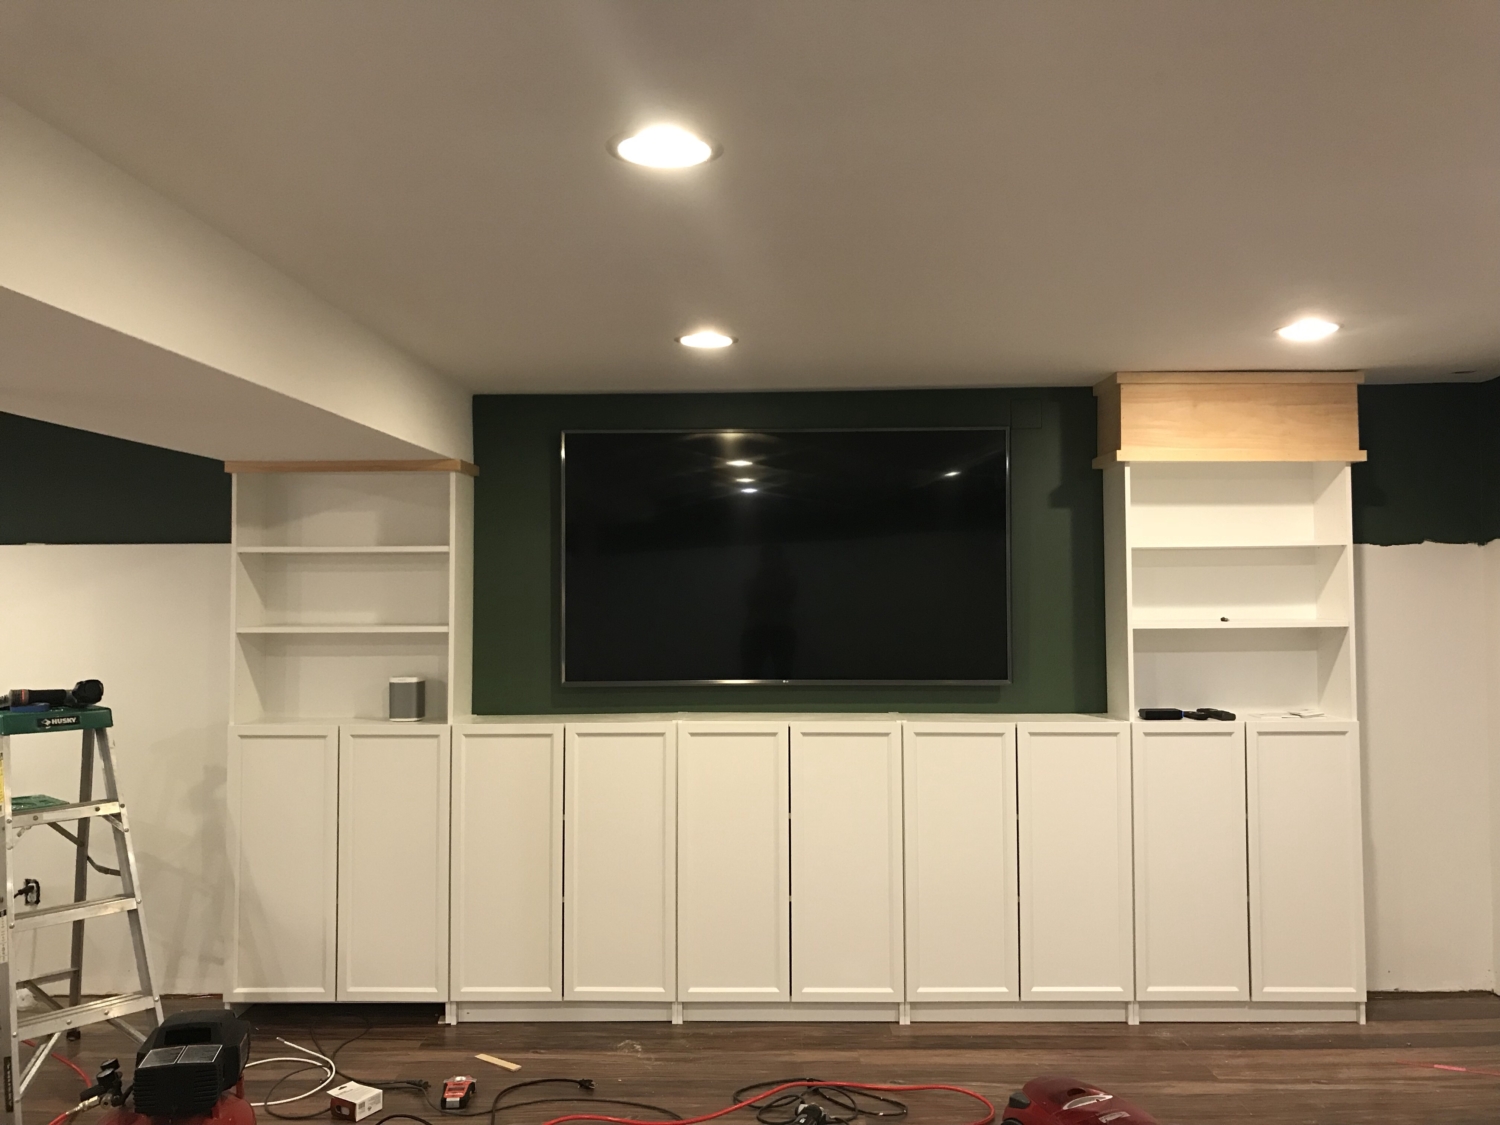
Here’s how things were looking once all the pieces were in place and attached to one another. Not finished but well on my way to turning these five Billy bookcases into built ins!
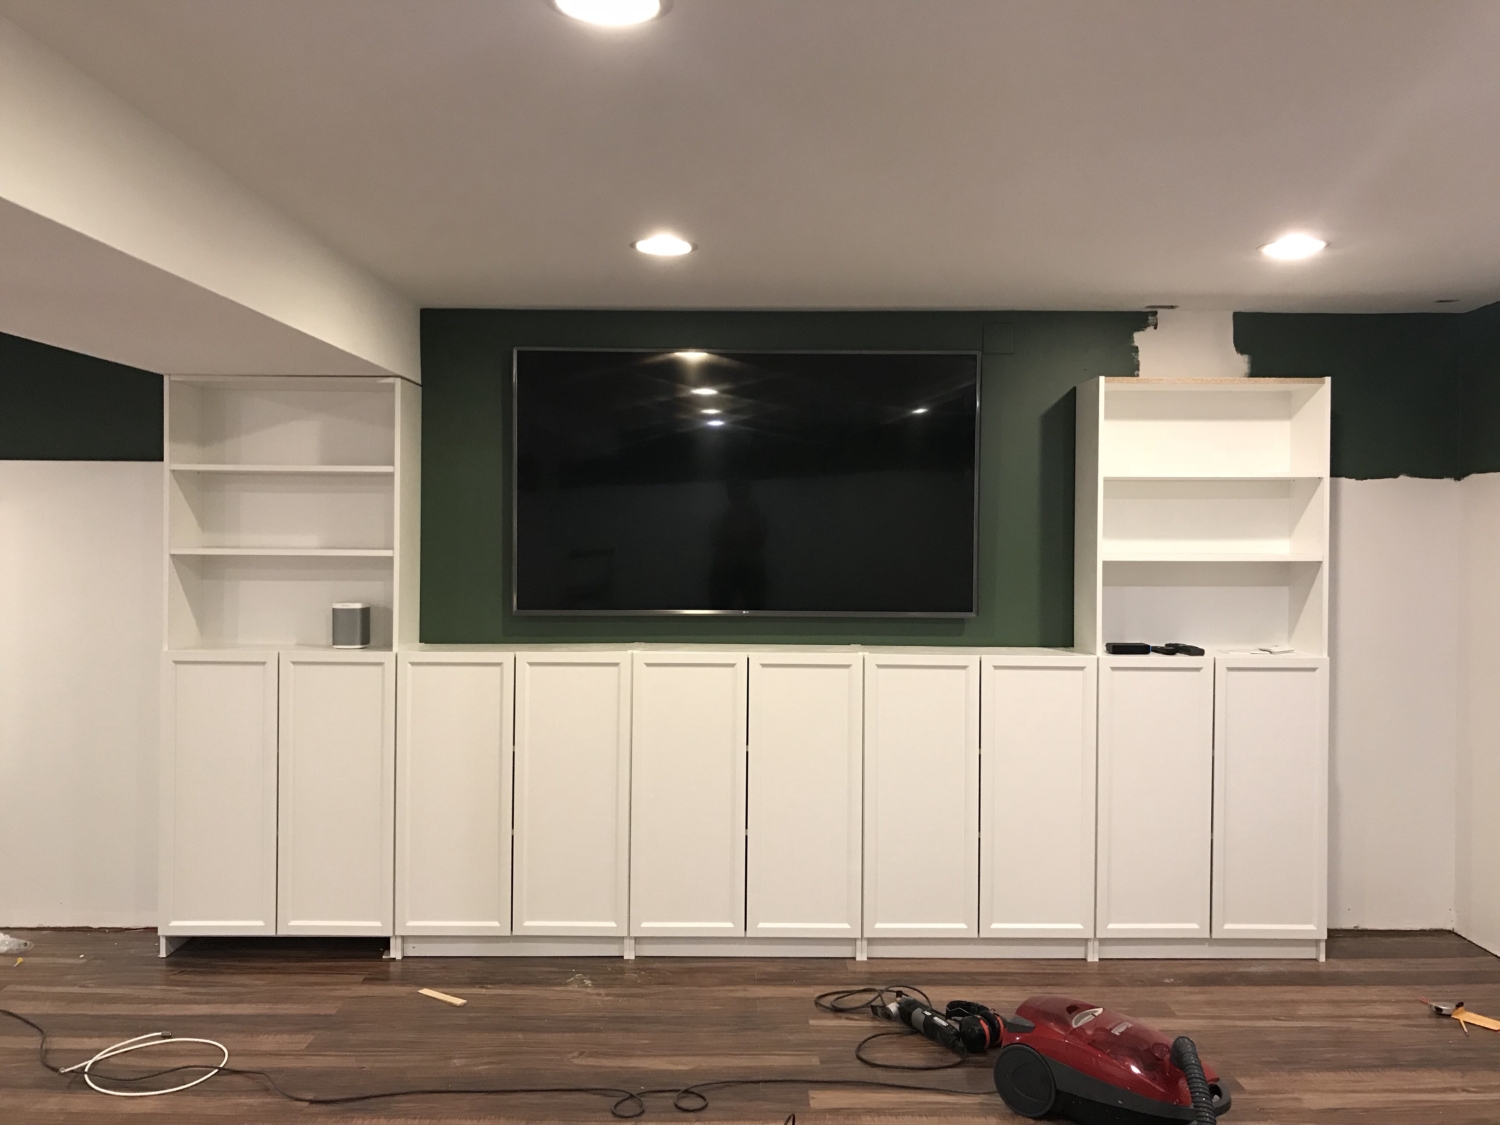
Next up was dealing with the large gap above the tall right bookcase. Because of the way the left bookcase was positioned under the drop ceiling I couldn’t do a simple crown moulding around the top. That would have been my first choice, so if you’re installing a similar system and you can use crown moulding, I would do that!
Instead, I built a hollow box to encase that empty space above the right built in. First I constructed the sides by cutting a 1×12 to the width of the side of the bookcase and 1″ longer in length than the space between the ceiling and the top of the bookcase. I also cut a 2×2 to the width of the bookcase. To attach the two pieces I drilled three pocket holes along the back of the cut 1×12 with a Kreg jig and attached the 1×12 to the 2×2 using 1″ pocket hole nails.
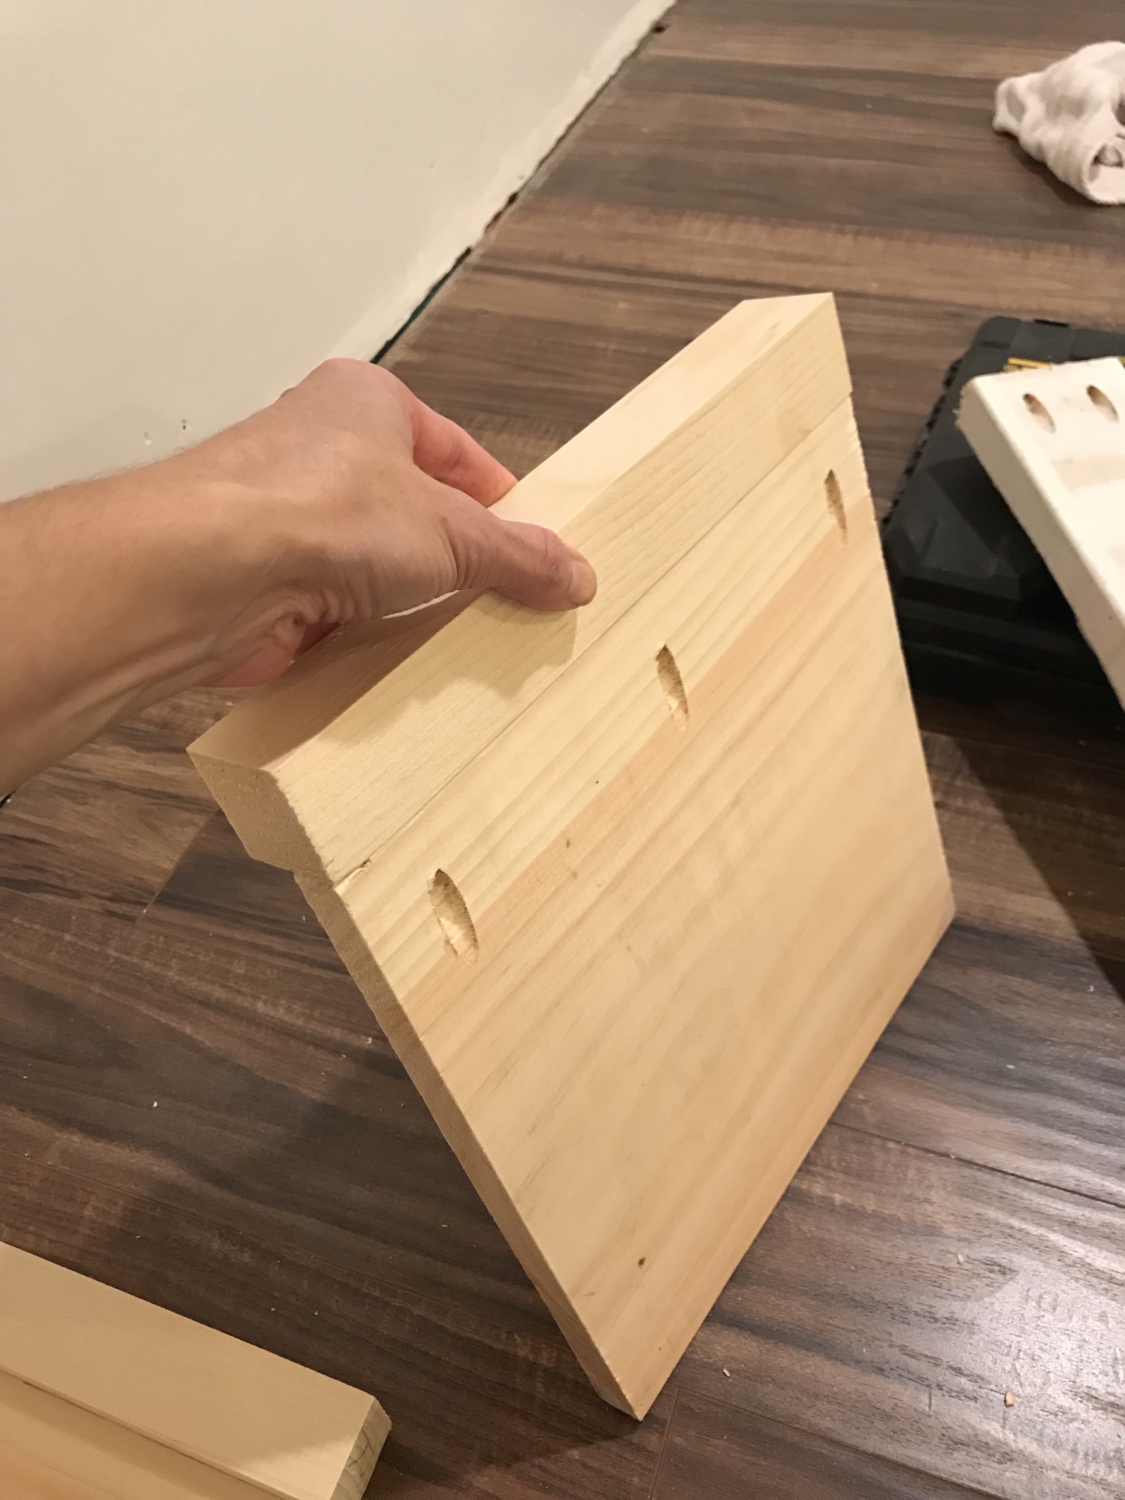
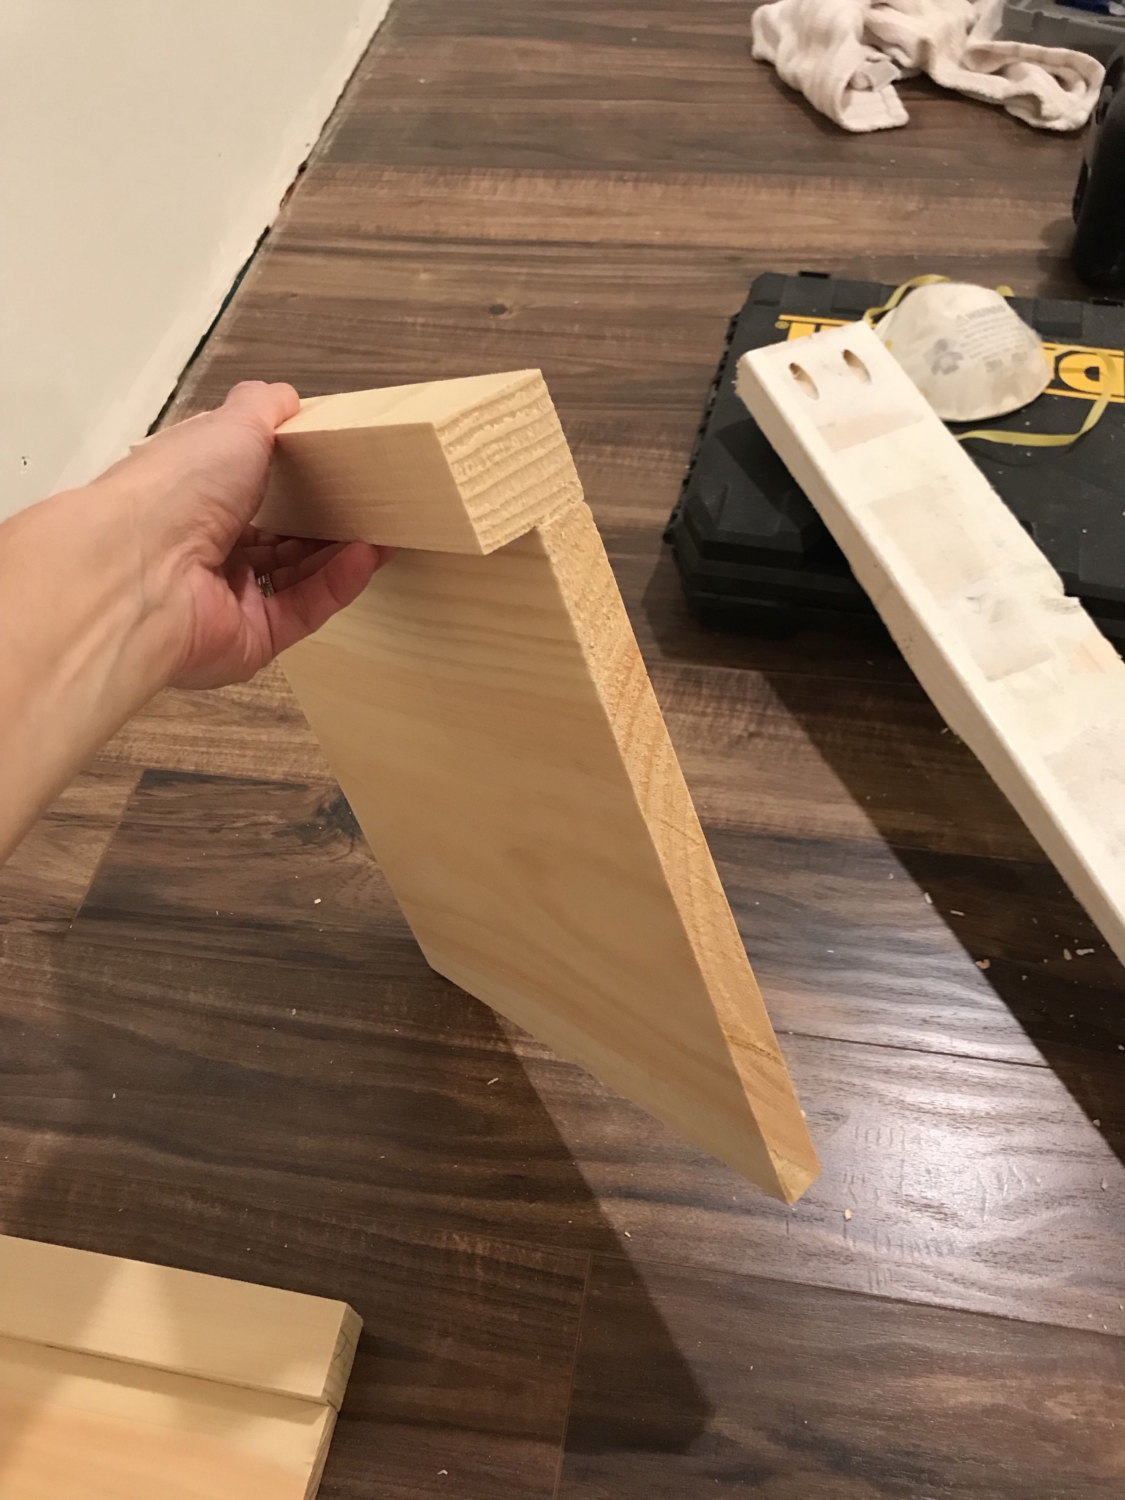
I attached the side by nailing it into the side of the bookcase.
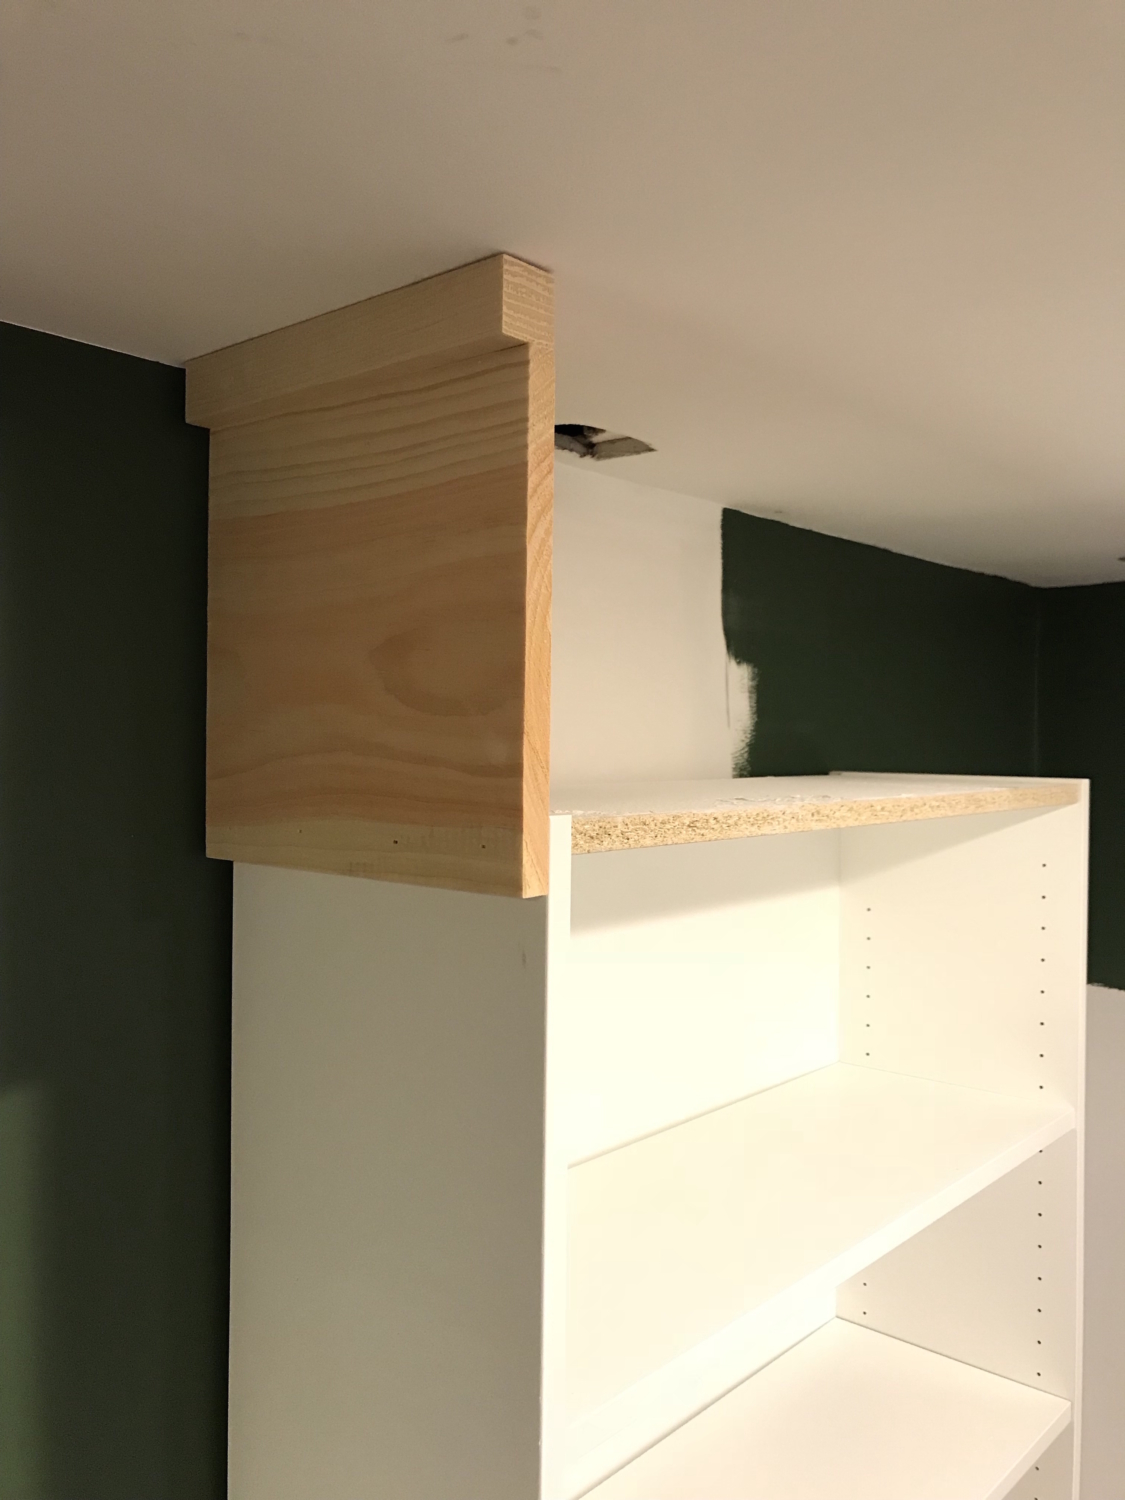
The side wasn’t super sturdy at this point so I cut a piece of scrap 2×4 to the width of the Billy bookcase and used the Kreg jig again to drill two pocket holes in both end of the 2×4. I attached the 2×4 to the wall behind the bookcase by driving 2.5″ nails into wall studs and then attached the 2×4 to the side piece using 1″ pocket hole nails. Boom. Super sturdy!
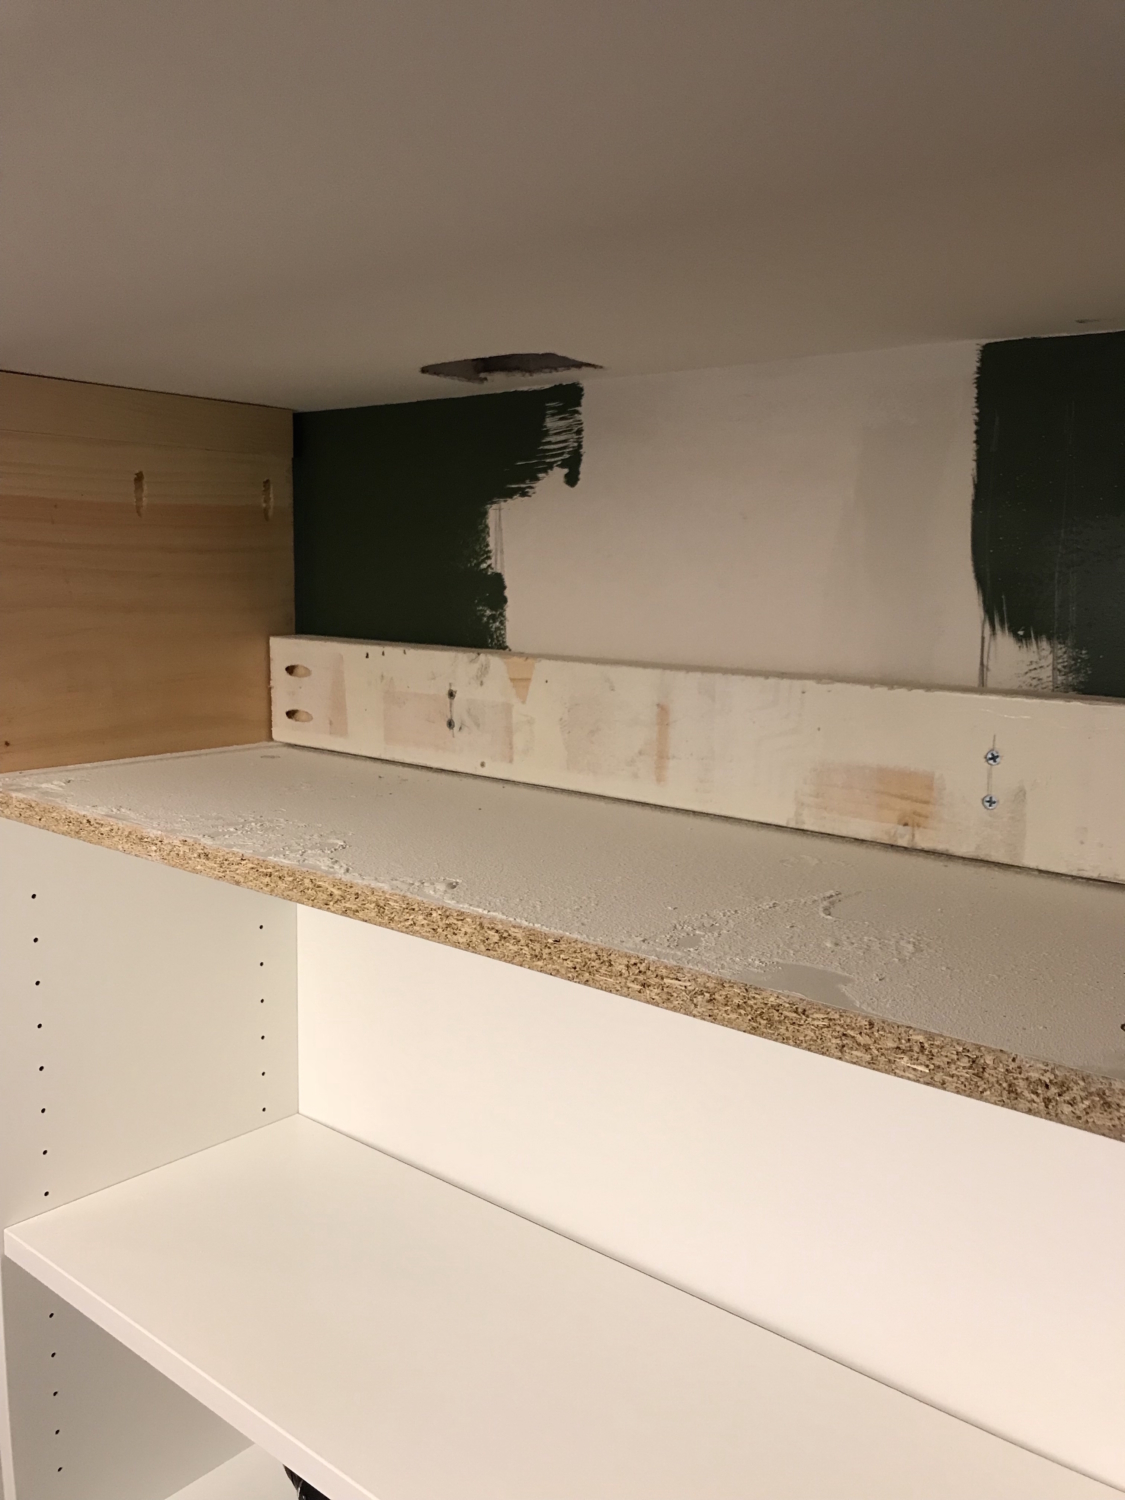
Then I repeated on the other side.
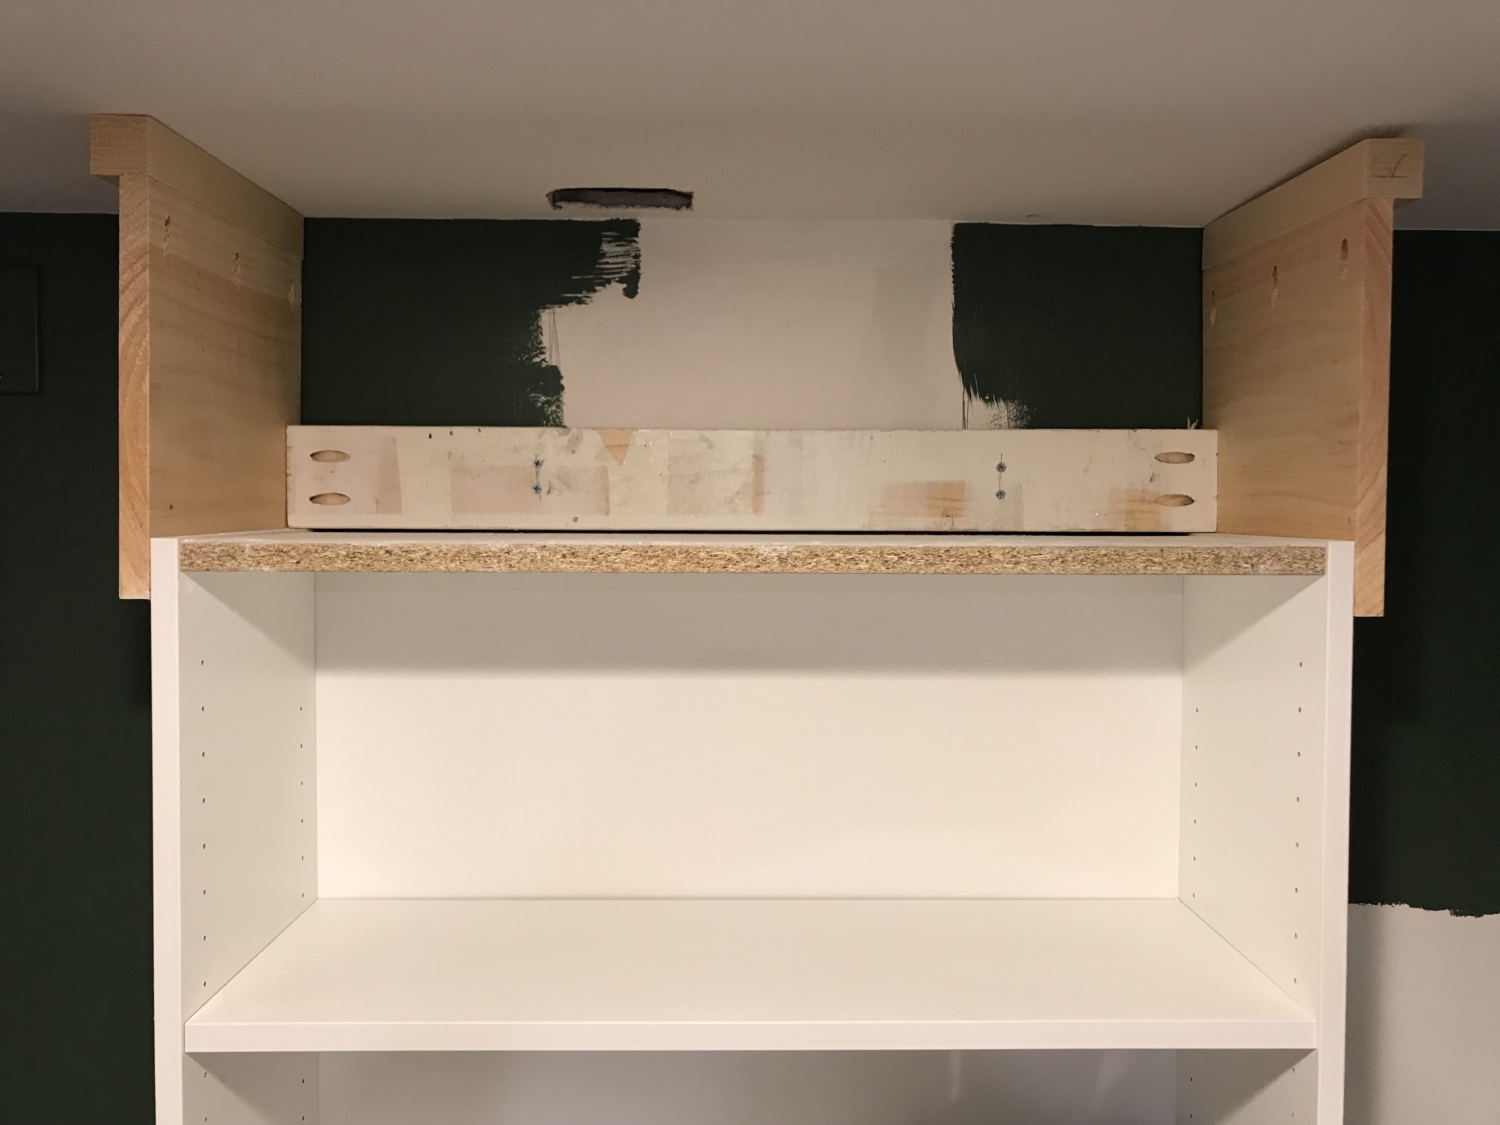
I built the front piece the same way I did the sides and attached it by nailing it into the front edge of the side pieces.
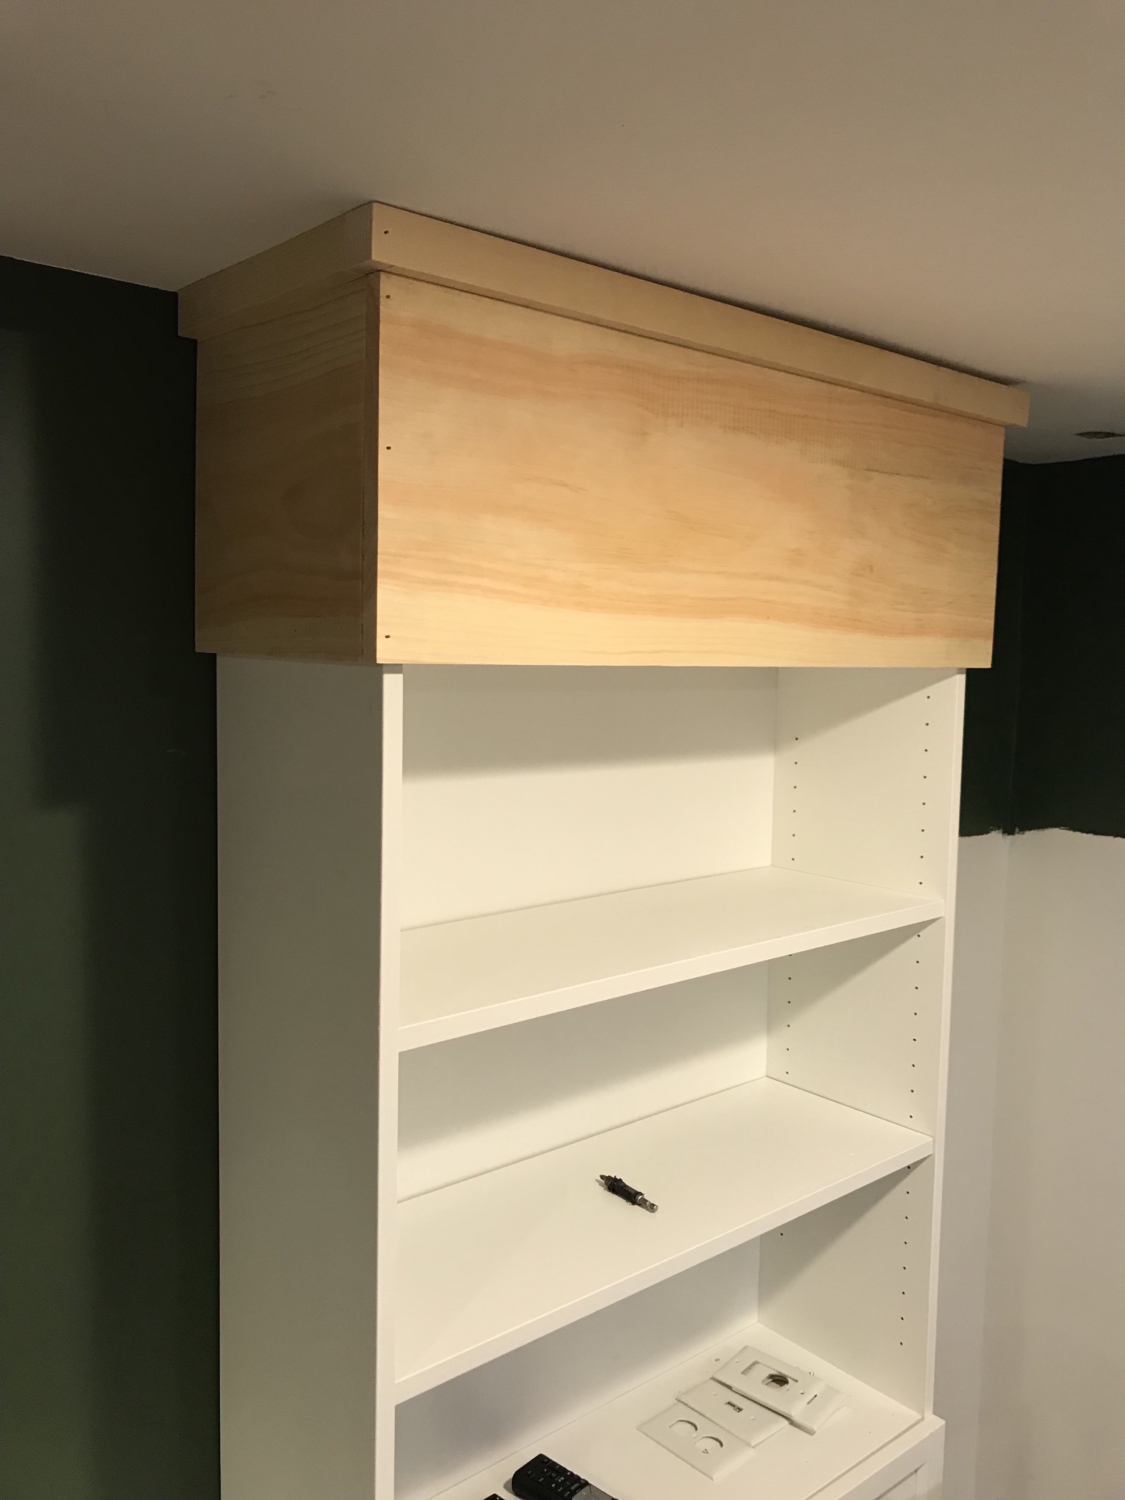
I added a few pieces of 1×2 along the bottom edge to give the look some symmetry.
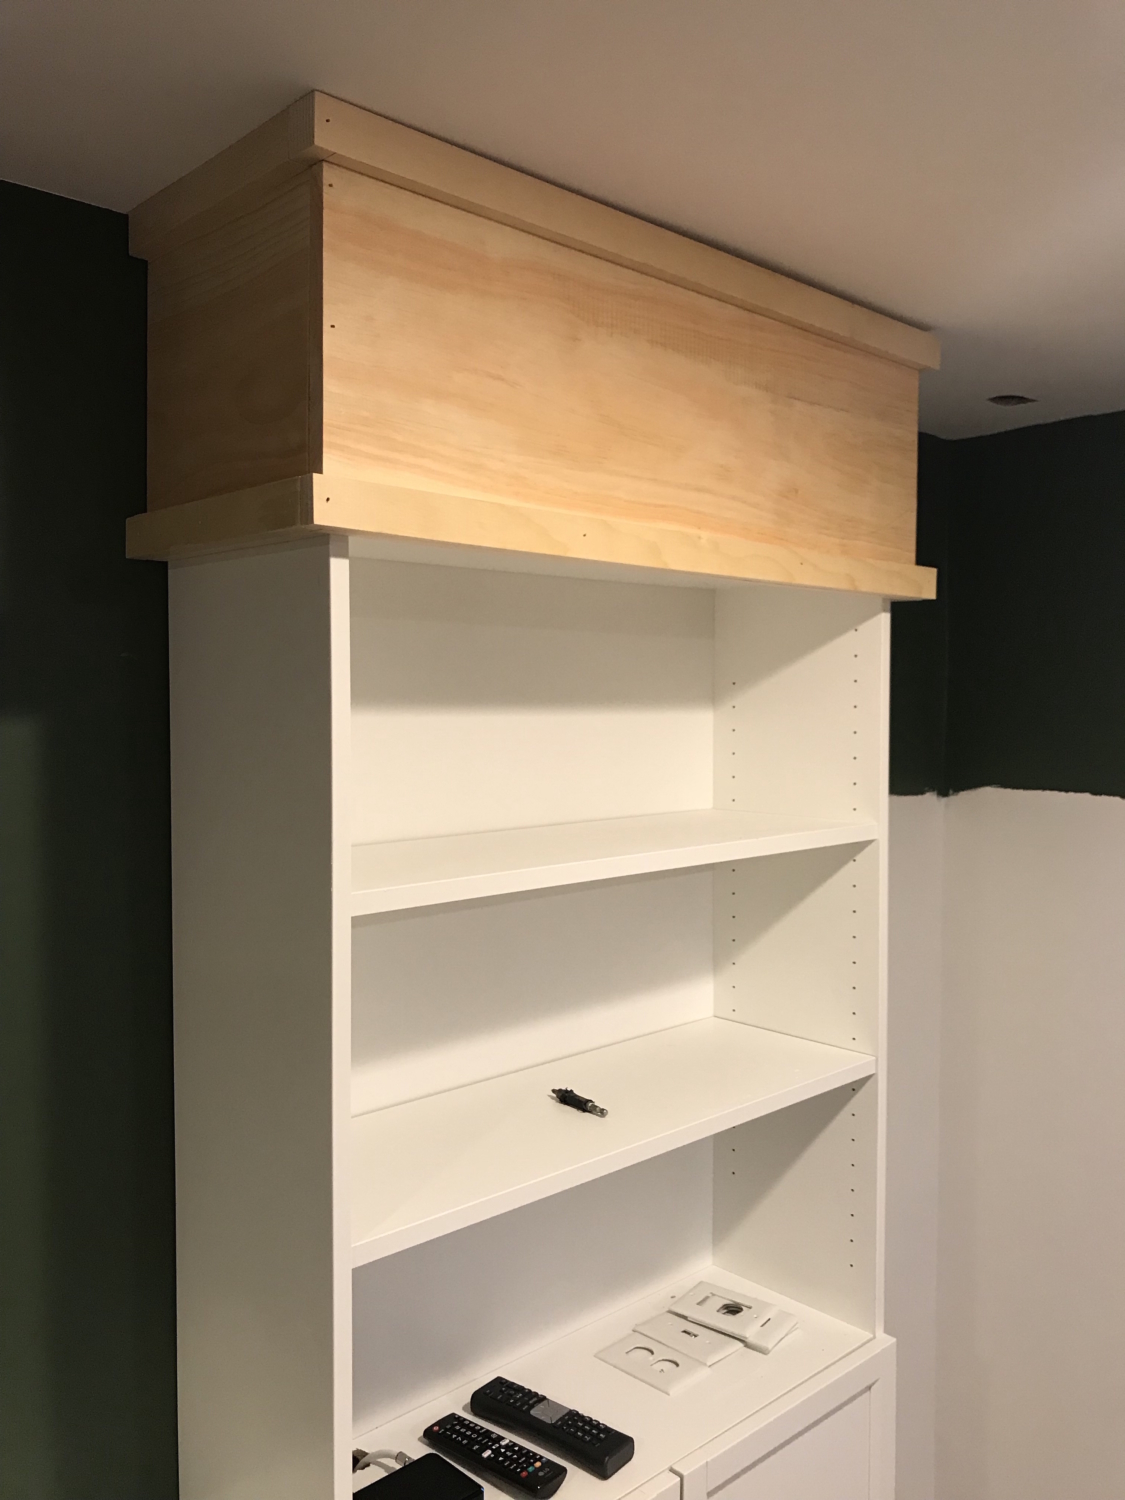
To finish the right side bookcase under the drop ceiling I cut 1x2s to size and nailed them along the top.
The last steps were cutting a 1×4 to size to use as a baseboard along the bottom, caulking all those pesky little (and some big) gaps, and painting the new trim pieces – I had my local paint store custom mix a match to the bookcases. And with that my mission of turning Billy bookcases into built ins was complete!
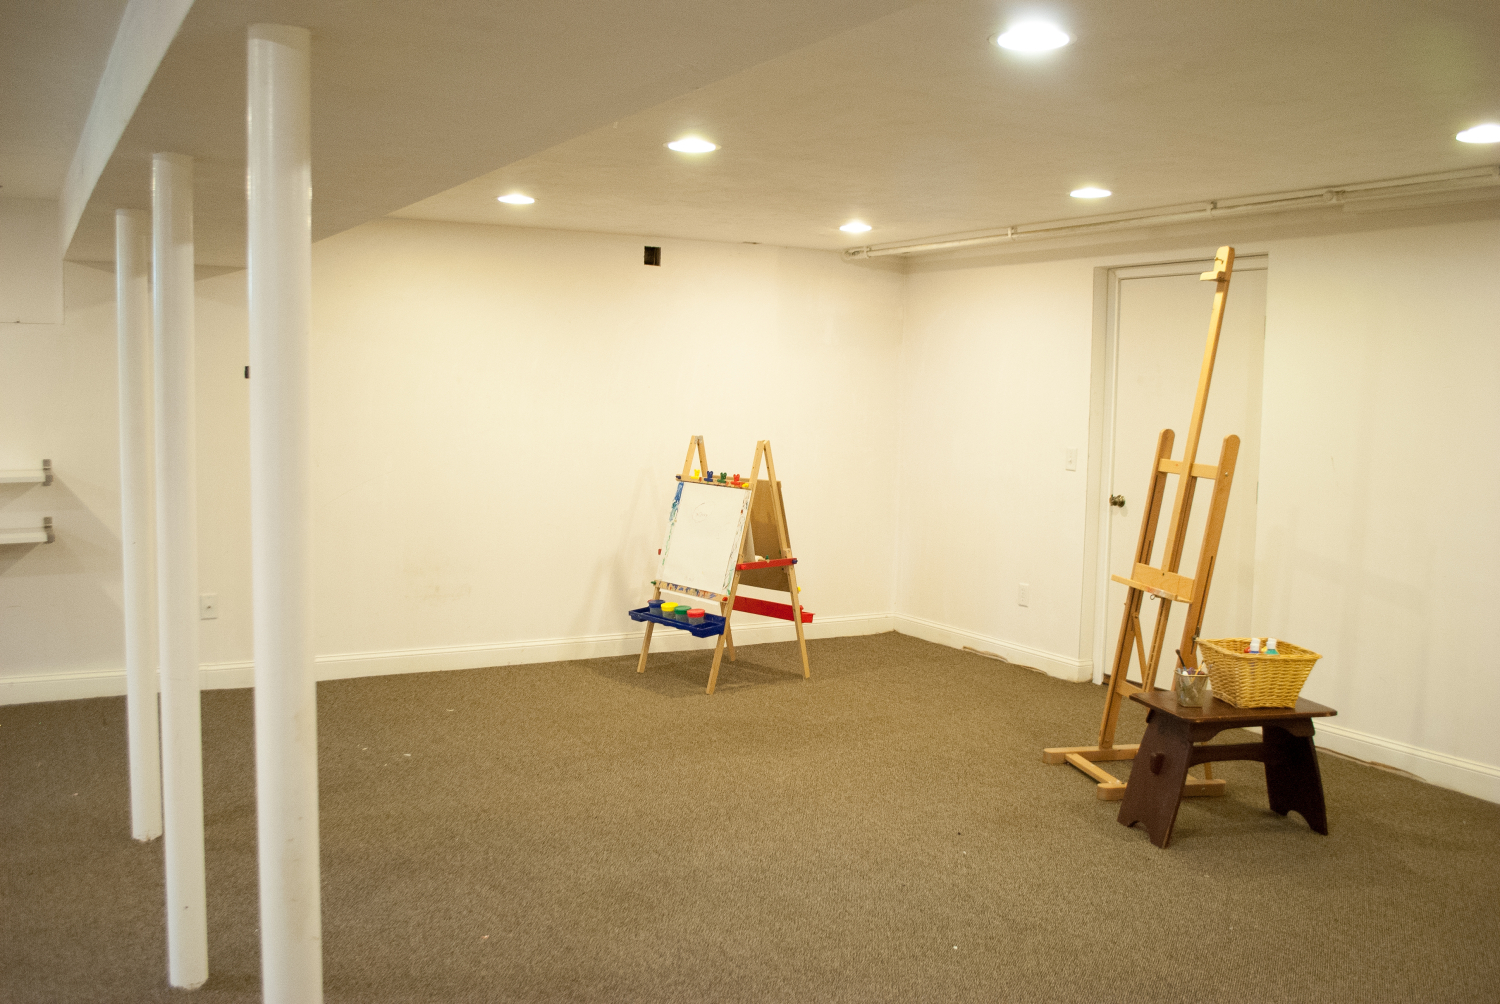
Here is how the same wall looked before the renovation work began.
And here it is after!
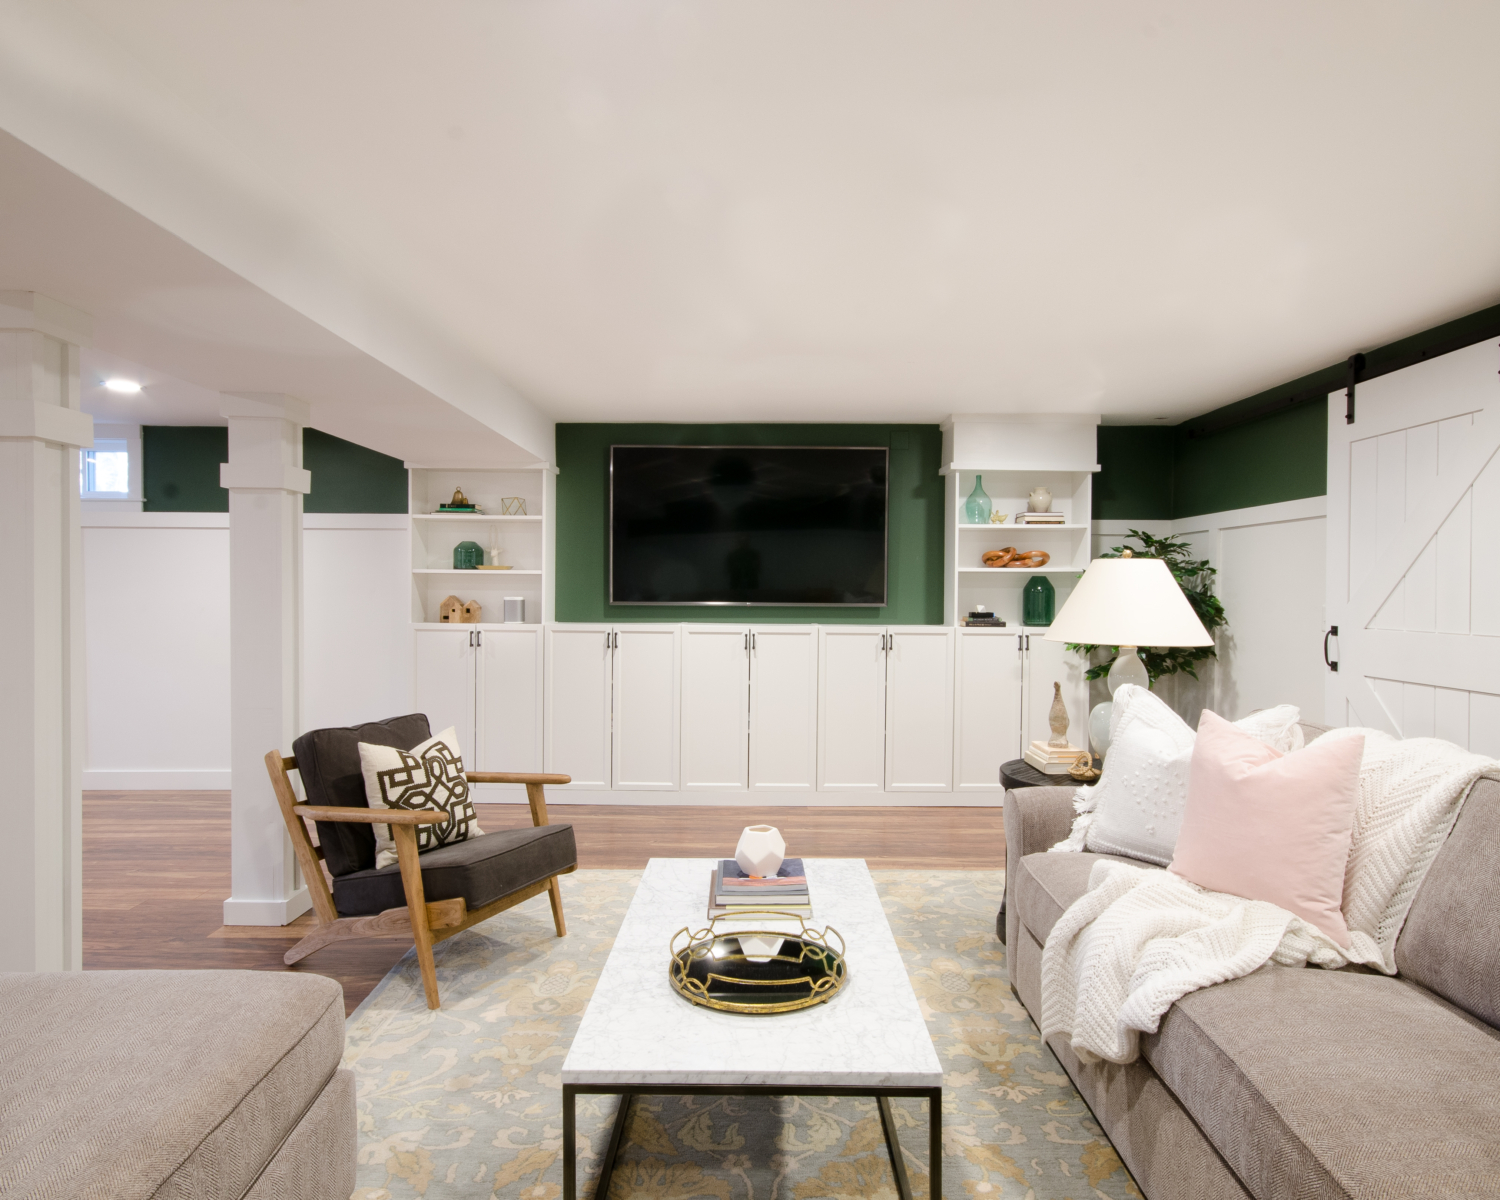
What a difference, right?!? Even though I pictured this and knew I wanted to do this very thing along this very wall, it still amazed me what an impact it had in upgrading the feel of the room. Plus it holds almost every single one of my kids’ toys, so storage solution accomplished too.
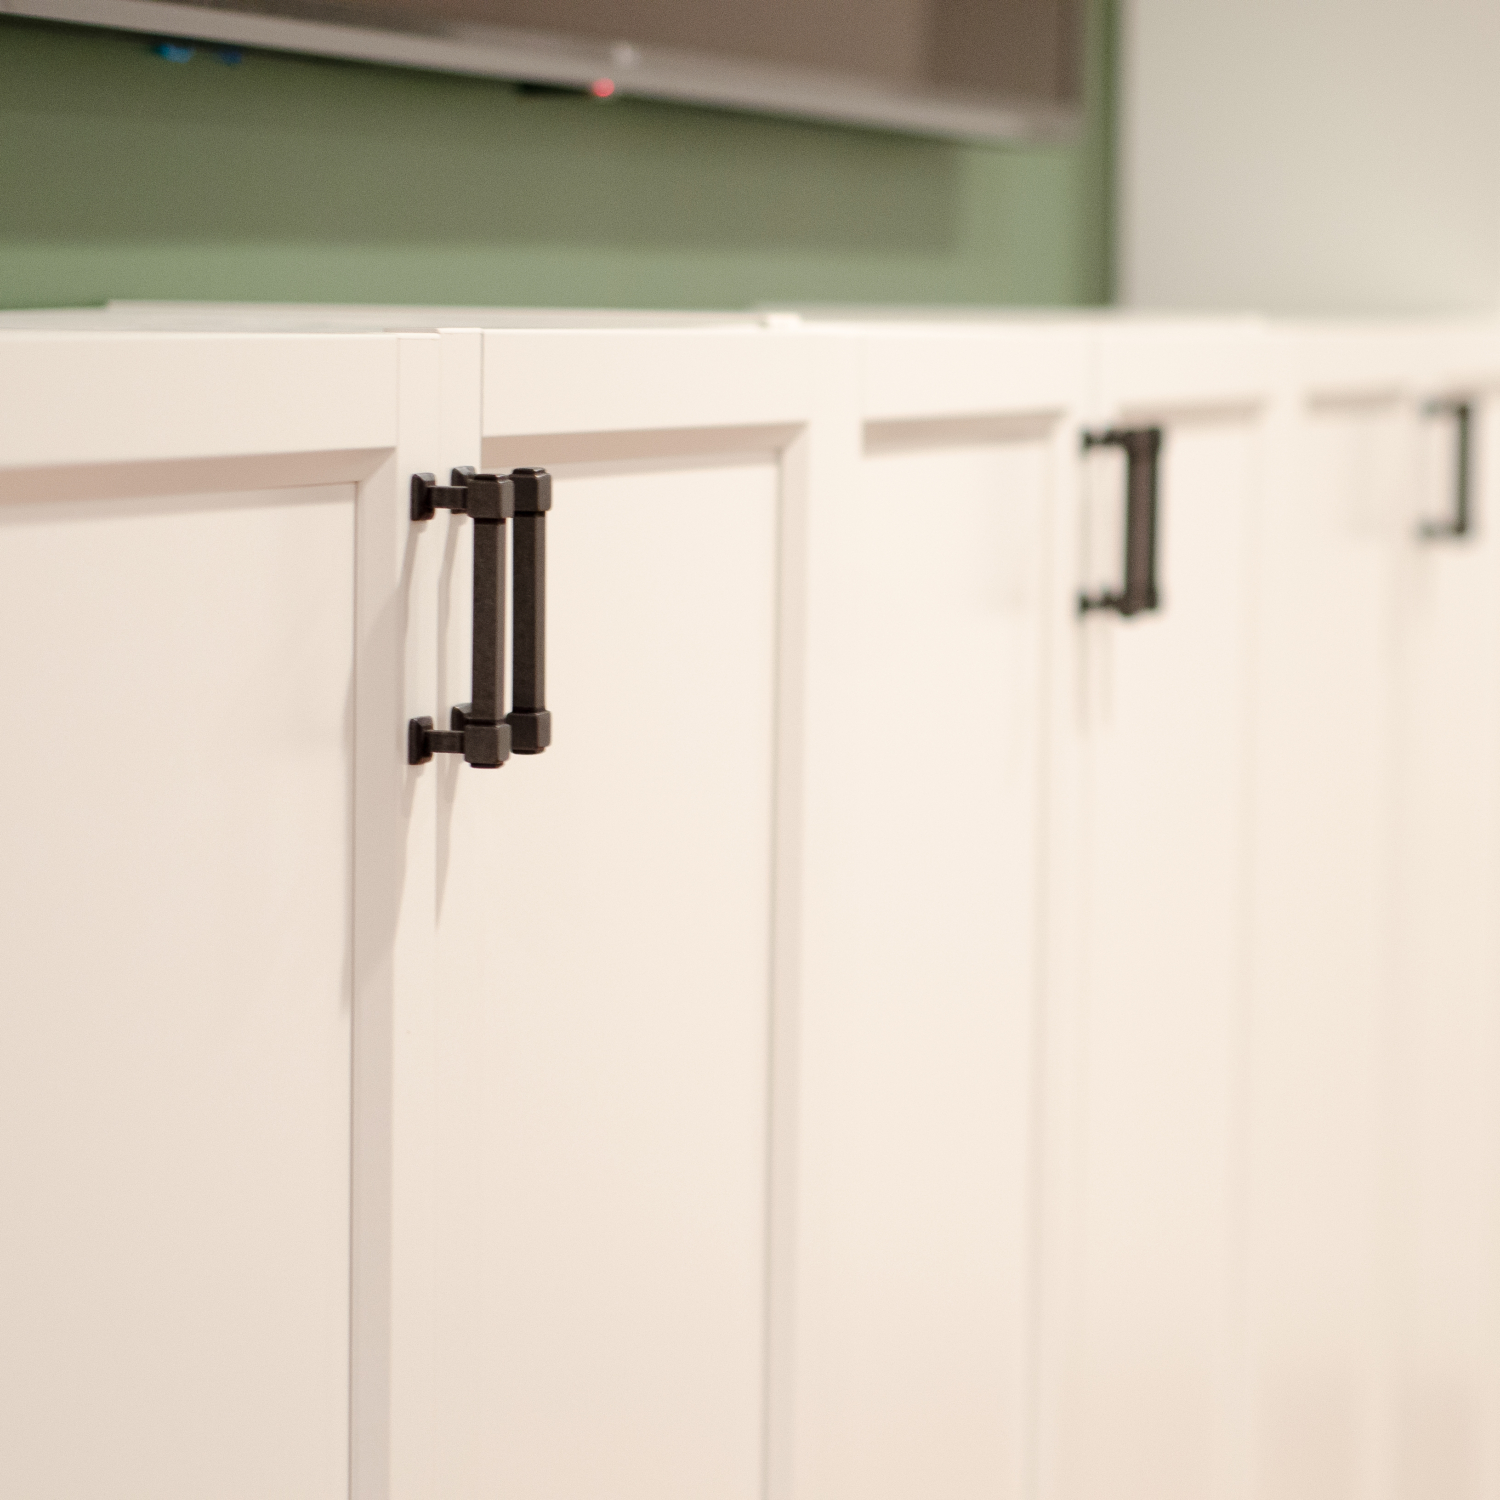
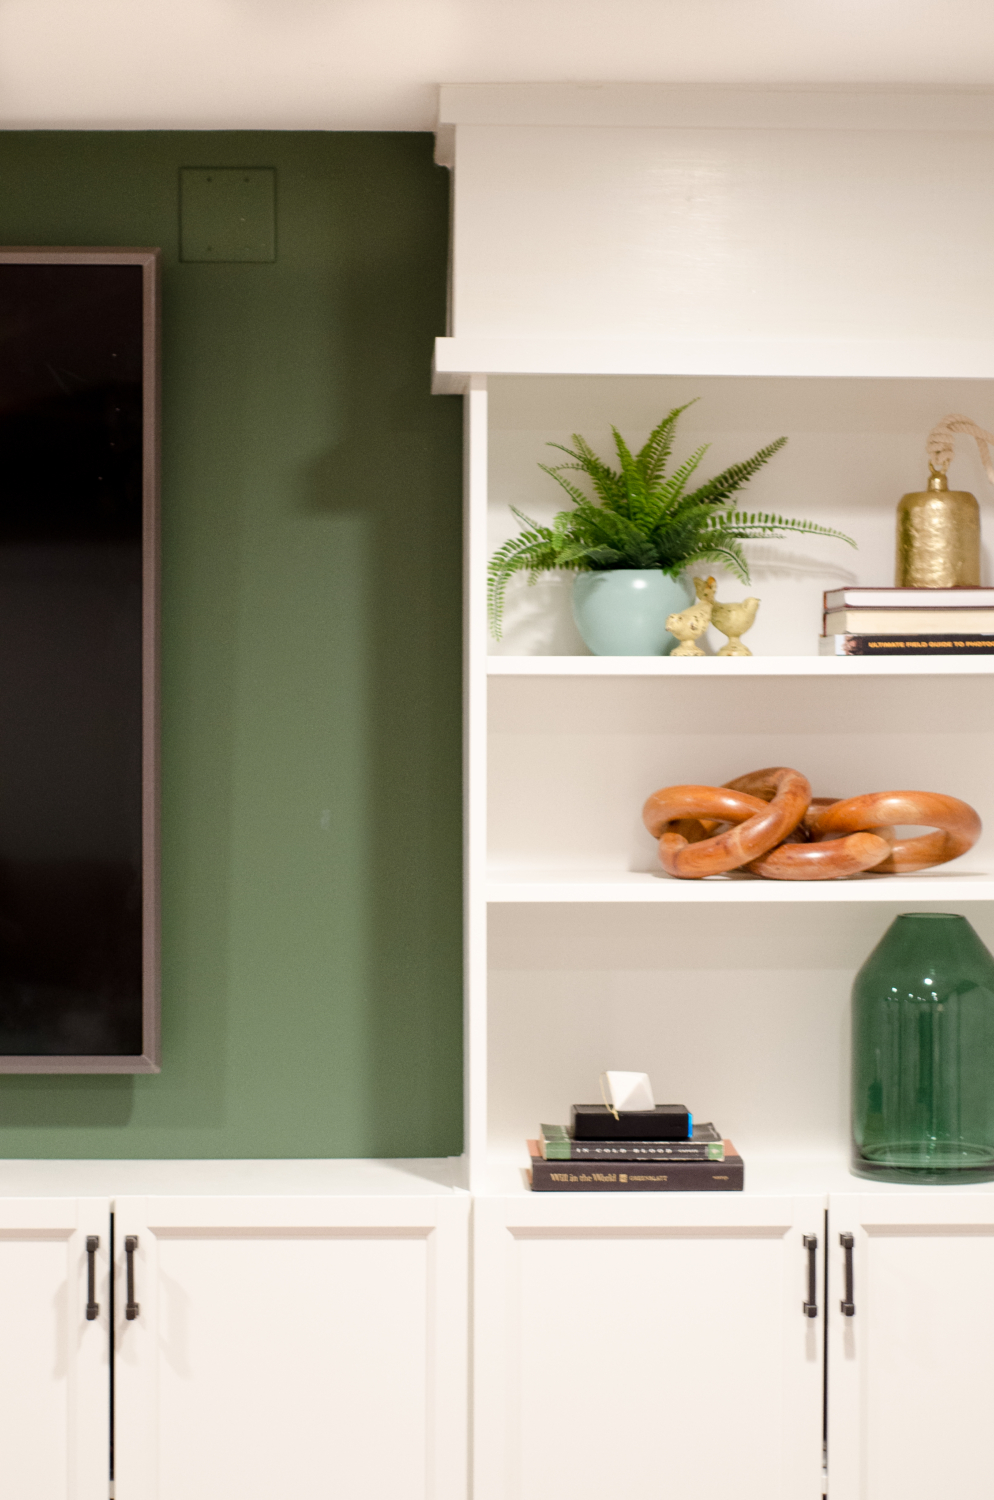
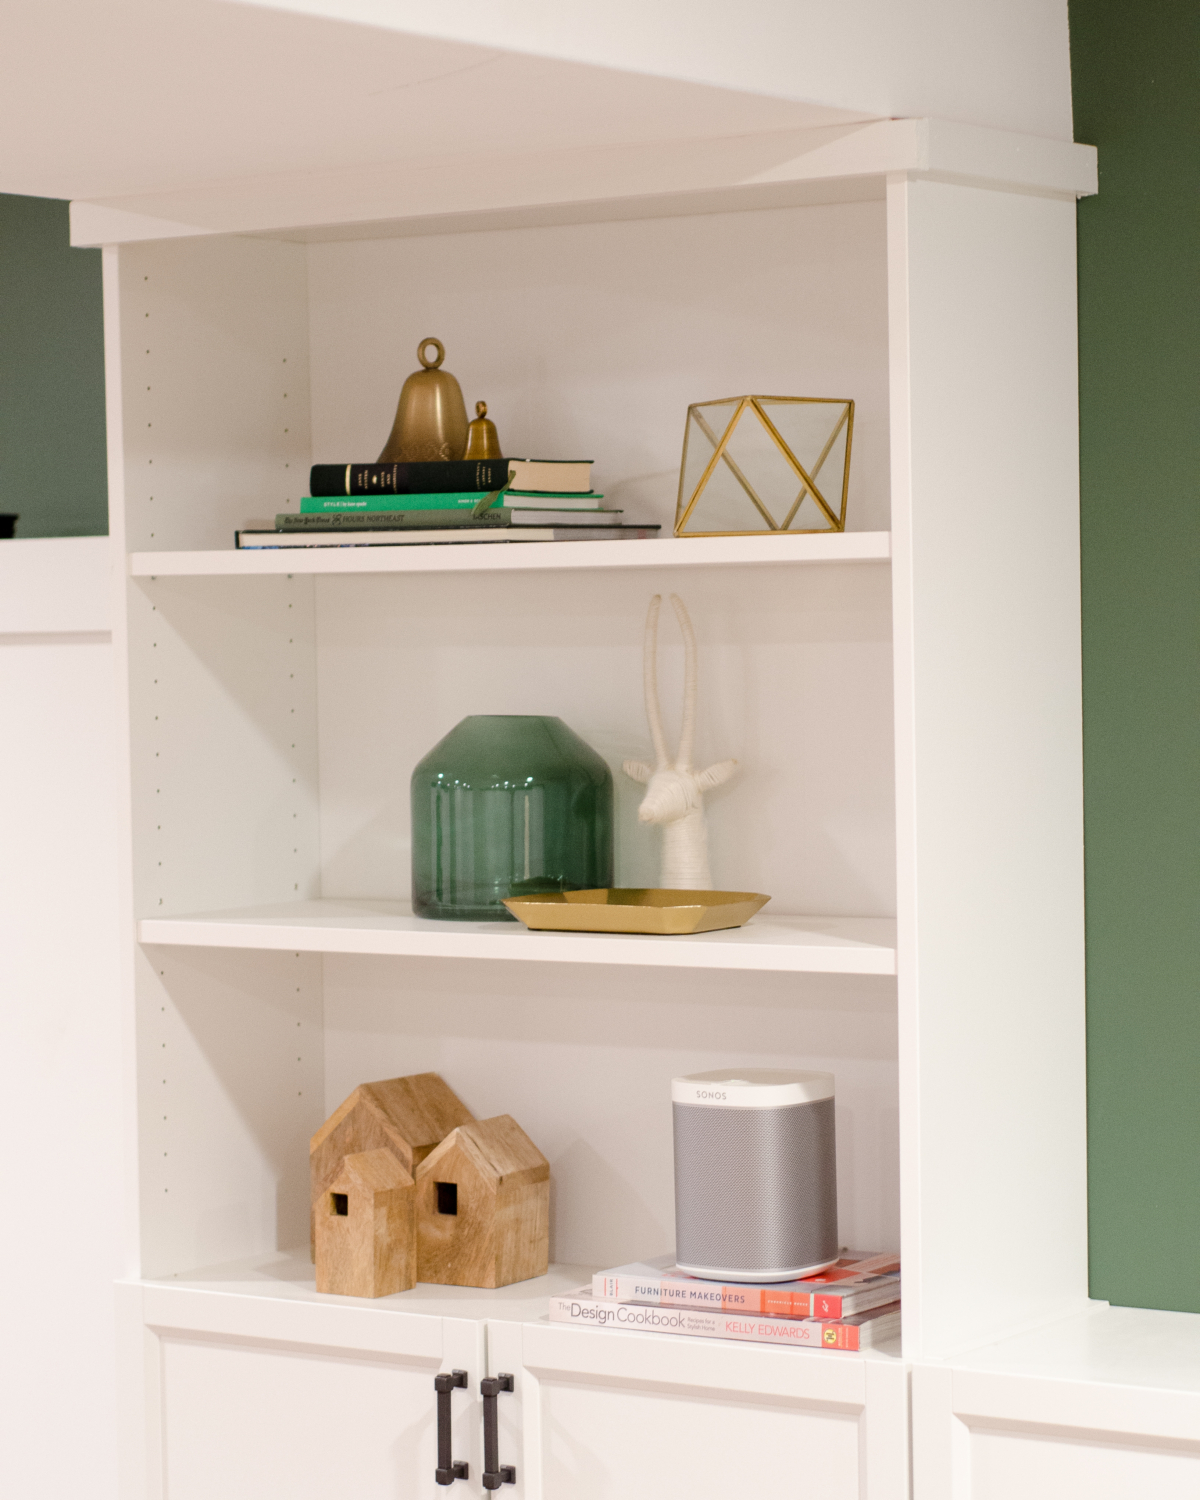
If you have a big empty wall in your house turning Billy bookcases into built ins is a great way to add storage and polish as well as a strong focal point if your room is missing one. It’s functional, beautiful, and so doable as a DIY when you use Billy bookcases as the base for your built-ins. Let me know if you have any questions!

