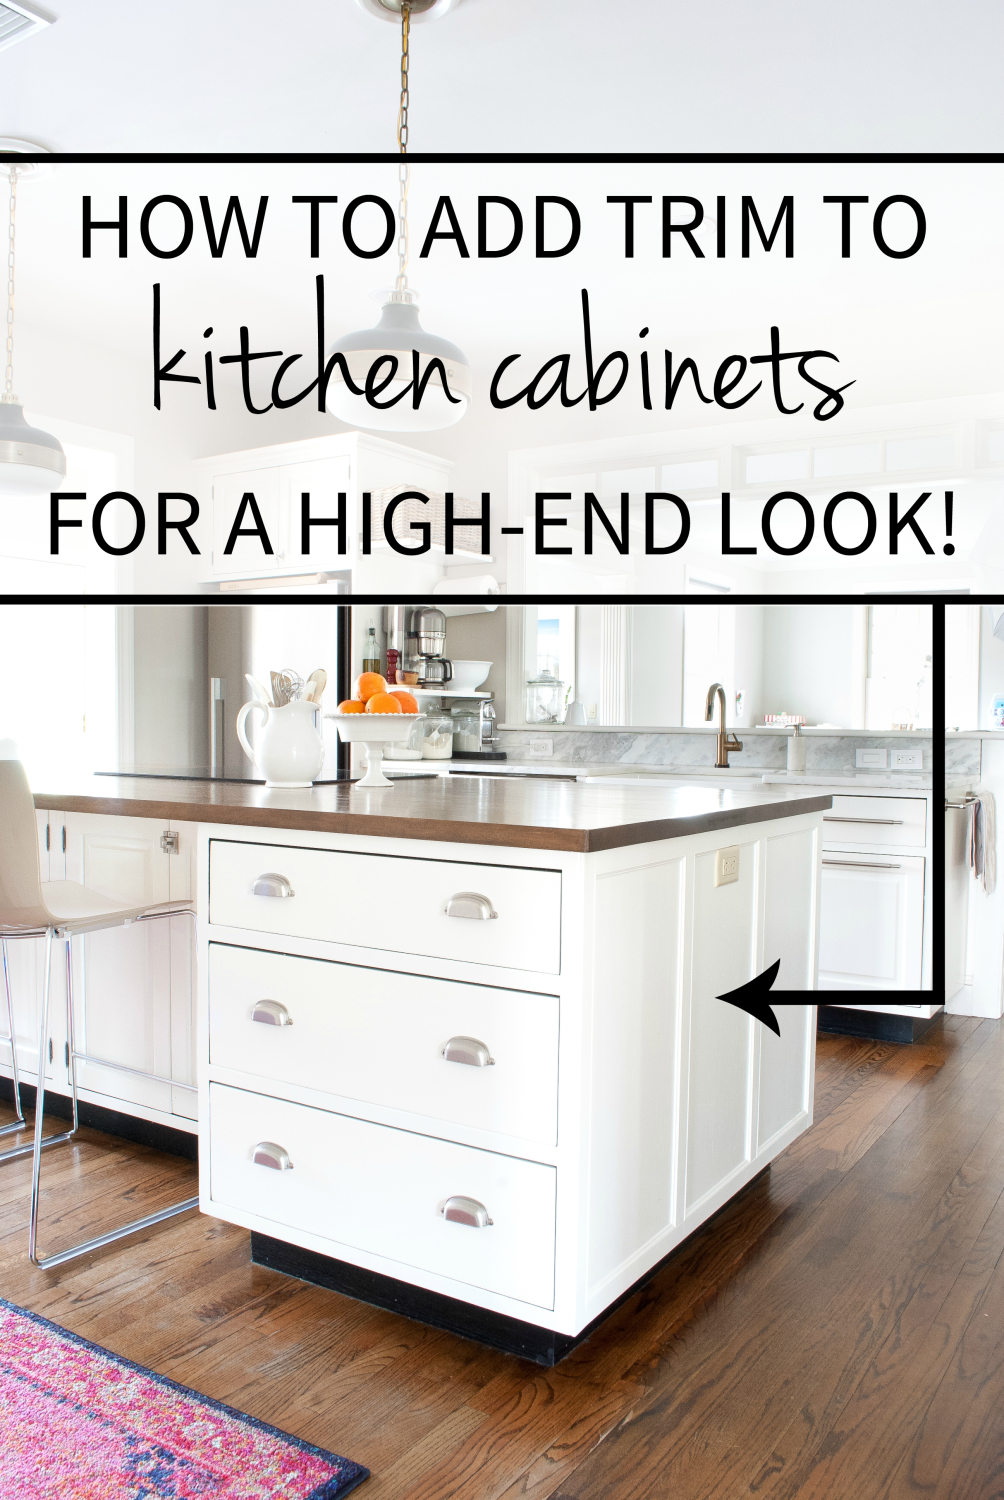
I’ll be trying to get some more progress made in the mudroom this week, and in the meantime I wanted to step back over the next couple of weeks and show you some updates I’ve made in the kitchen during the past several months. The kitchen makeover project has been going on a good two years now as I’ve slowly chipped away at the updates I wanted to make. I’ll link to everything I’ve posted so far at the bottom of this post so you can see all the changes – there have been a lot! Today I’m sharing how to add detail to a plain kitchen island. This is a really easy project and one that has great impact for making a kitchen look custom and high-end.
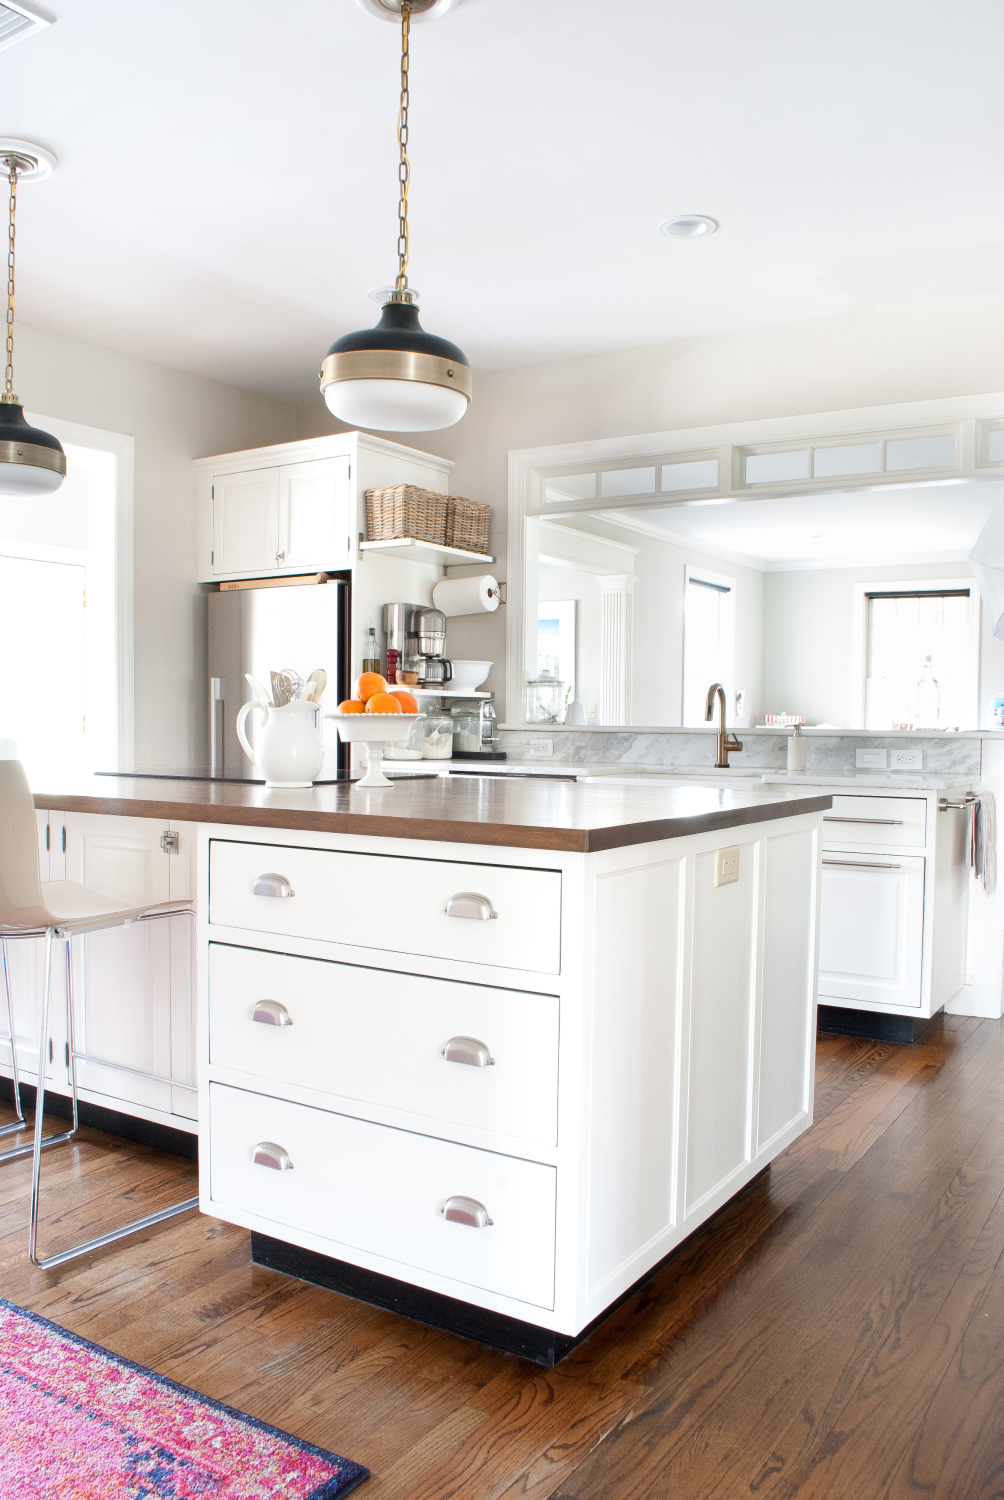 counter stools | kitchen rugs | kitchen pendants | kitchen faucet
The cabinetry in my kitchen is all really nice quality, which is one of the reasons I decided to paint the kitchen cabinets instead of ripping them out and starting fresh. That and, oh, about $20,000. Before I went ahead and painted the island though, I wanted to add some moulding detail to really up the custom look.

The main moulding pieces are flat boards and shoe moudling – I wanted a low profile so used a flat board that only projected out about 1/4″ inch and then inset tiny shoe moulding. If you want a chunkier look or have trouble finding the smaller moulding, 1x4s and standard 3/4″ shoe moulding would also work great. Here’s a list of materials I used to finish this project:
- flat moulding
- shoe moulding
- measuring tape
- pencil
- miter saw (I usually use this one, this is also a good simple one)
- pin nailer
- pin nails
- light spackle
- fine grit sanding block
- primer
- semi gloss paint
- paintbrush (this one is my FAVORITE)
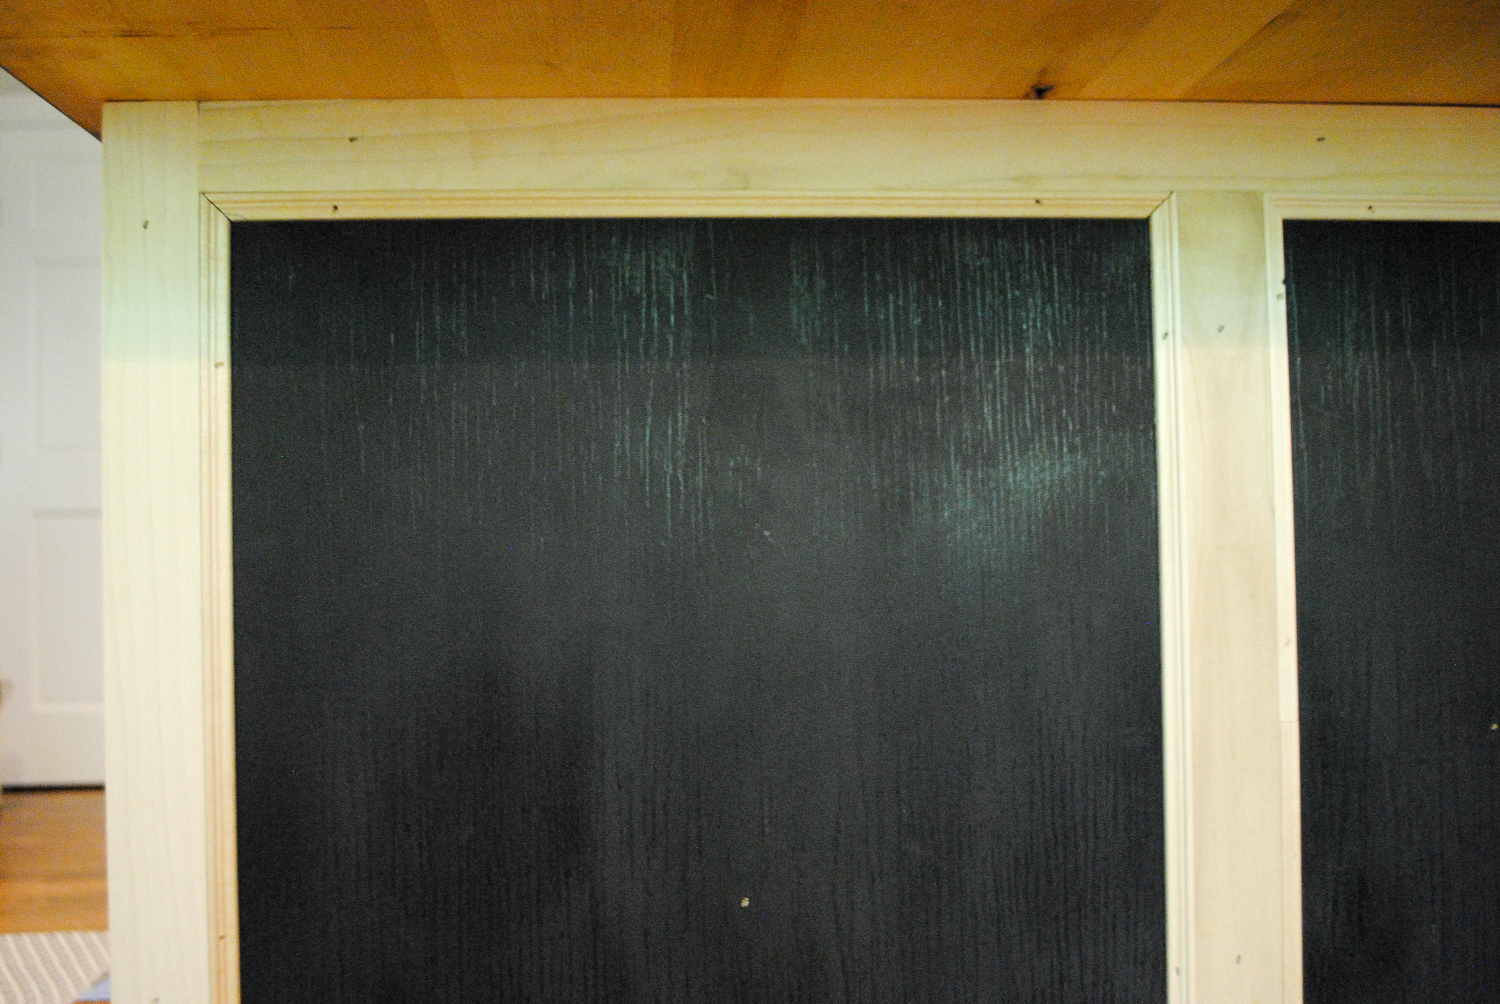
For the edge of my kitchen island where I have counter stools, I decided to add two boxes of moulding. The process is almost exactly the same as installing wainscoting. First I created boxes using the flat moulding – a piece of moulding along each edge and one vertically right down the middle to make two boxes of equal shape. All edges were cut straight and pieces were attached using a pin nailer.

Then I added the shoe moulding along the inside edges of the boxes. Measure the inside dimensions and cut the shoe moulding with 45º angles at the edges, then attach with a pin nailer.
Fill any nailholes and cracks with light spackle and sand smooth. Apply primer and two coats of paint to finish the project.
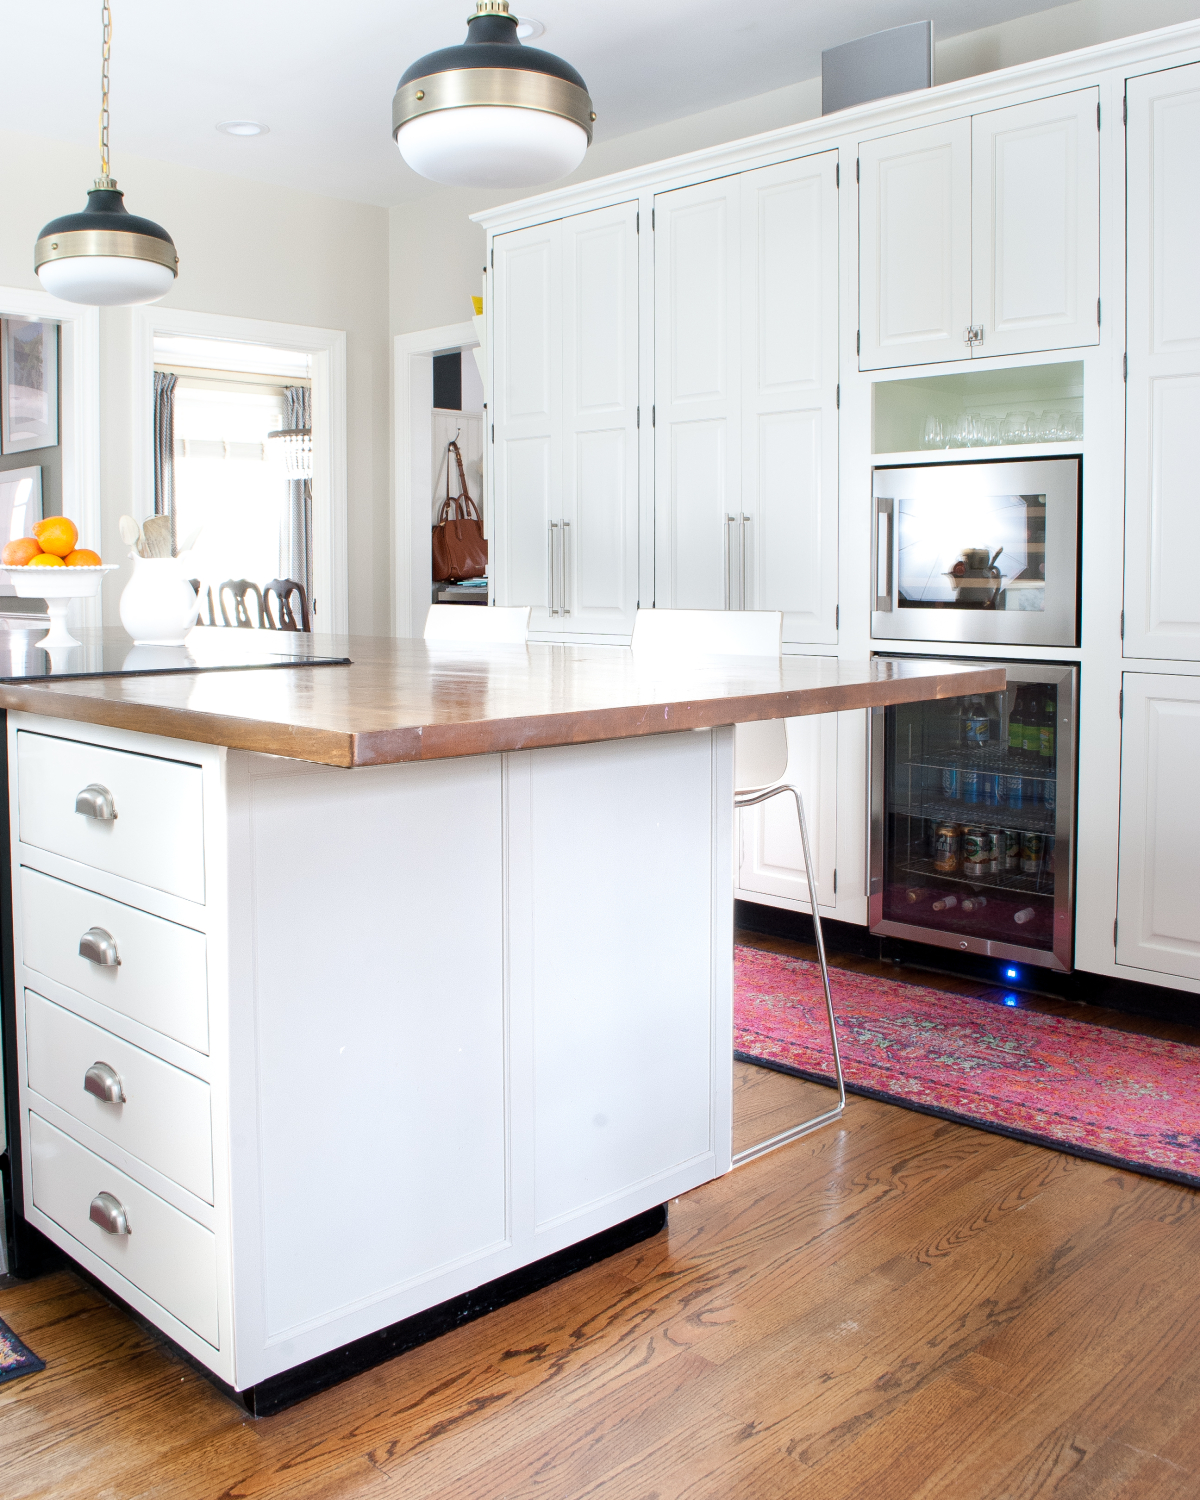
This is such an easy upgrade to plain cabinetry and makes a world of difference. I was able to finish both ends of my kitchen island in just a couple days and goodness knows I need quick and easy projects like this every now and again to balance out the big ones!
You can see all the changes I’ve made to the kitchen the past two years in the posts here:
How to Stain and Seal Butcher Block Counter
Transom Windows
New Counters and Sink
Maximizing Vertical Space in the Kitchen
The Prettiest Kitchen Faucet
How to Paint Kitchen Cabinets
Kitchen Pendant Lights
Modern Counter Stools
Vintage-Style Kitchen Rugs


It’s amazing what a little trim can do – love it!!
It’s amazing what a little trim can do – love it!!
Thanks, Sarah – I totally agree. This was one of the cheapest upgrades ever and it has such subtle but big visual impact when you walk into the kitchen. Well, for me at least :)
it makes such a difference and makes it look much more custom!
That was my biggest challenge with mostly just “facelifting” the kitchen – making it look and feel custom for me. But this helped!